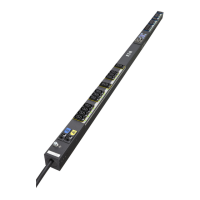
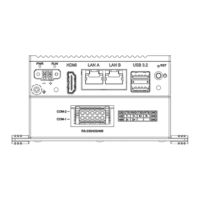
Web Interface Operation
Eaton ePDU G3 Operation Manual P-164000277—Rev 1 www.eaton.com/ePDU 116
4. To select and store an eNMC module configuration file to be used during an upgrade, use Browse to
review and select the configuration file.
NOTE When uploading a file, you cannot write the file path in the text field. You must
select the file from the file explorer window that displays when you click Browse.
5. Click either Upload or Download Configuration and a message is provided to tell you if the file uploaded
successfully or failed to upload:
l
Upload: Gets the list of the ePDU XML parameters from a file selected by the browser and sends it to
the ePDU.
l
Download Configuration: Stores a list of the ePDU XML parameters in a file selected by the browser.
NOTE The file to upload must be a file compatible with the hardware of the ePDU. If not,
the upload does not process due to an incompatibility error.
.
Date &Time
Manually Configure the Date and Time
1. Access the Web interface and log in.
2. Under Settings, select Date & Time. The Date & Time page displays.
3. In the Global Settings panel, choose the date format from the drop-down list.
4. Click Sa
ve.
5. Click the Set manu
ally radio button.
6. Type the date according to the format defined by Date
Format, or select the date using the date picker.
7. Type the time or select a time from the drop-down list. The time format is hh:mm:ss, where hh
= hours,
mm = minutes, ss = second.
8. Click Sa
ve.
Automatically Configure the Date and Time
1. Access the Web interface and log in.
2. Under Settings, select Date & Time. The Date & Time page displays.
3. In the Global Settings panel, choose the date format.
4. Click Sa
ve.
5. In the Global Settings panel, click the S
ynchronize with NTP Server radio button
6. Type the Time Server IPv4 / IPv6 address or host name.
7. Choose the time zone from the drop-down list.
8. If desired, check the Daylight Saving Time option.
9. Click Sa
ve.
NOTE The ePDU Network Management and Control (eNMC) module retrieves the date
and time from the configured NTP server every hour.

 Loading...