SECTION VI
6 REMOTE OPERATION
GENERAL
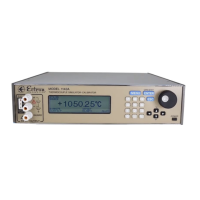
The Model 1140A can be controlled remotely via one of the available interfaces: USB, GPIB,
Ethernet, and RS-232. Three remote interfaces can be installed at any one time with any one of
them being active.
REMOTE MENU
ACTIVE INTERFACE: USB
GPIB SETUP
ETHERNET SETUP
1120 EMULATION MODE: DISABLED
1120 ASTERISK TC TYPE: N-MN175
Figure 6-1: Remote Menu
REMOTE MENU
The REMOTE MENU shows the user what interfaces, if any, are installed and which one is active;
and it allows the user to set the instrument’s remote address.
CHANGING THE ACTIVE INTERFACE
To change the active interface from the REMOTE menu, highlight ACTIVE INTERFACE, press
ENTER, highlight the desired interface to activate, and again press ENTER.
SETTING THE INTERFACE ADDRESS (GPIB ONLY)
To set the address of a GPIB interface, active or not, highlight GPIB SETUP and press ENTER.
Then, using the KEYPAD, ENCODER, or ARROW KEYS, enter a valid address (0 to 30) and again
press ENTER.
ACTIVATING AND DE-ACTIVATING REMOTE CONTROL
Activating the remote-mode operation of the Model 1140A is typically done automatically by the
program(s) associated with remote operation, such as LabVIEW by National Instruments. In the
absence of such a program, a lower-level command such as the GPIB command REN (remote
enable) can be employed.
When any remote interface is active, the Model 1140A gives priority to remote control over
front-panel control. Receipt of any remote command causes the Model 1140A to enter remote
mode, and the letters REM are shown in the upper-right corner of the display. These letters blink
off momentarily any time a remote command is received.
6-1