Maintenance and Repair
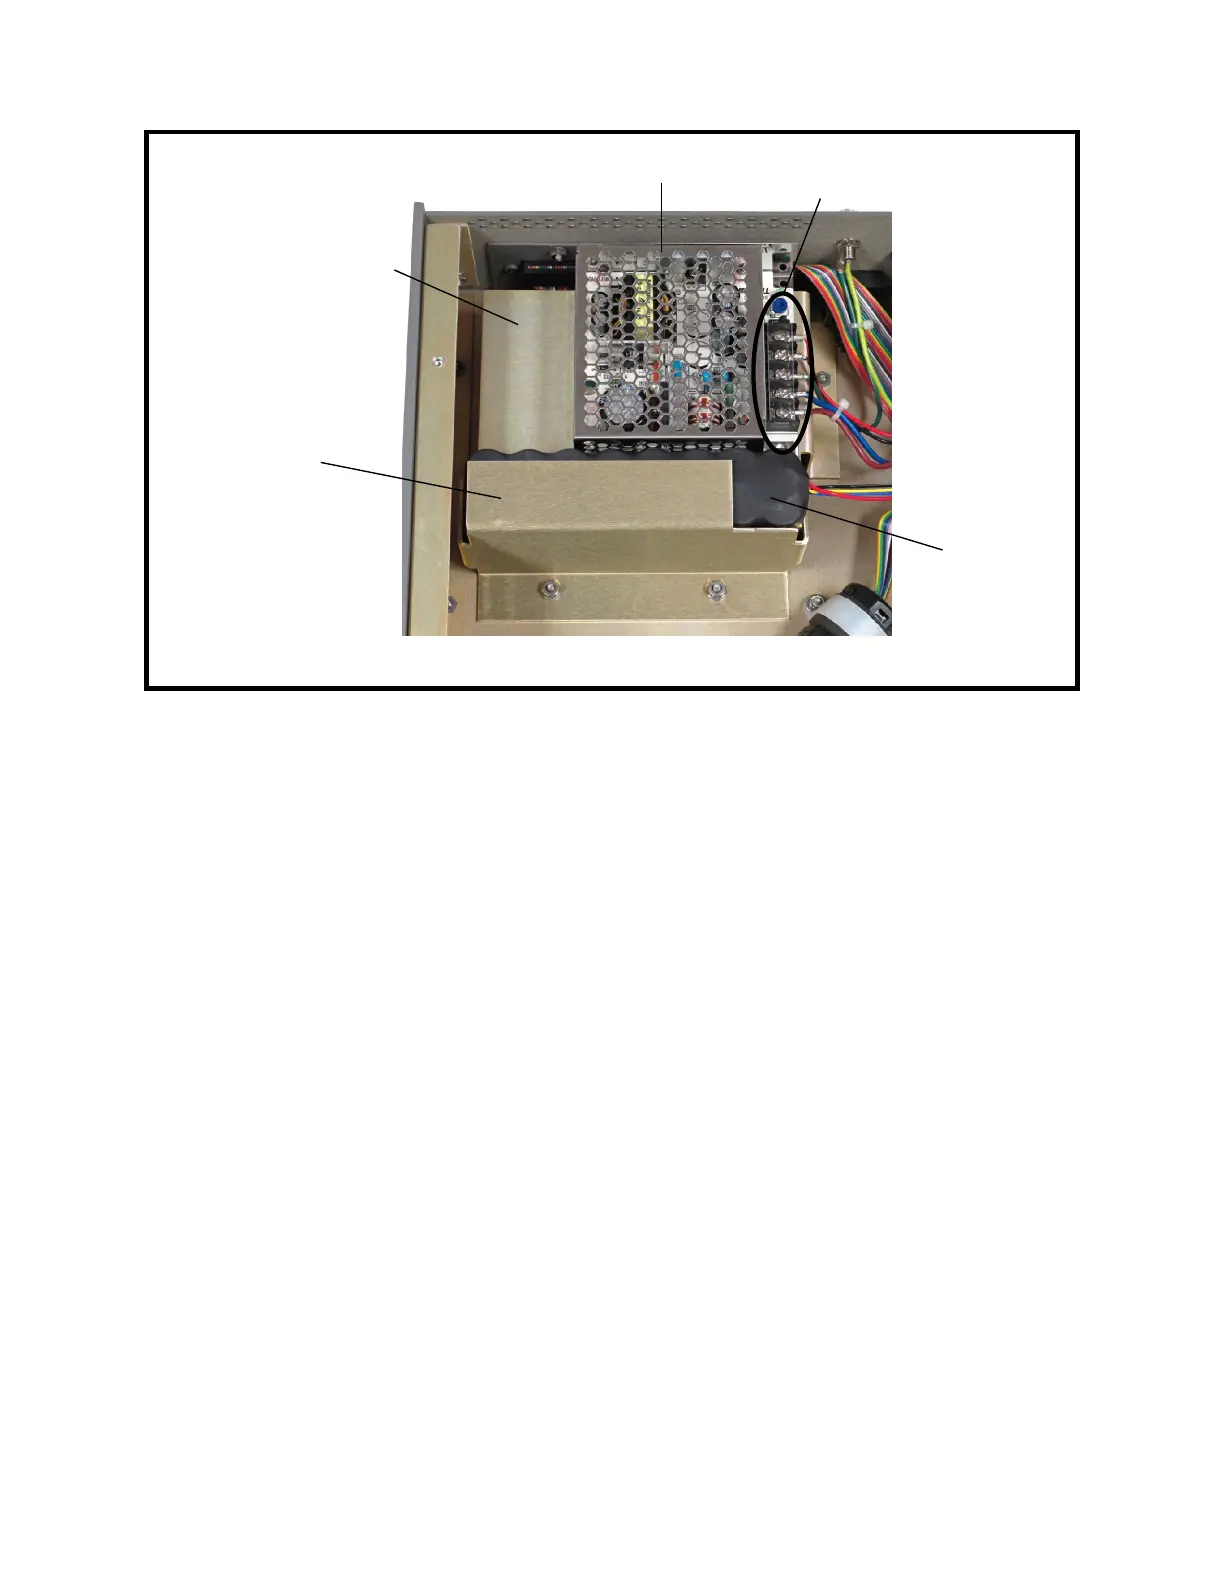
Figure 9-3: Battery Assembly and Charging Supply (Voltage Guard Removed)
4. If disposing of the battery pack, be sure to do so properly following any applicable
regulations for hazardous materials.
4 Battery Installation
Refer to Figure 9-2 for the locations of the components mentioned in this procedure.
1. Set the battery in the Model 1140A next to the charging supply. Be sure the battery
wires are at the top and toward the power-supply assembly.
2. Place the battery hold-down bracket over the battery and set it down over the two
studs.
3. Using a 5/16″ socket, install the two nuts and flat washers for the battery hold-down
bracket. Push the bracket toward the charging supply before tightening the nuts all the
way. Tighten the nuts to 10 in-lb torque.
4. Follow Procedure 2 for Top Cover Installation.
5 Charging Supply Removal
1. Follow Procedure 1 for Top Cover Removal.
2. Using a #1 Phillips screwdriver, loosen the screw that holds the ac voltage guard to
the side of the charging supply. Remove the guard.
3. Using a #1 Phillips screwdriver, loosen the five screws on the charging supply barrier
strip and disconnect the wires. See Figure 9-3.
4. Place the Model 1140A on its left side.
9-4
↓ Front
Battery hold-
down bracket
Charging supply
barrier strip
Charging supply
mounting bracket
Battery
Charging supply