34
9.8. Reference Sensor
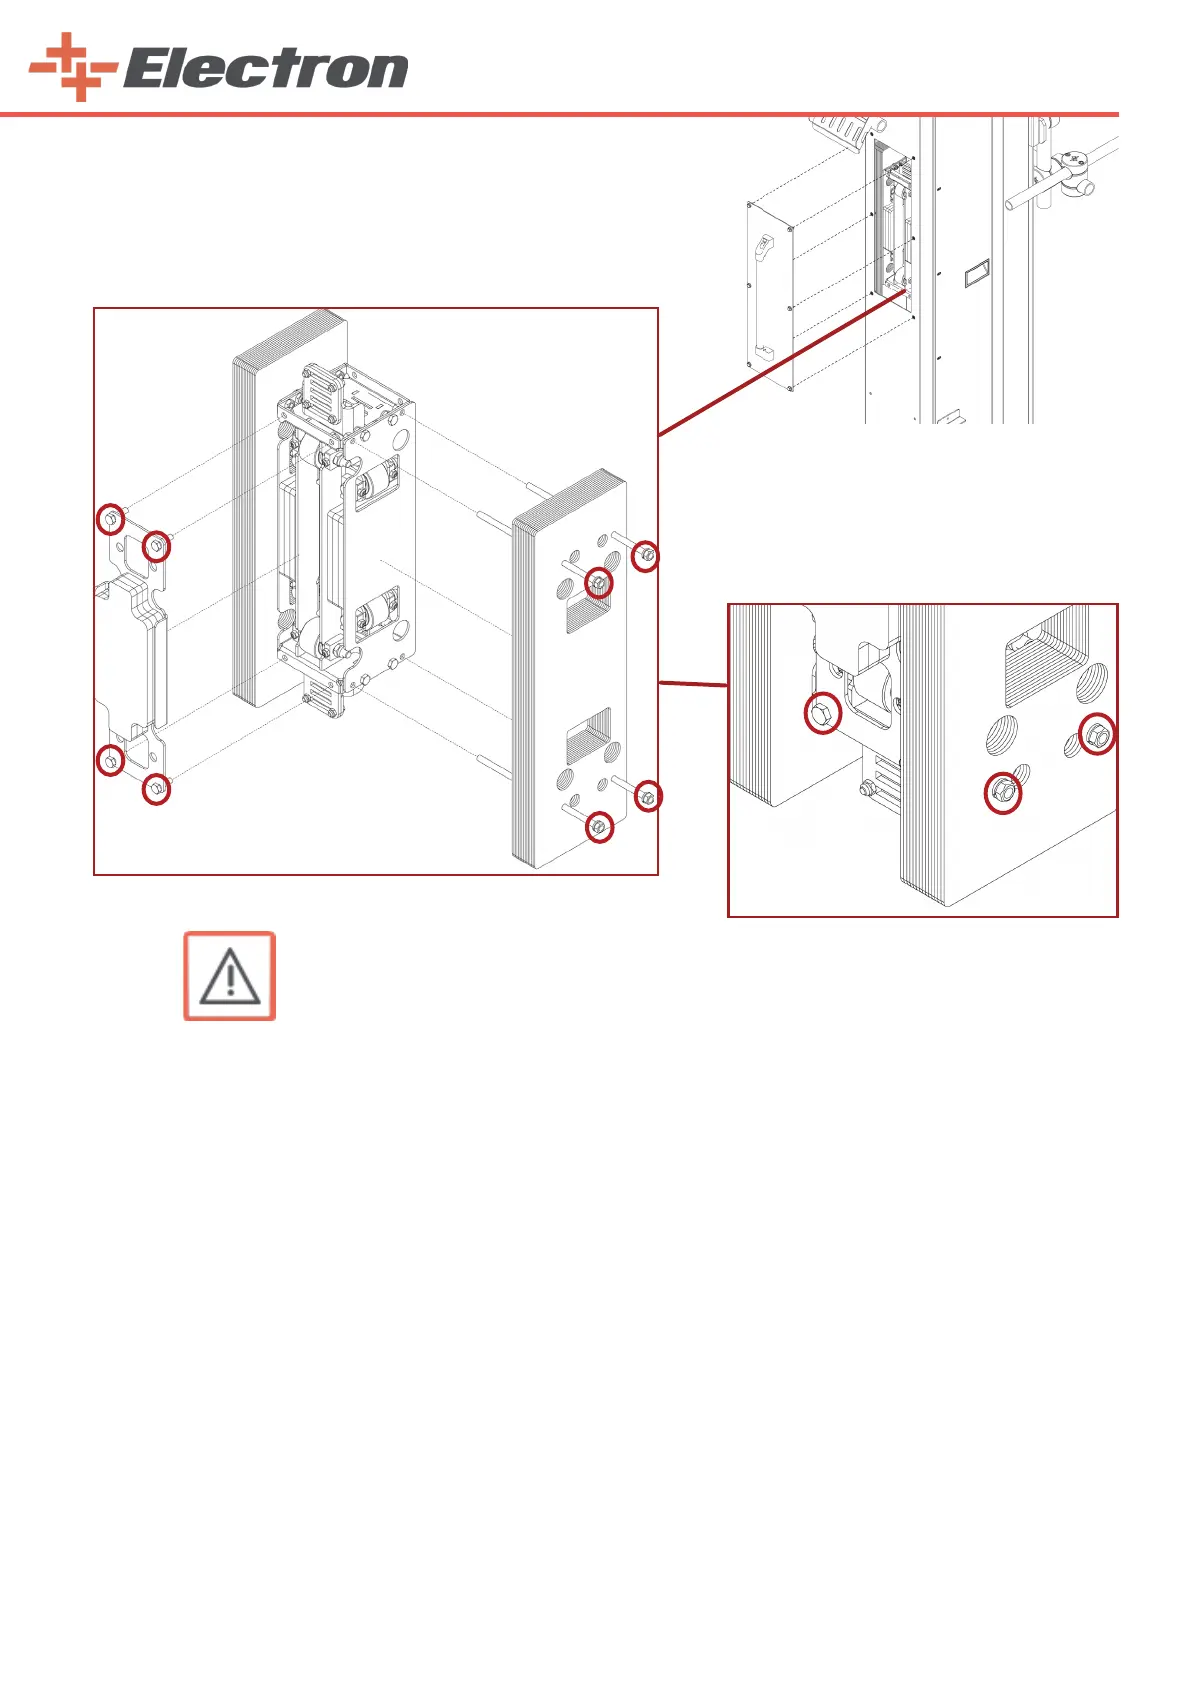
9.8.1 Replacing the zero point reference sensor on the vertical axis
WARNING:
The following workings should only be carried out by trained personnel!
Procedure:
1. Let the Z carriage (7) move down onto the lower stop
2. Switch o the electric power
3. Disconnect the sensor’s electrical connections from the connections shown on the
schematic diagram.
4. Remove the boarding (right side panel)
5. Loosen the 2 nuts attached on the sensor.
6. Remove the nut on the front completely.
7. Pull the sensor out of the reciprocator connector.
9.8.2 Replacing the reference sensor on the horizontal axis
Procedure:
1. Switch o the electric power
2. Disconnect the sensor’s electrical connections from the connections shown on the
schematic diag ram.
3. Remove all plates on the horizontal reciprocator.
4. Loosen the 2 nuts attached on the sensor.
5. Remove the nut on the front completely.
6. Pull the sensor out of the reciprocator connector.
*
**
***
* E-Robot+3 load trolley No.1 fixed counter balanced weight - 5.682 kg
** E-Robot+3 load trolley No.2 fixed counter balanced weight - 5.381 kg
*** E-Robot+3 load trolley No.1 replaceable counter balanced weight - (optional) 1.87 kg