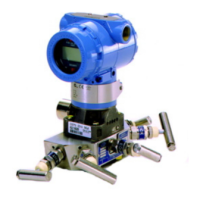
Field terminal side of housing
Mount the transmitter so the terminal side is accessible. Clearance of 0.75-in. (19 mm) is
required for cover removal. Use a conduit plug in the unused conduit opening if the
optional Process Temperature Input is not installed.
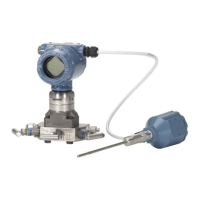
Feature board side of housing
Provide 0.75-in. (19 mm) of clearance for units without an LCD display. Three inches of
clearance is required for cover removal if an LCD display is installed.
Cover installation
Always ensure a proper seal by installing the housing covers so that metal contacts metal
in order to prevent performance degradation due to environmental effects. For
replacement cover O-rings, use Rosemount O-rings (part number 03151-9040-0001).
Conduit entry threads
For NEMA
®
4X, IP66, and IP68 requirements, use thread seal (PTFE) tape or paste on male
threads to provide a watertight seal.
Cover jam screw
About this task
For transmitter housings shipped with a cover jam screw, as shown in Figure 3-3, the screw
should be properly installed once the transmitter has been wired and powered up. The
cover jam screw is intended to prevent the removal of the transmitter cover in flameproof
environments without the use of tools. Follow these steps to install the cover jam screw:
Procedure
1. Verify the cover jam screw is completely threaded into the housing.
2. Install the transmitter housing covers and verify that metal contacts metal in order
to meet flameproof/explosion-proof requirements.
3. Using an M4 hex wrench, turn the jam screw counterclockwise until it contacts the
transmitter cover.
4. Turn the jam screw an additional turn counterclockwise to secure the cover.
Application of excessive torque may strip the threads.
5. Verify the covers cannot be removed.
Reference Manual
Installation
00809-0100-4803 October 2018
Emerson.com/Rosemount 75
 Loading...