REV.-A
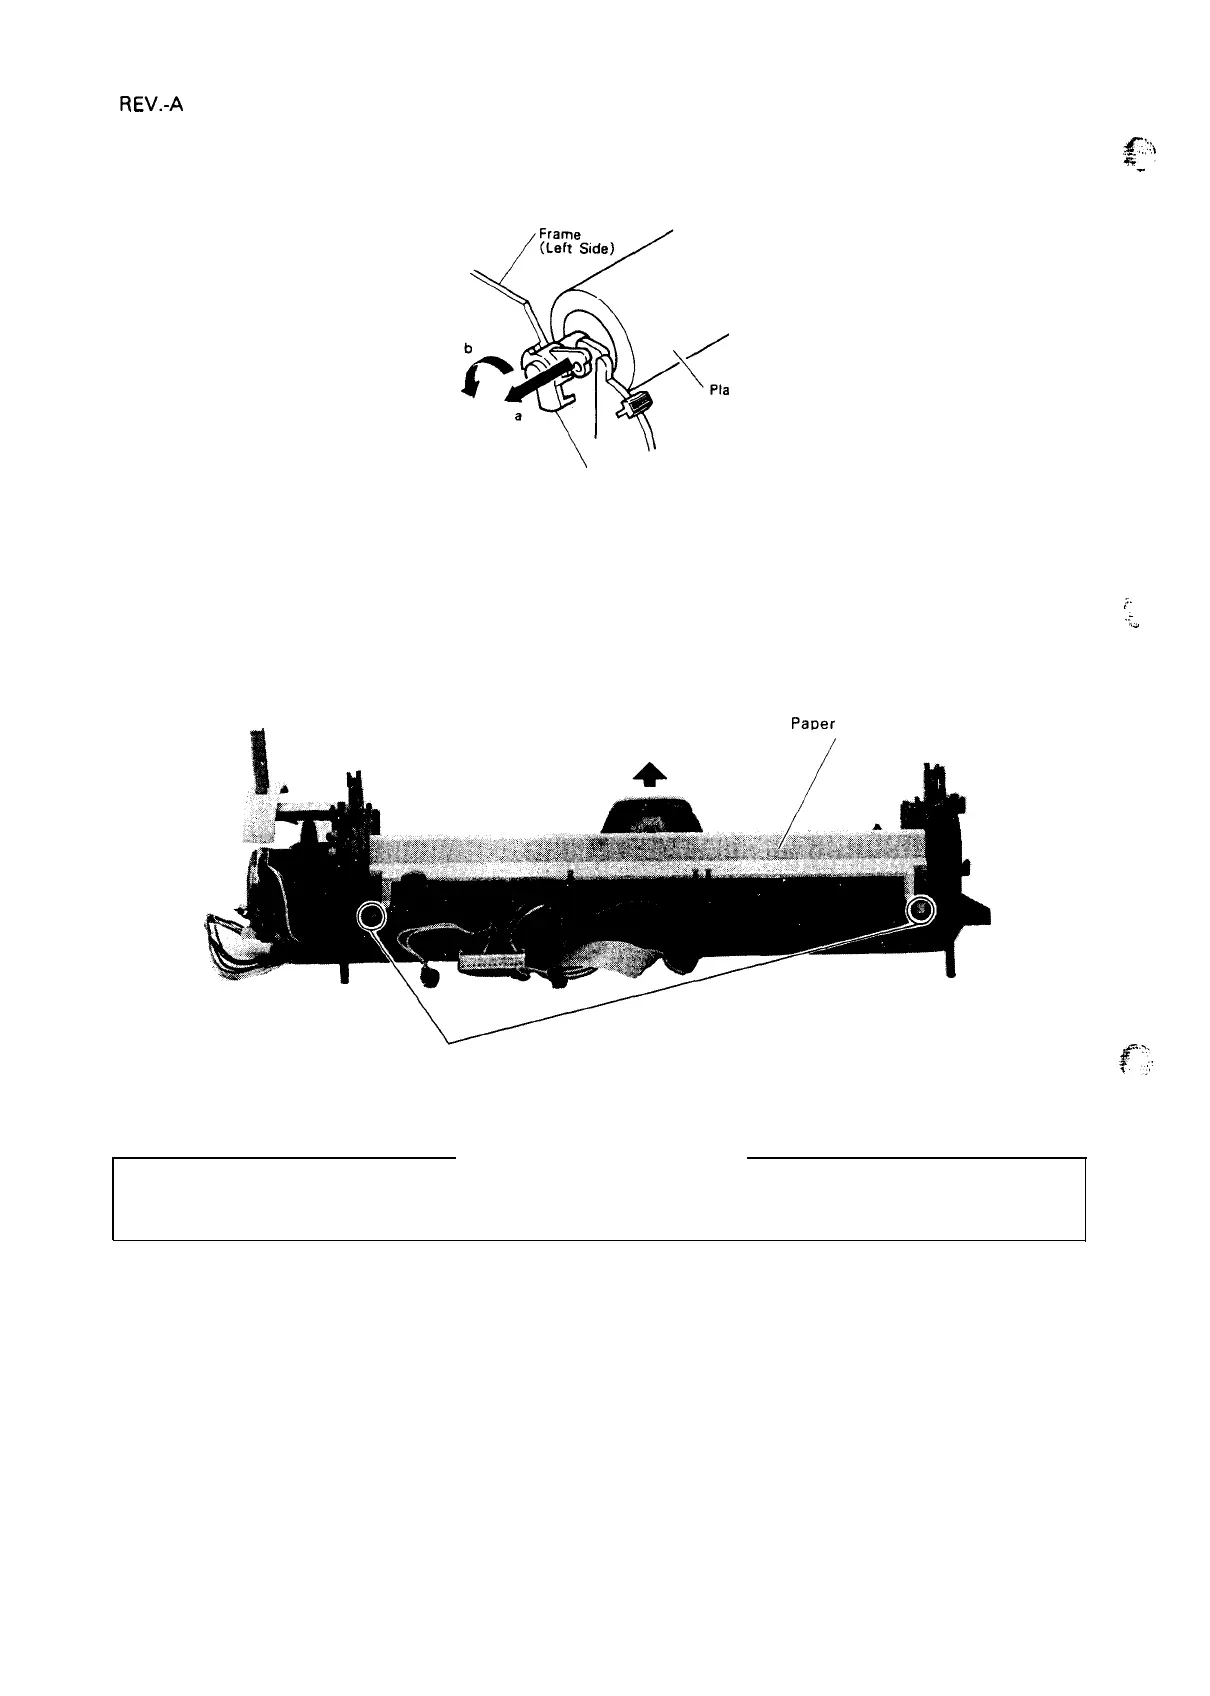
5. Turn the shaft holders at the left and right sides of the platen unit as shown in Figure 4-15. Lift and
g,}:!
~’-.
remove the platen unit.
ten
a.
b.
6.
7.
\
Shaft Holder
Use a screwdriver to push the shaft holder outward.
Turn the shaft holder counterclockwise.
Figure 4-15. Platen Unit Removal
~,.
Disconnect the cable from CN6 on the TAMA board.
. . .
.
.:,
J
.
Unlock the two notches of the paper guide by pushing them forward from the rear side of the printer
mech
anism. Remove the paper guide.
PaDer Guide
Tab
Figure 4-16. Rear View of Printer Mechanism
f“’:,
,,,
REQUIRED ADJUSTMENT
Following reinstallation or replacement of the platen unit, if problems occur (such as non-uniformity
of print density), adjust the platen gap. Platen gap adjustment is detailed in Section 4.3.1.
4-12

 Loading...


