Note:
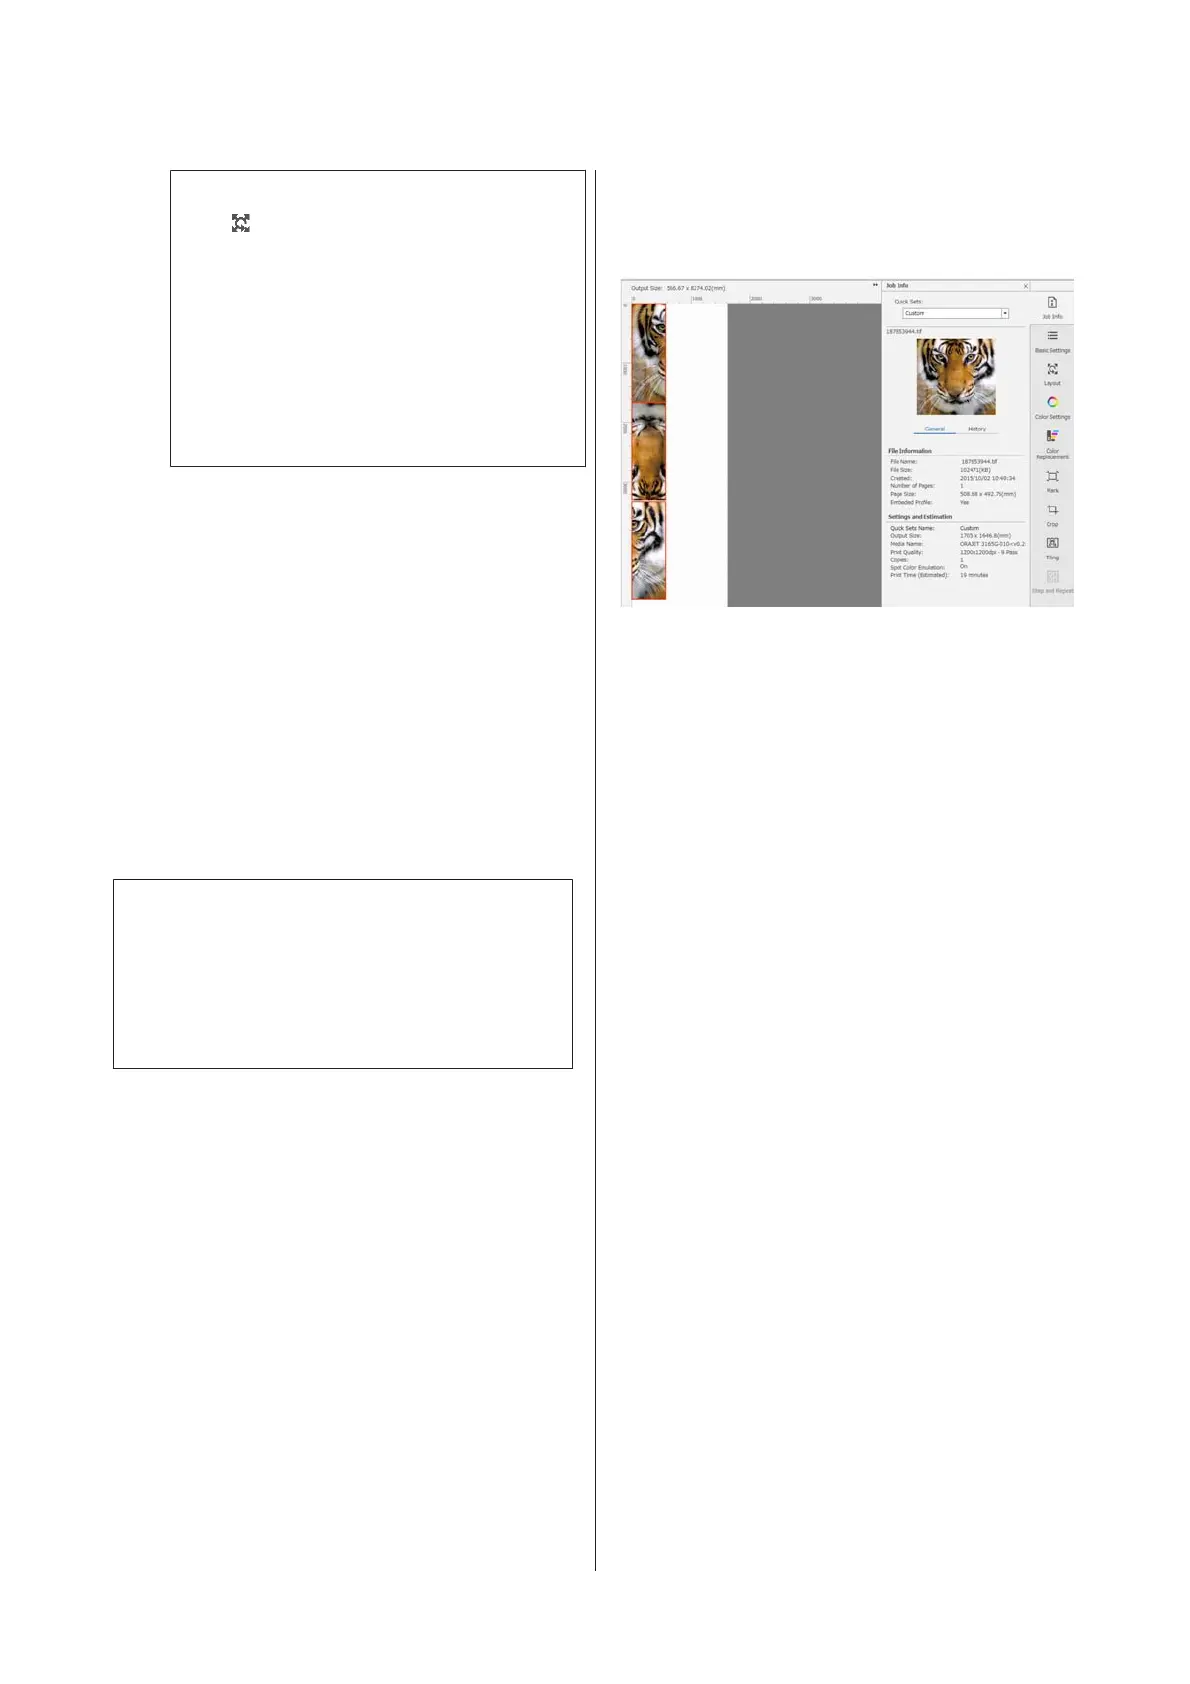
Click
(Layout) in the Job Settings menu to
change the tile arrangement.
For example, you can reduce wasted media by
arranging tiles horizontally that were initially
arranged vertically to match the width of the
media, and then printing.
However, depending on the arrangement of the
tiles, there may be color deviation at the seams
when the images are pasted together.
When not printing a specified tile
You can cancel printing with the following procedure
when you do not want to print a specific tile after an
image is divided in the Tiling settings.
A
Open the right click menu on the tile not to print.
B
Clear the Print checkbox.
When you clear the Print checkbox, an icon is
displayed on the tile.
Select the checkbox to print the tile.
Note:
If you right-click on a tile and select Clear All from the
menu displayed, none of the tiles are printed.
If you only want to print one tile, right-click on the tile
you want to print, select Clear All from the menu
displayed, and then select Print.
When color deviation at the seams
stands out
When images are pasted together and the color
deviation at the seams is conspicuous, check if the
Rotate Even Tiles 180˚ checkbox in the Tiling
settings is cleared.
When this is selected, the tiles are alternately printed
top to bottom so the discoloration becomes less
conspicuous.
You can also improve the issue of color deviation by
setting Print Head Warm Up to On in the printer's
settings menu.
U “Media Management items” on page 114
SC-R5000 Series/SC-R5000L Series User's Guide
Introduction
43

 Loading...