EasyManua.ls Logo

Epson SCARA ROBOT

Epson SCARA ROBOT
216 pages
To Next Page IconTo Next Page
To Previous Page IconTo Previous Page
Loading...
Maintenance 3. Covers
102 G6 Rev.21
Unscrew the connector plate mounting bolts and remove the plate.
G6
-***S* (Standard-model)
G6-***C* (Cleanroom-model)
G6-***D*, P* (Protected-model)
Table
Top
mounting
4-M4×10
6-M4×10
Gasket
Part to apply
silicon adhesive
Wall
mounting
4-M4×10
4-M4×10
Gasket
Ceiling
mounting
4-M4×10
6-M4×10
Gasket
Part to apply
silicon adhesive
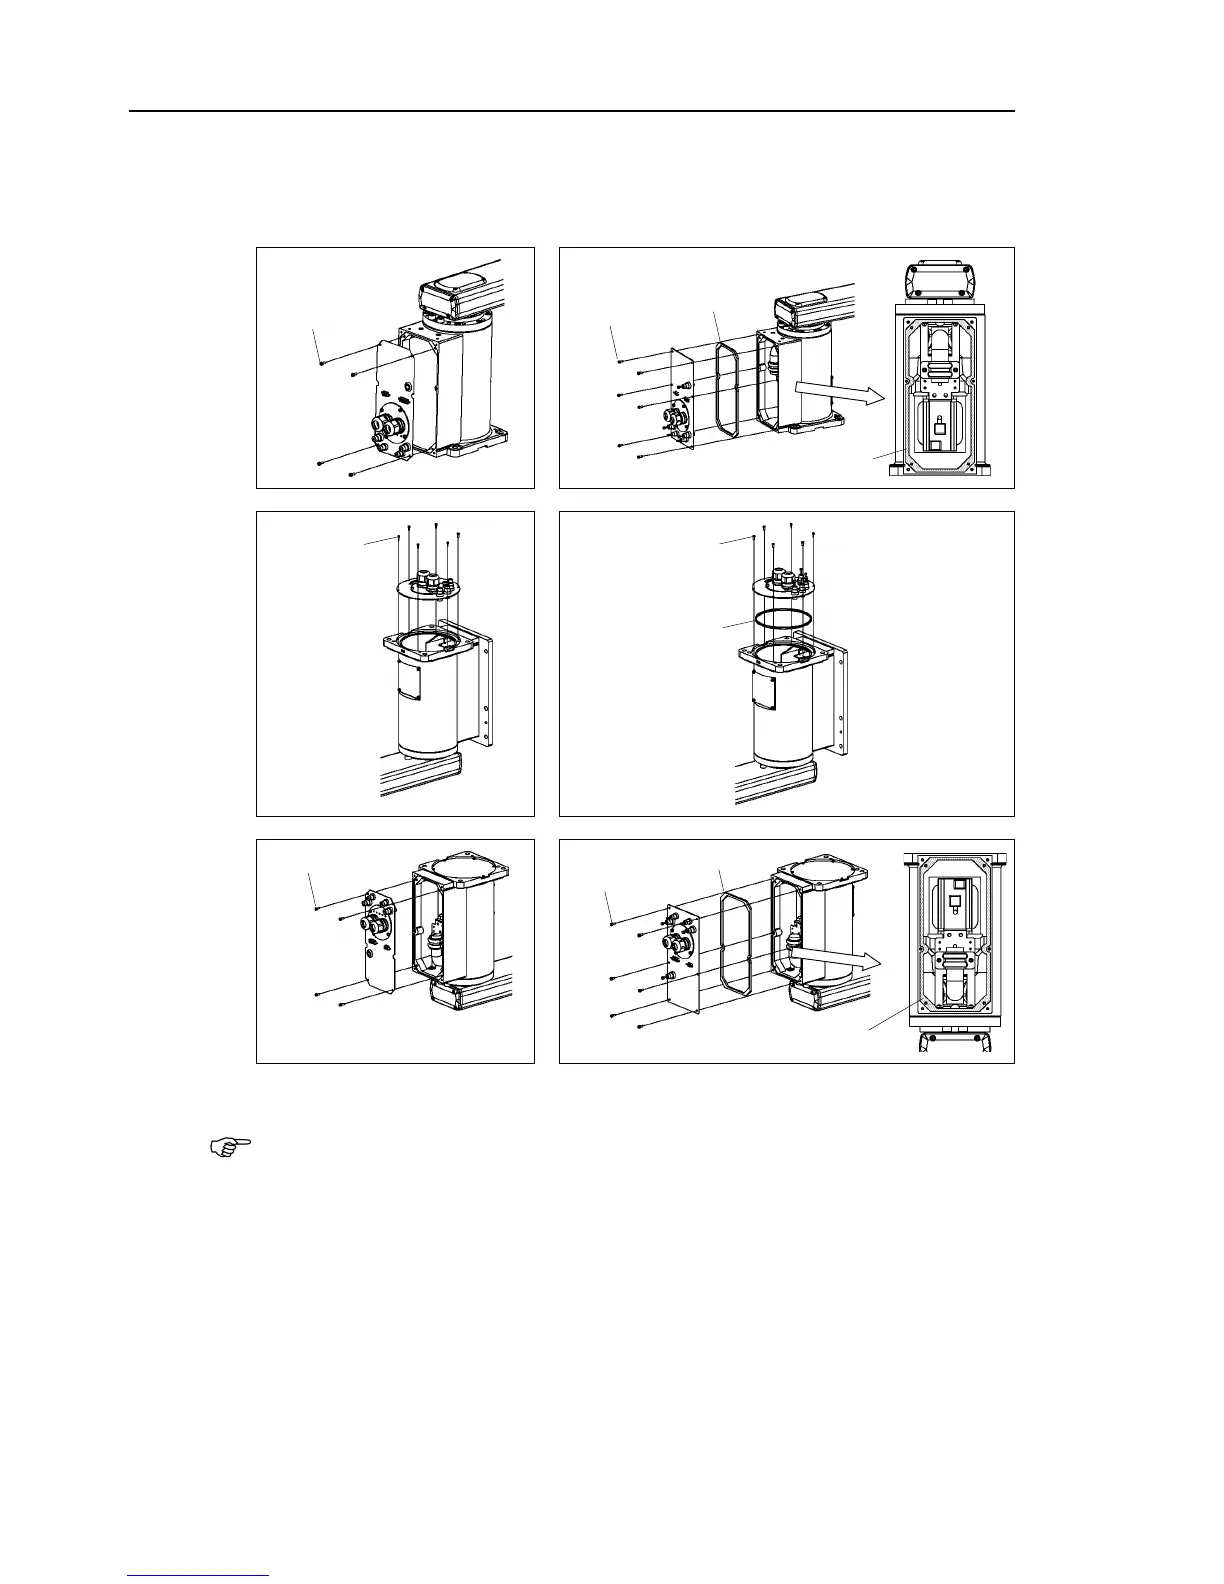
A gasket is installed to G6-***D*, P* (Protected-model).
When installing the gasket to Table Top mounting (G6-***D, P) or ceiling mounting
(G6-***DR, PR), apply silicon adhesive to the gasket installing part on the base side
(shaded part in the photo).
NOTE

Table of Contents

Related product manuals