EasyManuals Logo

Epson SCARA ROBOT User Manual

Epson SCARA ROBOT
216 pages
To Next Page IconTo Next Page
To Previous Page IconTo Previous Page
Page #60 background imageLoading...
Page #60 background image
Setup & Operation 3. Environments and Installation
48 G6 Rev.21
(2)
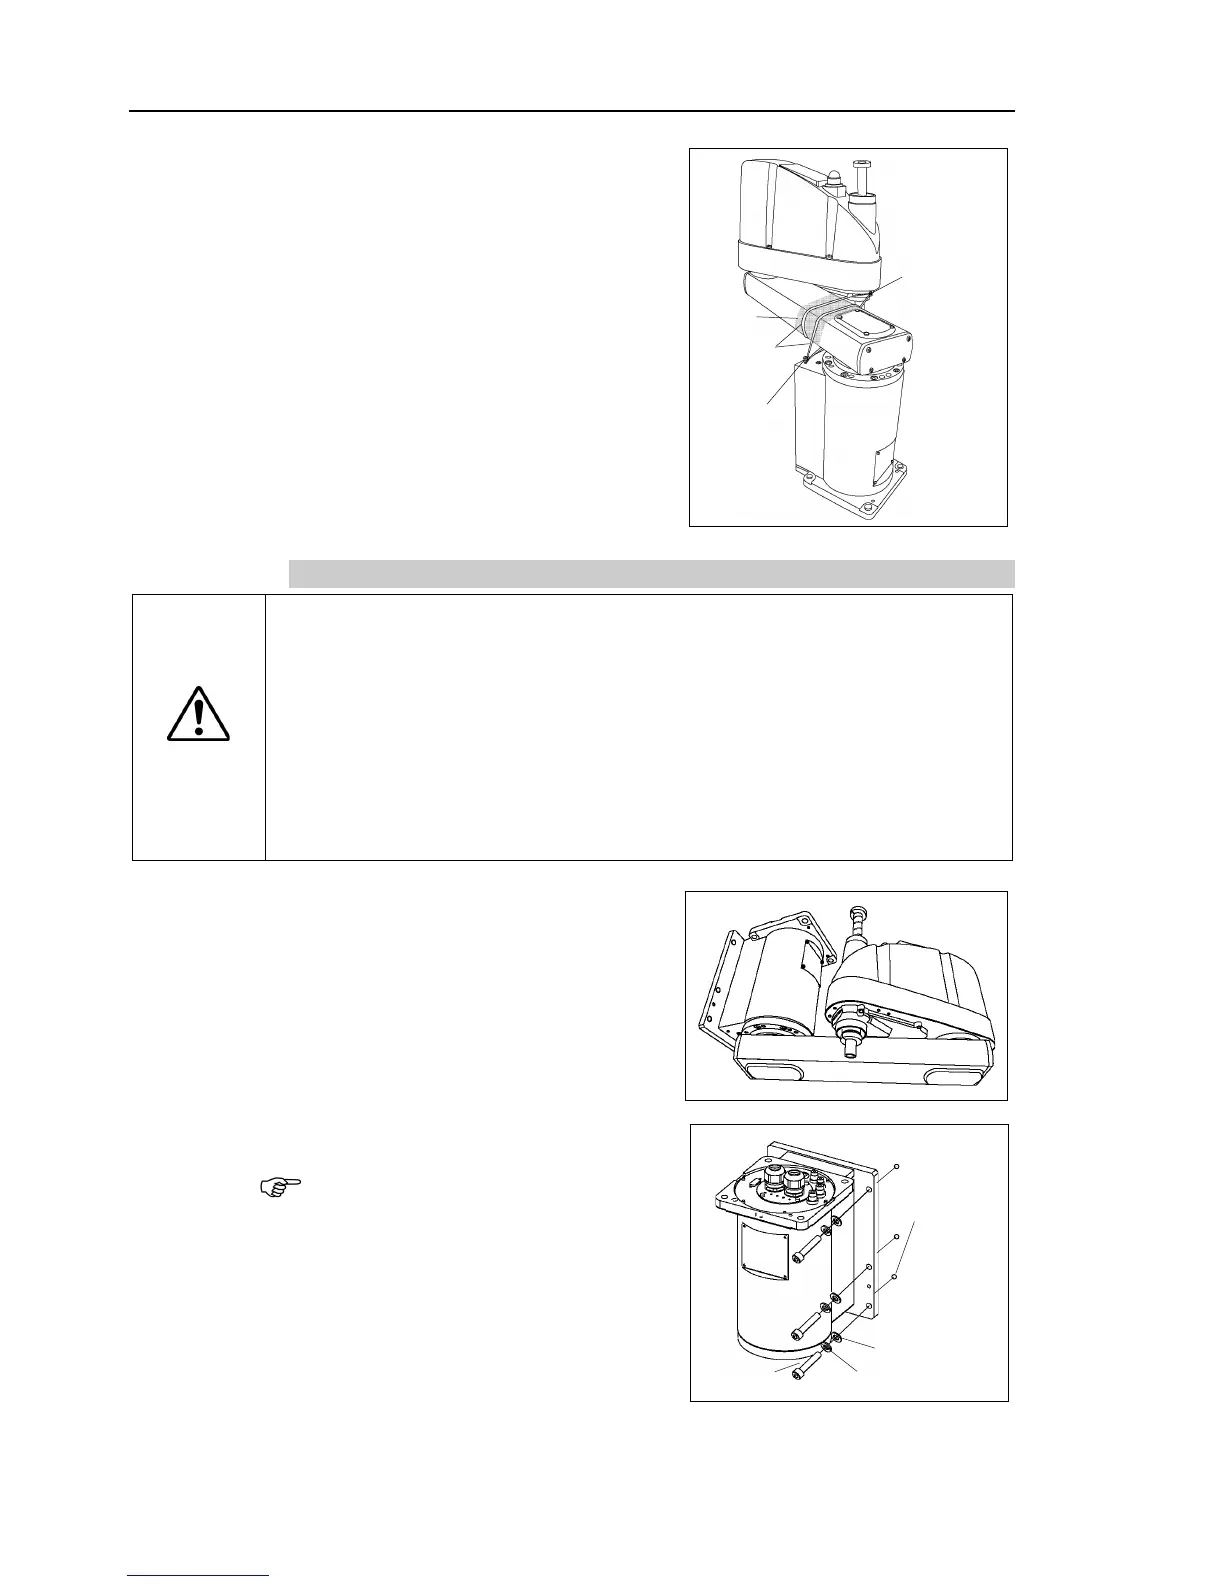
Using nippers, cut off the wire tie
binding
the shaft and arm retaining bracket on the
base.
Bolt
:M4×15
Bolt
:M5×15
Wire tie
Sheet
(3)
Remove the bolts securing the wire ties
removed in step (2).
(4)
Remove the fixing jig for transport.
3.5.2 Wall Mounting
WARNING
Install the
Wall Mounting Manipulator with two or more people.
The Manipulator weigh
ts are as follows. Be careful not to get hands, fingers, or
feet caught and/or have equipment damage
d by a fall of the Manipulator.
G6
-45**W : Approximately 29 kg: 64 lb.
G6
-55**W : Approximately 29 kg: 64 lb.
G6
-65**W : Approximately 29.5 kg: 65 lb.
When installing
the Manipulator to the wall, support the Manipulator, and then
secure
the anchor bolts. Removing the support without securing the anchor
bolts properly
is extremely hazardous and may result in fall of the Manipulator.
Standard-model
(1)
Unpack the manipulator with retaining the
arm posture.
(2)
Secure the base to the
wall with six bolts.
Use bolts
with specifications conforming
to
ISO898
-1 Property Class: 10.9 or 12.9.
Tightening torque:
32.0 N·cm (326 kgf·cm)
Screw Hole
(depth 20 mm
or more)
6-M8×40
Spring Washer
Plane Washer
(3)
Remove the fixing jig for transport.
NOTE

Table of Contents

Questions and Answers:

Question and Answer IconNeed help?

Do you have a question about the Epson SCARA ROBOT and is the answer not in the manual?

Epson SCARA ROBOT Specifications

General IconGeneral
TypeSCARA Robot
ApplicationsAssembly, Pick and Place, Dispensing, Packaging
MountingFloor, Wall, Ceiling
Communication InterfaceEthernet, RS-232, USB
Repeatability±0.01 mm to ±0.02 mm

Related product manuals