EPSON Stylus CX7300/CX7400/DX7400/NX200/TX200 series/SX200 series/Stylus CX8300/CX8400/DX8400/NX400/TX400 series/SX400 series Revision C
DISASSEMBLY/ASSEMBLY Disassembling the Printer Mechanism 108
Confidential
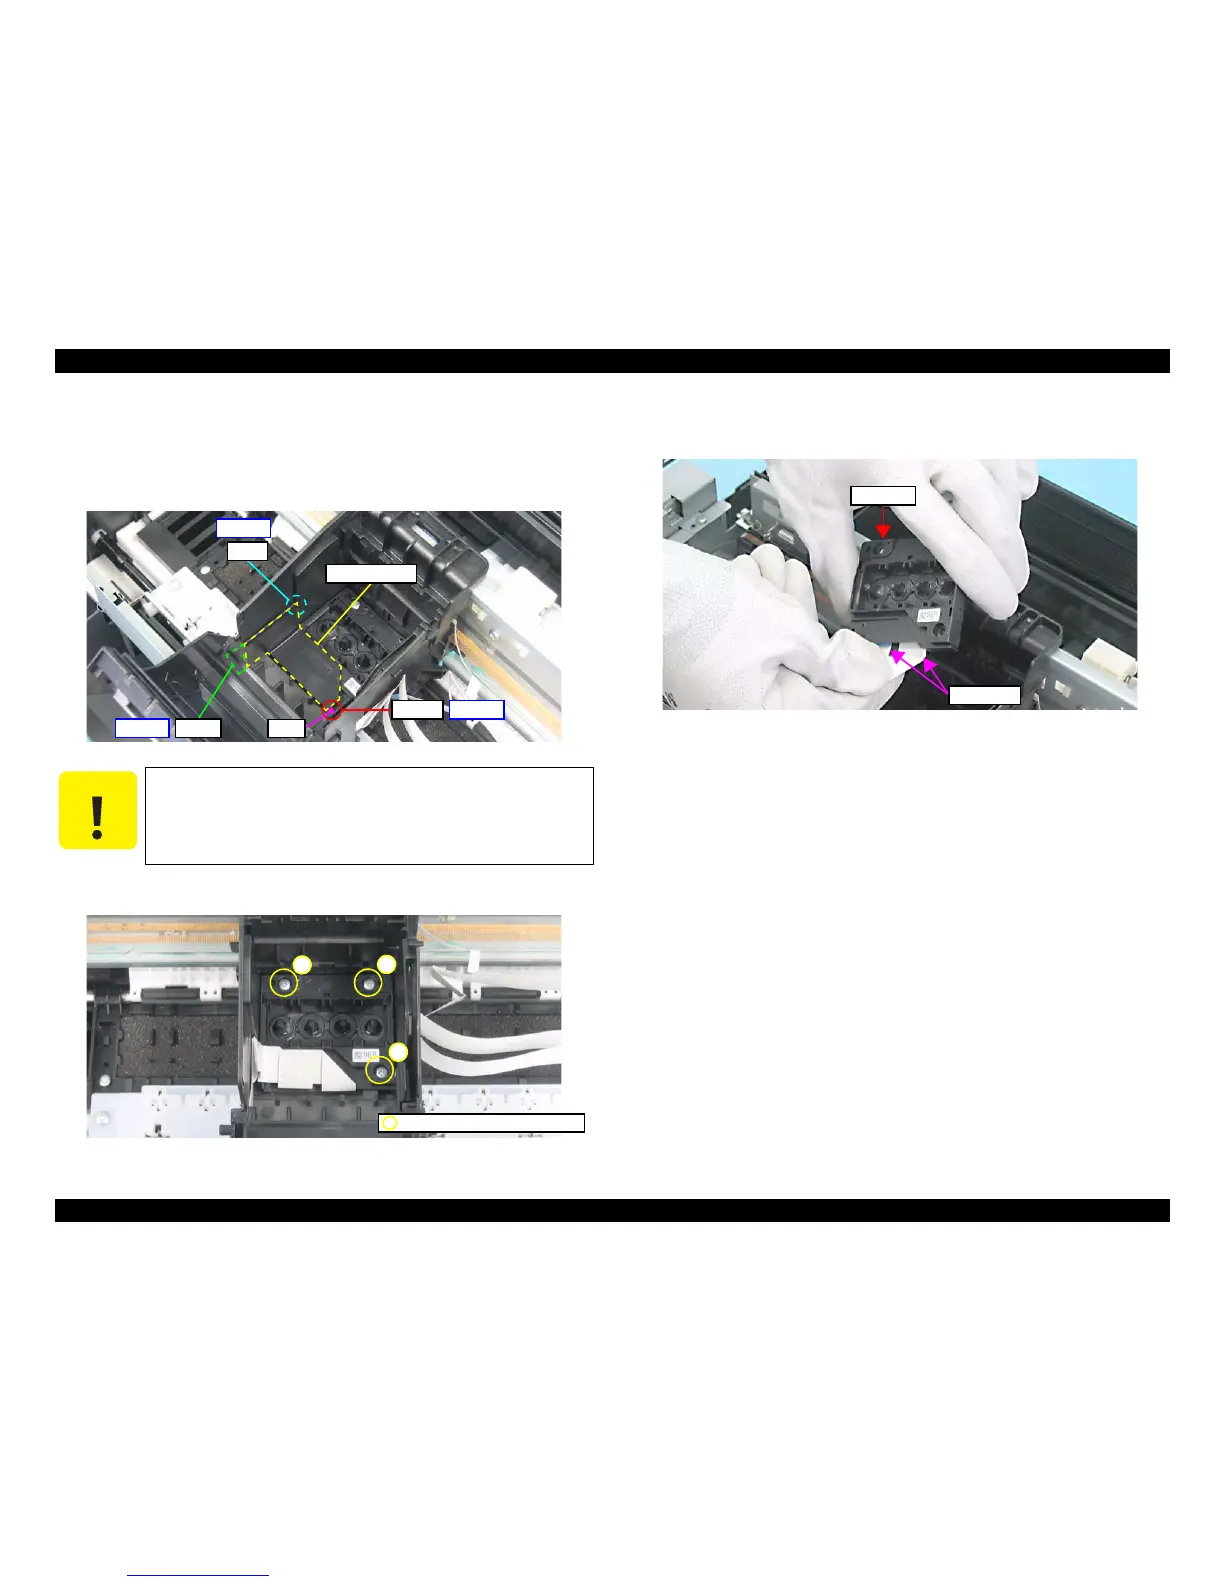
6. Remove the Sub FFC Guide following the steps below.
6-1. Release the hook (x1) of the Sub FFC Guide from the cutout (x1) of the CR Unit.
6-2. Release the cutout (x1) of the Sub FFC Guide from the groove (x1) of the CR
Unit.
6-3.Release the rib of the Sub FFC Guide from the cutout of the CR Unit.
Figure 4-33. Removing the Sub FFC Guide
7. Remove the screws (x3) that secure the Printhead, and lift the Printhead with
longnose pliers.
Figure 4-34. Removing the Printhead (1)
8. Disconnect the Head FFC from the connectors (x2) of the Printhead, and
remove the Printhead.
Figure 4-35. Removing the Printhead (2)
 Loading...

