EPSON Stylus CX7300/CX7400/DX7400/NX200/TX200 series/SX200 series/Stylus CX8300/CX8400/DX8400/NX400/TX400 series/SX400 series Revision C
DISASSEMBLY/ASSEMBLY Disassembling the Scanner Unit 134
Confidential
4.6 Disassembling the Scanner Unit
4.6.1 Upper/Front Scanner Housing
Parts/Components need to be removed in advance
Document Cover/ASF Cover/Scanner Unit
Removal procedure
Upper Scanner Housing
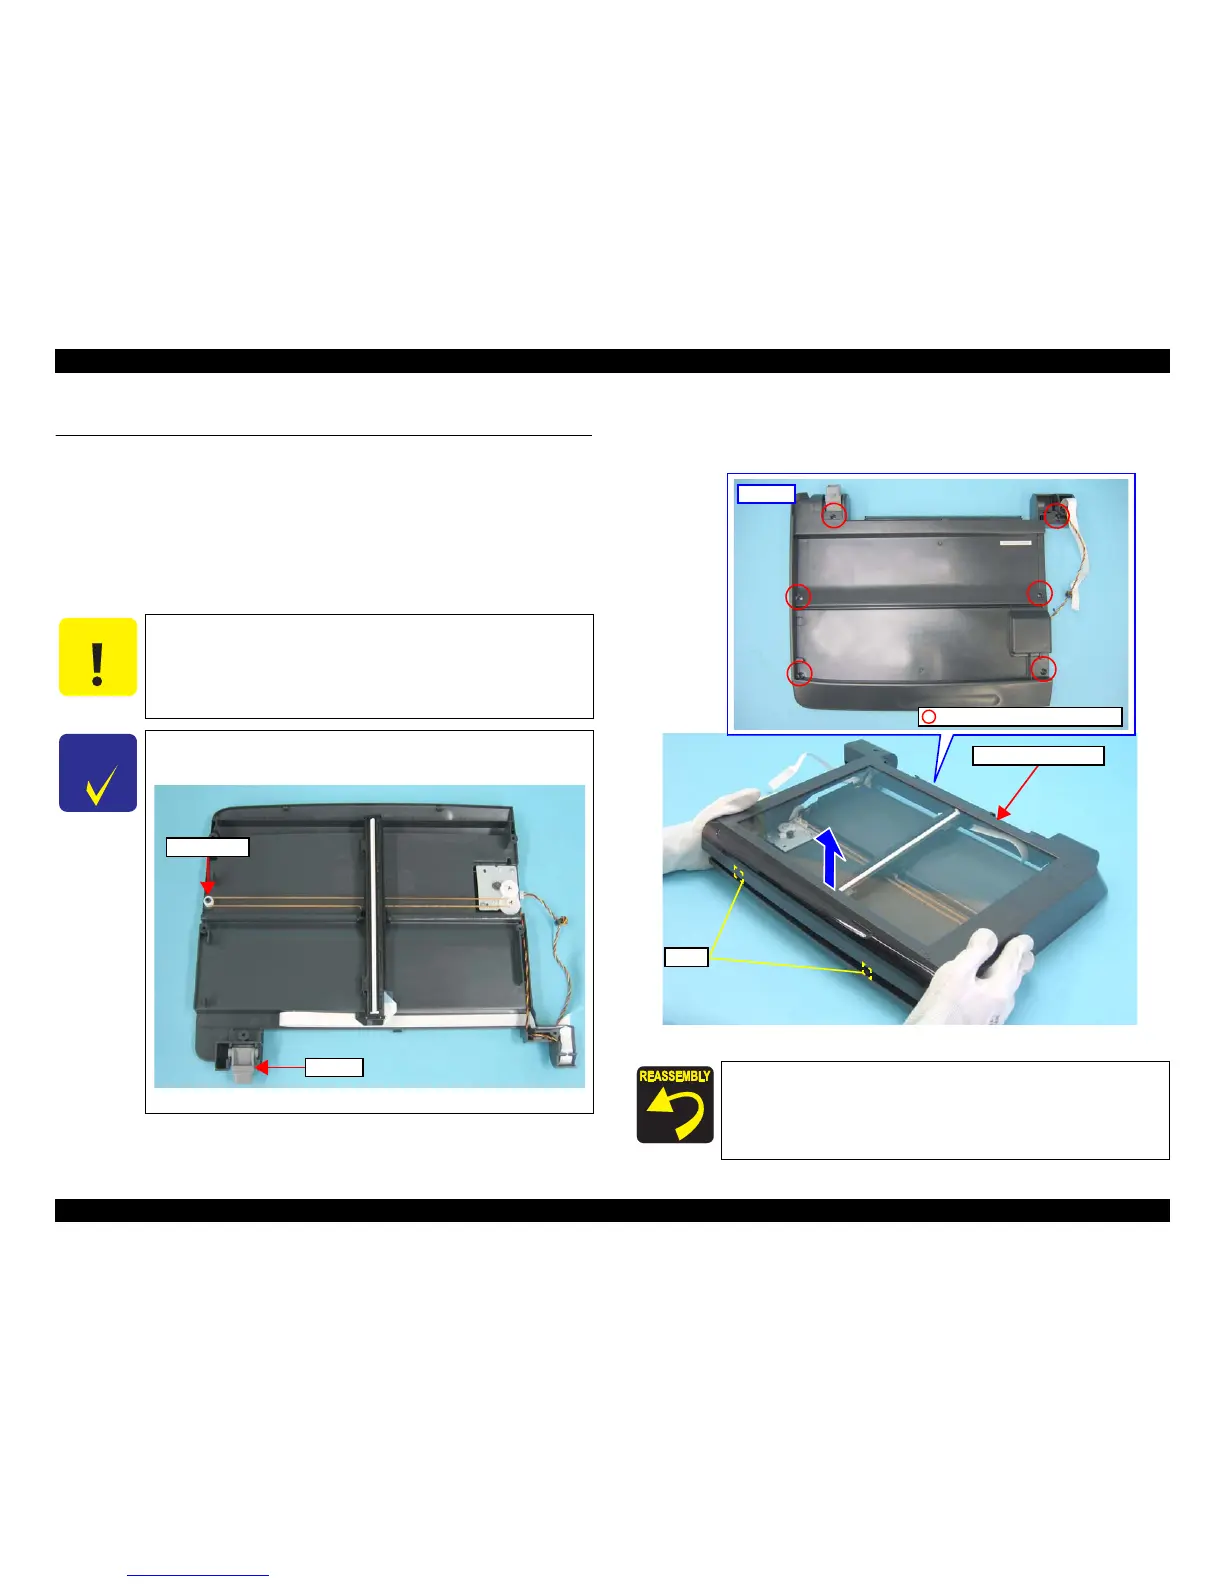
1. Remove the screws (x6) that secure the Upper Scanner Housing, and release
the two hooks inside the Lower Scanner Housing, then remove the Upper
Scanner Housing by lifting the front of it.
Figure 4-105. Removing the Upper Scanner Housing
Following work should be performed in a room where there is
a little dust. A clean room or a clean bench would be
preferable.
Do not scratch the Rod Lens Array when removing the CIS
Assy.
If the Hinge R or the Driven Pulley comes off during
disassembling, reassemble them as shown in the figure below.
Figure 4-104. Installing the Hinge R or the Driven Pulley
 Loading...

