EPSON Stylus CX7300/CX7400/DX7400/NX200/TX200 series/SX200 series/Stylus CX8300/CX8400/DX8400/NX400/TX400 series/SX400 series Revision C
DISASSEMBLY/ASSEMBLY Removing the Housing 96
Confidential
4.3 Removing the Housing
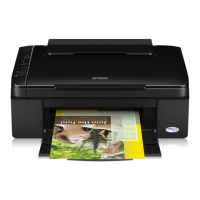
4.3.1 Paper Support Assy
Parts/Components need to be removed in advance: None
Removal procedure
1. Release the guide pins (x2) that secure the Paper Support Assy and remove it
from the Upper Housing.
Figure 4-2. Removing the Paper Support Assy
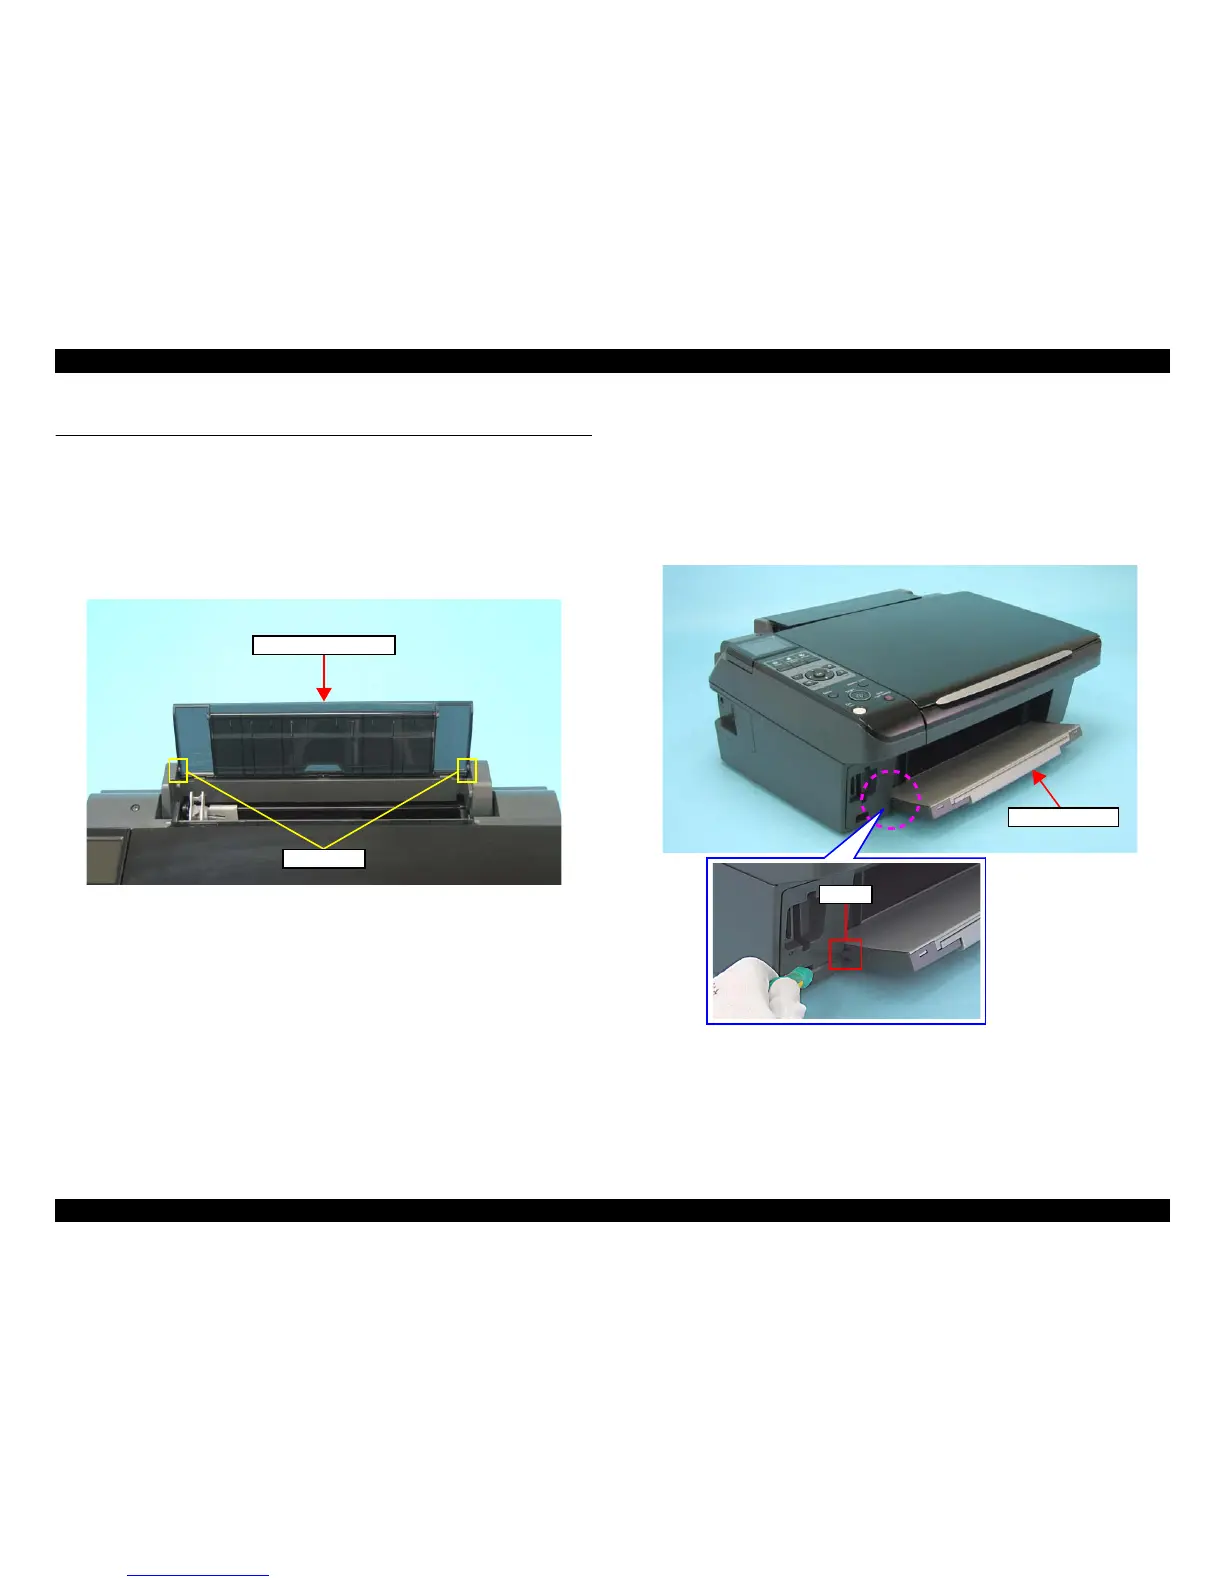
4.3.2 Stacker Assy
Parts/Components need to be removed in advance: None
Removal procedure
1. Open the Stacker Assy.
2. Release the Stacker Assy while pressing in the hook (x1) on the left with a
flathead precision screwdriver or a similar tool, and then remove it.
Figure 4-3. Removing the Stacker Assy