EPSON Stylus CX7300/CX7400/DX7400/NX200/TX200 series/SX200 series/Stylus CX8300/CX8400/DX8400/NX400/TX400 series/SX400 series Revision C
DISASSEMBLY/ASSEMBLY Disassembling the Scanner Unit 135
Confidential
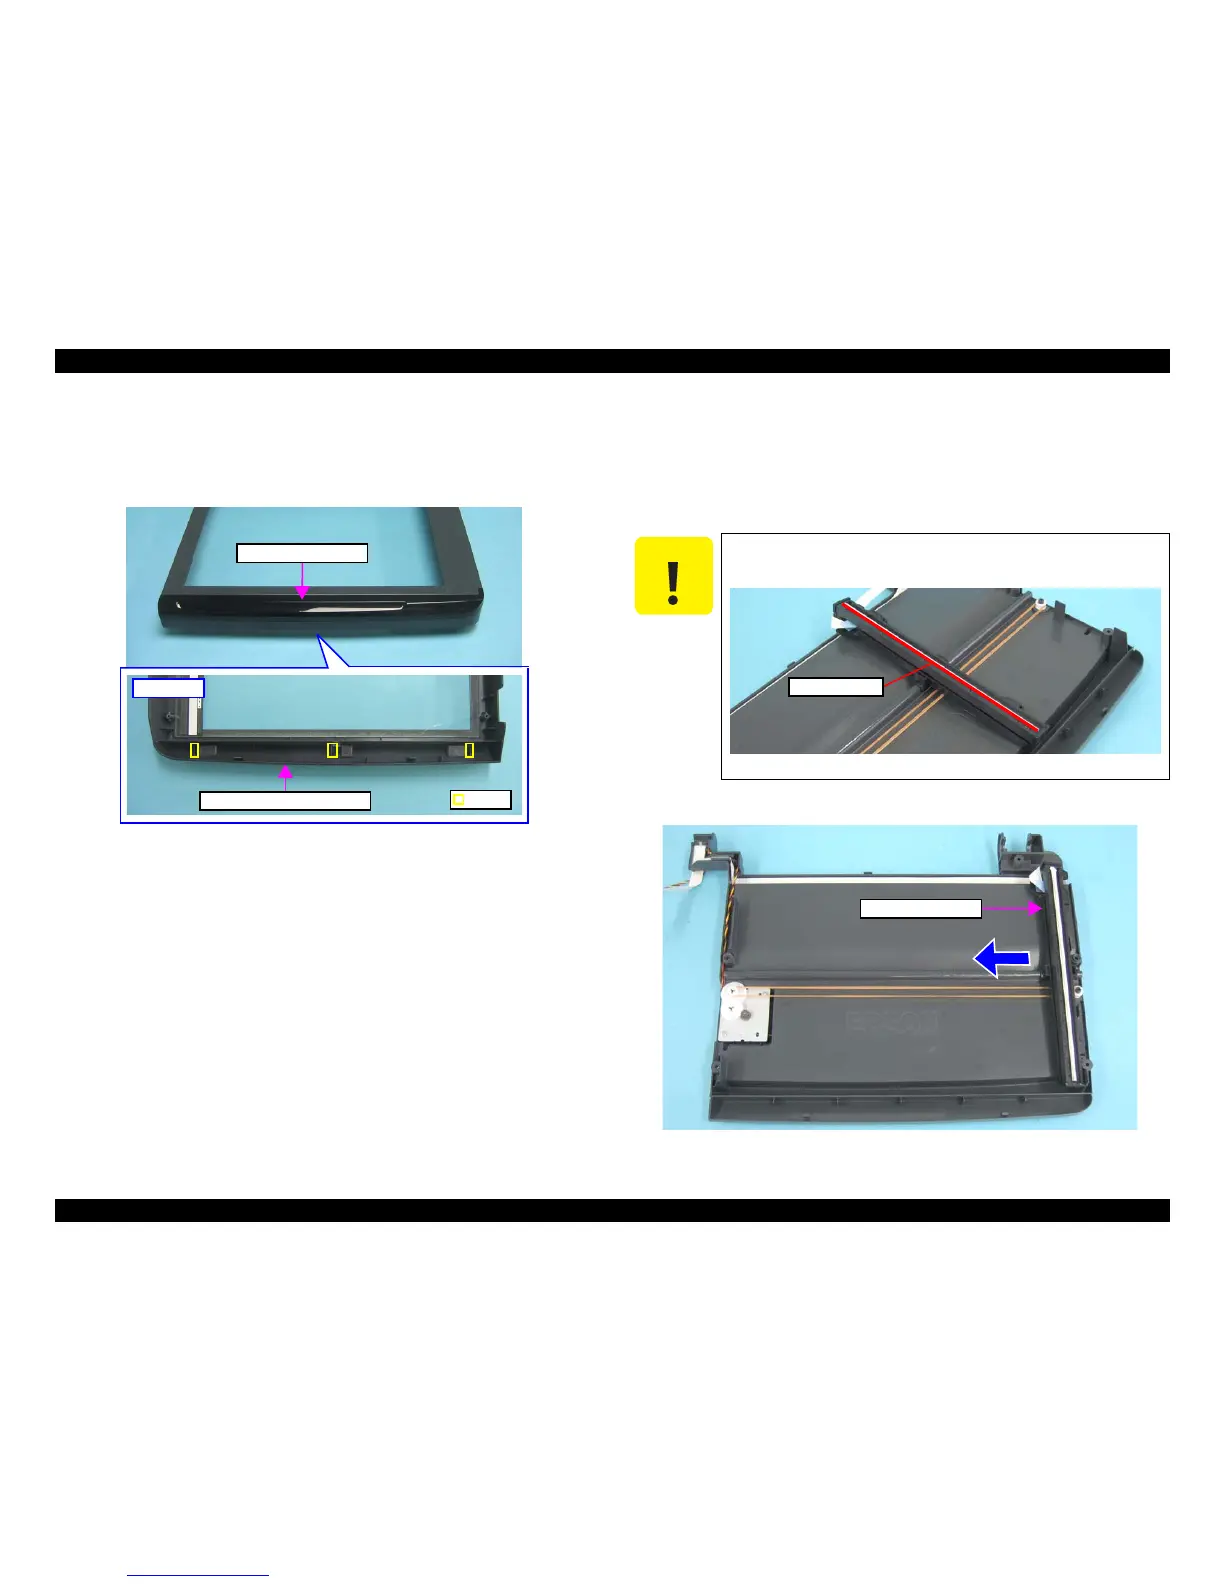
Front Scanner Housing
1. Remove the Upper Scanner Housing toward you. (p134)
2. Release the hooks at the bottom of the Upper Scanner Housing, and remove
the Front Scanner Housing.
Figure 4-106. Removing the Front Scanner Housing
4.6.2 Scanner Carriage Unit
Parts/Components need to be removed in advance
Document Cover/ASF Cover/Scanner Unit/Upper Scanner Housing
Removal procedure
1. Move the Scanner Carriage Unit to the center.
Figure 4-108. Moving the Scanner Carriage Unit
Do not scratch the Rod Lens Array when removing the Scanner
Carriage Unit.
Figure 4-107. Handling the Scanner Carriage Unit
 Loading...

