EPSON Stylus CX7300/CX7400/DX7400/NX200/TX200 series/SX200 series/Stylus CX8300/CX8400/DX8400/NX400/TX400 series/SX400 series Revision C
DISASSEMBLY/ASSEMBLY Differences in Disassembling/Reassembling Stylus CX7300/TX200 series 139
Confidential
4.7 Differences in Disassembling/Reassembling
Stylus CX7300/TX200 series
This section explains the differences in disassembling/reassembling CX7300/TX200 series.
4.7.1 Panel Unit (CX7300/TX200 series)
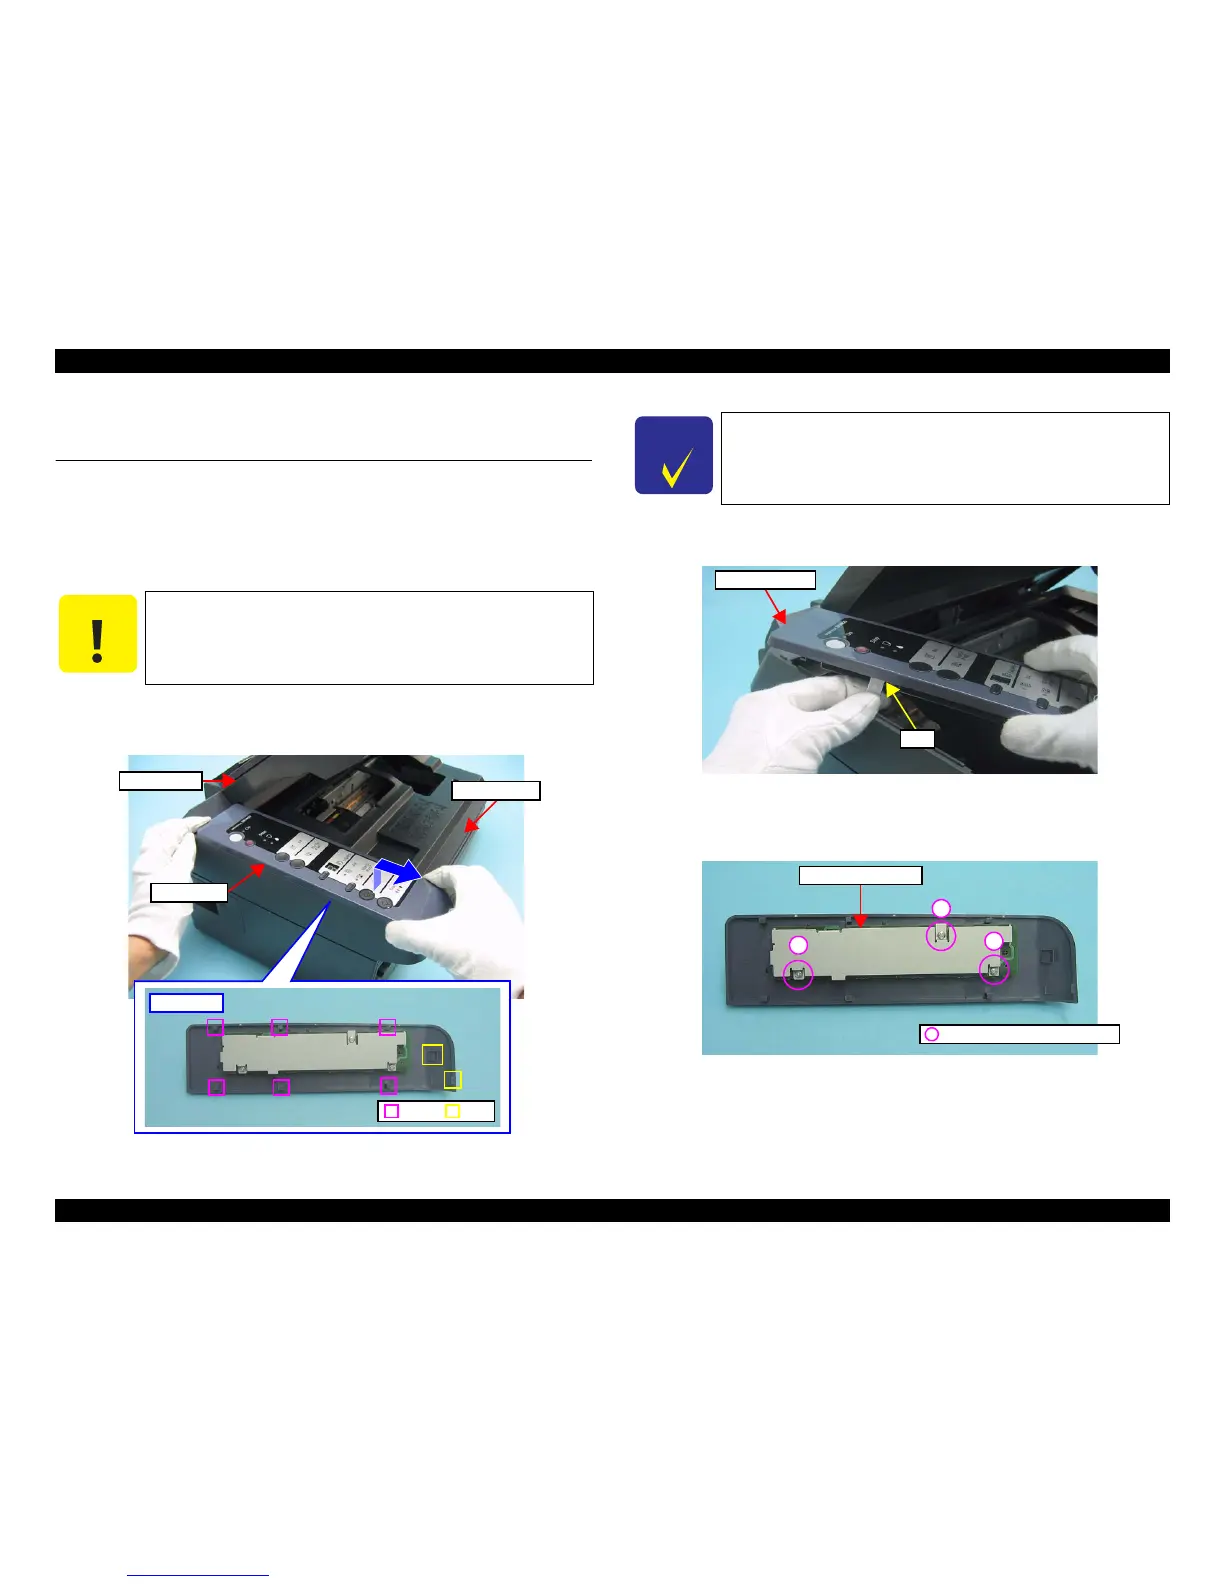
Parts/Components need to be removed in advance: None
Removal procedure
1. Open the Scanner Unit.
2. Lifting the front of the Panel Unit, and release the tabs of it.
3. Slide the Panel Unit in the direction of the arrow, and release the hooks of it
from the Upper Housing.
Figure 4-116. Removing the Panel Unit (1)
4. Disconnect the Panel FFC from the connector (CN1) of the Panel Board, and
remove the Panel Unit.
Figure 4-117. Removing the Panel Unit (2)
5. Remove the screws (x3) that secure the Panel Board and the Panel Board
Frame, and remove the Panel Board Frame.
Figure 4-118. Removing the Panel Board Frame
 Loading...

