EPSON Stylus CX7300/CX7400/DX7400/NX200/TX200 series/SX200 series/Stylus CX8300/CX8400/DX8400/NX400/TX400 series/SX400 series Revision C
DISASSEMBLY/ASSEMBLY Disassembling the Printer Mechanism 118
Confidential
4.5.10 PF Scale
Parts/Components need to be removed in advance
Document Cover/ASF Cover/Scanner Unit/Panel Unit/Upper Housing/Card Slot
Cover/Lower Housing/Main Board Unit/Left Frame/PF Encoder Sensor
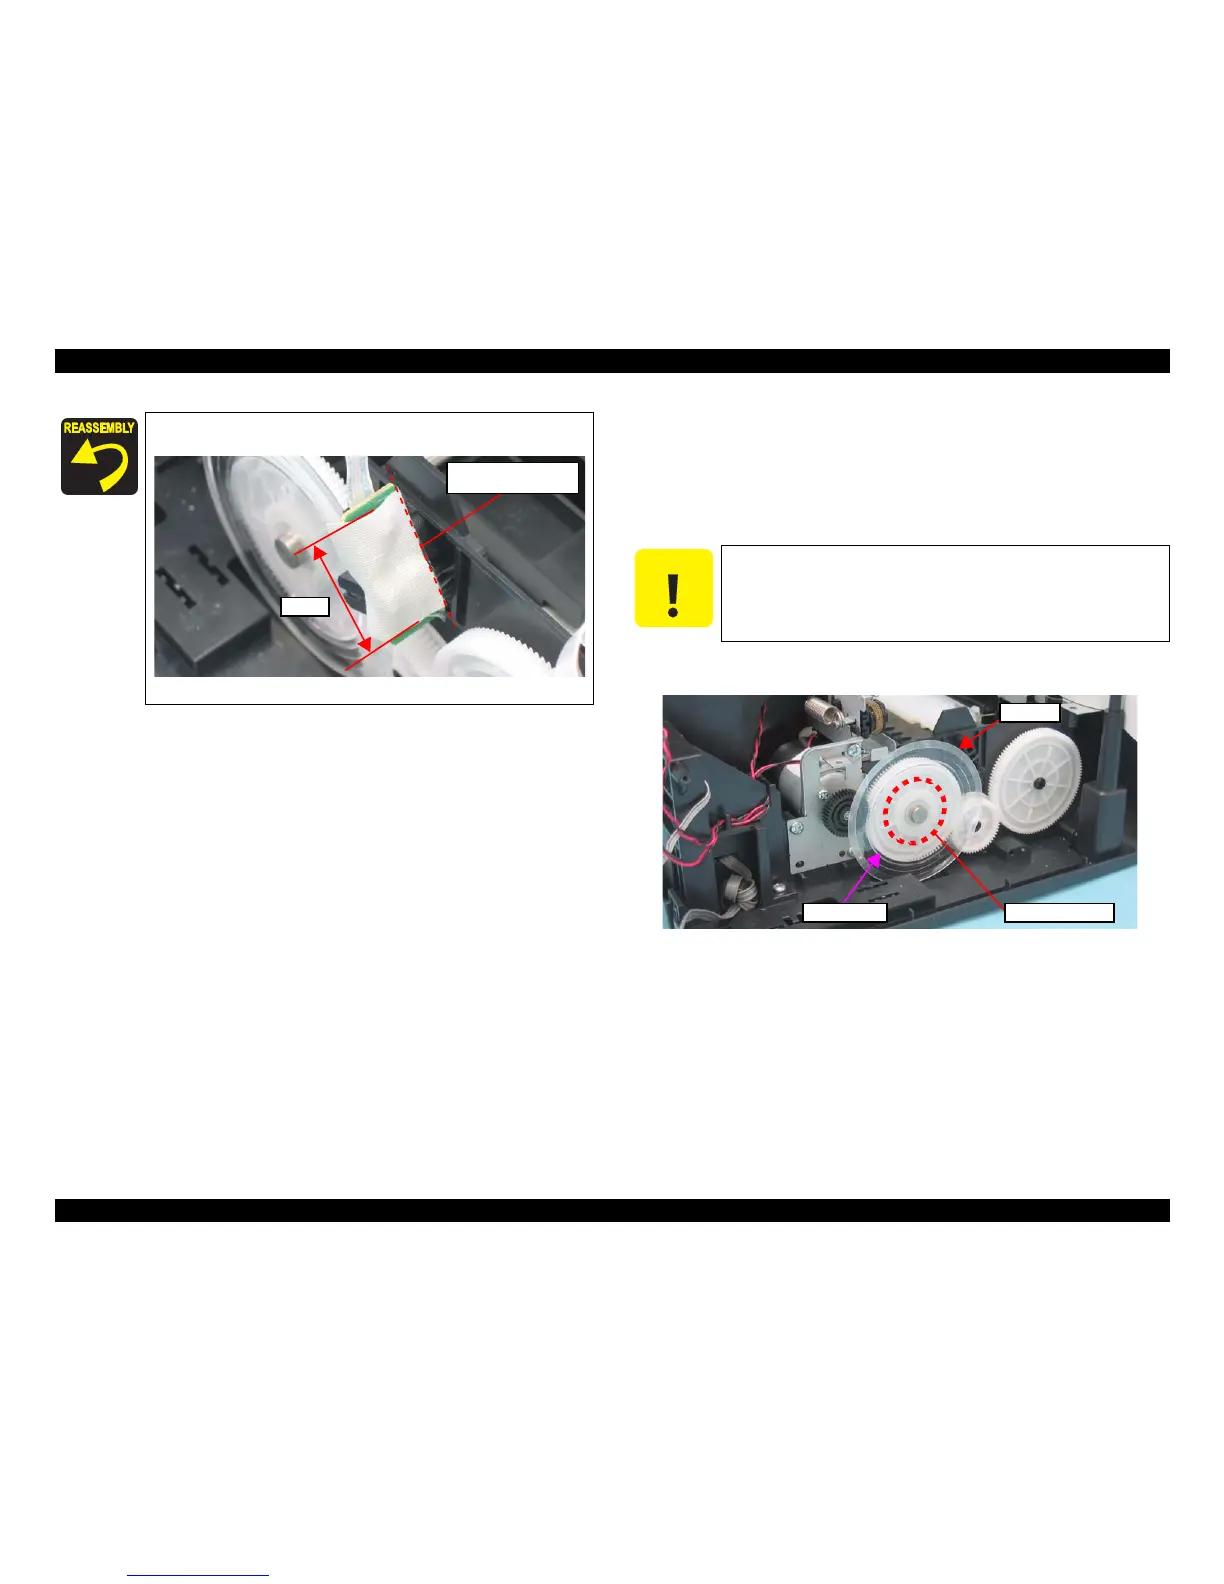
Removal procedure
1. Peel of the PF Scale that is secured with the double-sided tape (x1) from the
Spur Gear 32.4.
Figure 4-60. Removing the PF Scale
When installing the PF Encoder Sensor, be sure to attach the
acetate tape (x1) referring to the figure below.
Figure 4-59. Acetate Tape Position
Pay attention to the following instructions.
Do not touch the PF Scale with bare hand.
Do not damage the PF Scale.
 Loading...

