WorkForce 1100/Epson Stylus Office T1110/B1100/T1100/Epson ME Office 1100 Revision C
Adjustment Adjustment without Using Adjustment Program 143
Confidential
5.3.2 PG Adjustment
When any of the following parts has been removed or replaced, this adjustment must
be performed to secure the specified clearance between the print surface of the Print
Head and paper.
Print Head
PF Roller Shaft
Carriage Unit
Carriage Shaft (Including the case when just moved the Parallelism Adjust
Bushing)
Printer Mechanism
In this adjustment, use the same Adjustment Gauge on the left and right sides.
Figure 5-10. Adjustment Gauge
5.3.2.1 PG Adjustment Method
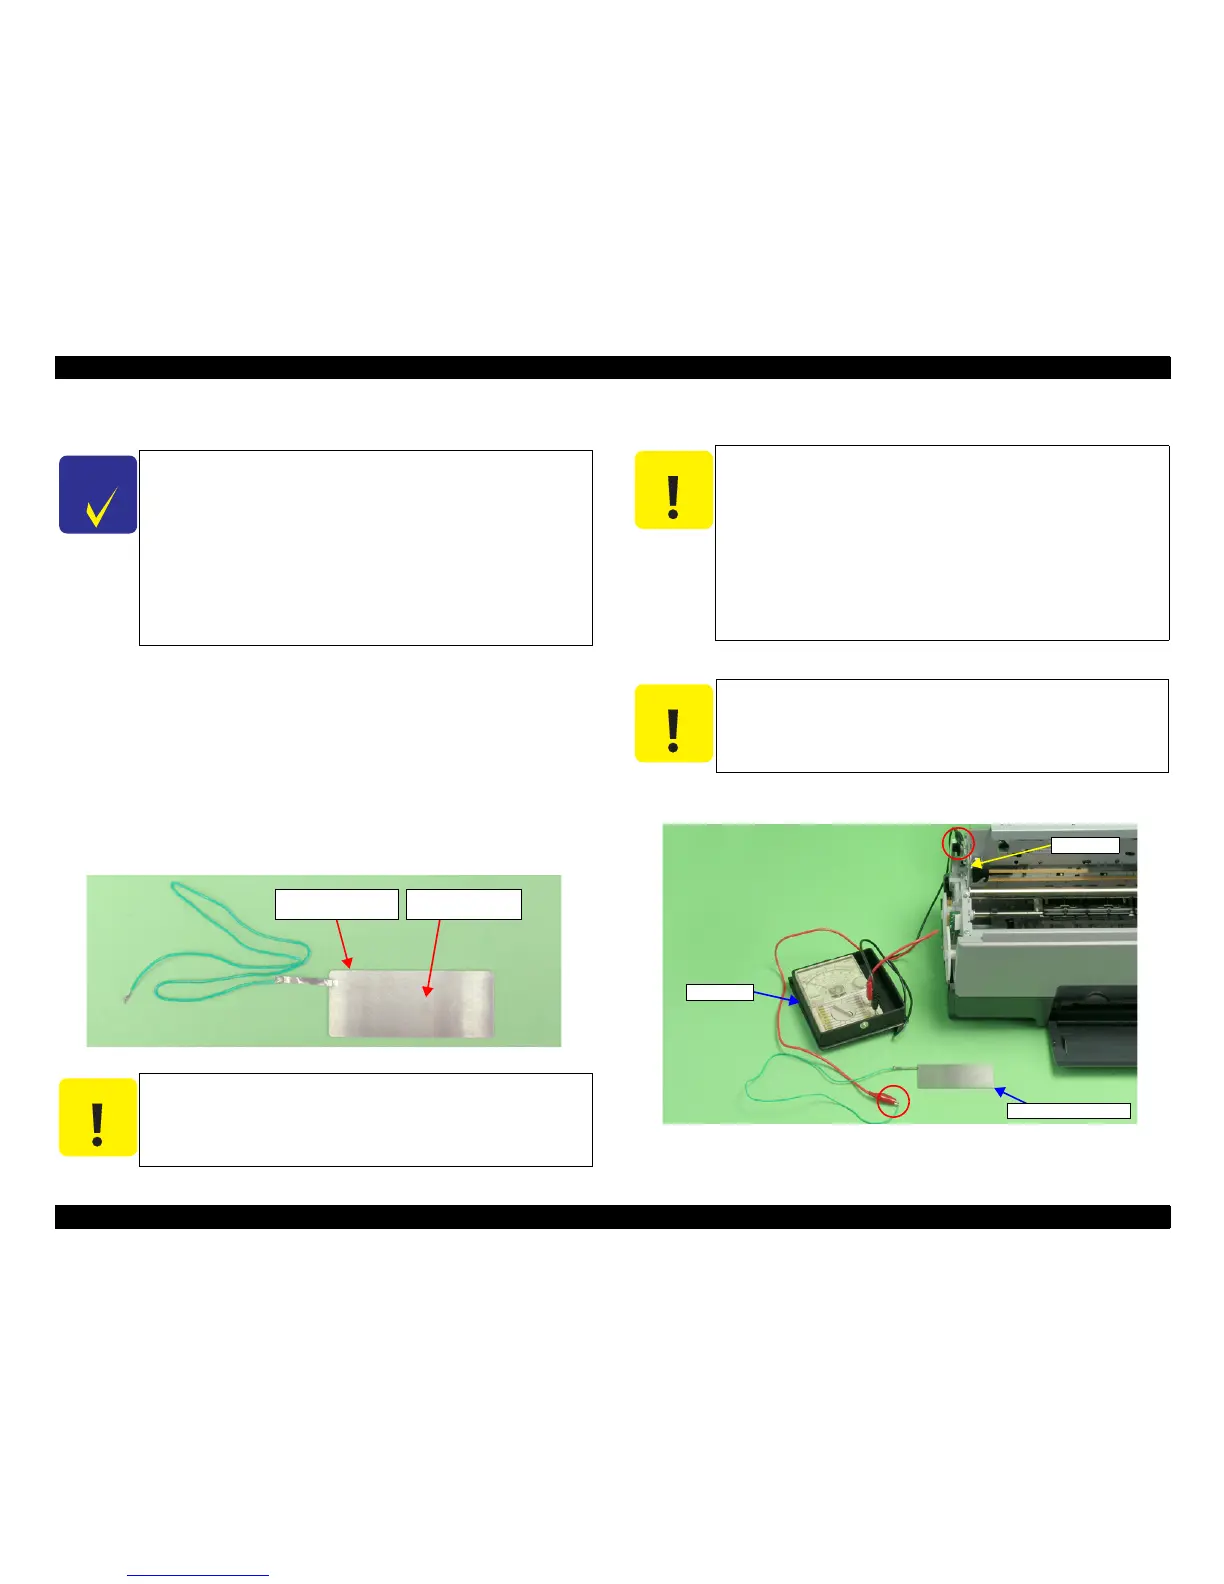
1. Install the printer on a level base.
2. Connect the Tester to the printer frame and Adjustment Gauge.
Figure 5-11. Connecting the Tester
Some pictures used in this section are Stylus Photo R1800. The
adjustment method for WorkForce 1100/Epson Stylus Office
T1110/B1100/T1100/Epson ME Office 1100 is the same as the
one for Stylus Photo R1800.
When only removing the Carriage Shaft, you do not need to
perform this adjustment. In that case, mark the position of the
rib on the Parallelism Adjust Bushing (Left/Right) before
removing them, and make sure to align the markings with the
ribs when installing them. (Refer to 4.4.5 Carriage Shaft /
Carriage Unit (p88).)
Do not touch the Adjustment Gauge Plate surface with bare
hands.
If the Adjustment Gauge Plate surface is stained by ink or, etc
wipe it with a soft cloth.
Continuity
Measuring Point
Adjustment Gauge
Plate (Top face)
Before starting PG adjustment, completely wipe drops of ink
around the Print Head. Remaining drops of ink will stick to the
continuity measurement portion of the Adjustment Gauge, and
generate continuity before the continuity measurement portion
makes contact with the metal frame around the Print Head,
interrupting accurate PG Adjustment.
As the ink in the Print Head may stick fast and damage the
Print Head during PG Adjustment, make the continuity time
detected with a tester as short as possible. (Maximum 3
minutes)
Place the printer on a level, warp-free table. Normal PG
Adjustment cannot be performed on a warped table.
Frame
Tester
Adjustment Gauge