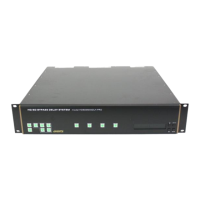
HDSD9545DLY - PRO Profanity Bypass Delay Manual
Page 3-8 Revision 1.3.7 OPERATION
3.7.1. Enabling the On Screen Displays
OSD
OSD Enable/Dis.
OSD:Enable
OSD:Disable
This menu item determines whether the On Screen status displays will be on
or off.
3.8. CONFIGURING THE TRANSITION ACTIONS
The TRANSITION menu items are used to configure how the video and audio will transition in the event of
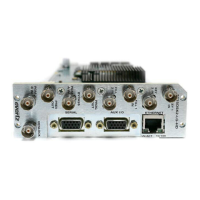
identified profanity. The five TRIGGER buttons and the eight general purpose inputs can each be used to
trigger one or more video or audio transitions. In addition, the four general purpose outputs can be
configured to activate on any combination of transitions and, as such will act as tallies to other equipment.
The chart below shows the different kinds of triggers/tallies available.
Gpi Config
Configures whether the GPIs will be active high or active low.
Gpi #
Gpi’s 1-8 can be used to trigger transitions.
Gpo #
Gpo’s 1-4 act as tallies that will be activated when a transition occurs.
Trigger Button #
Trigger Buttons 1-5 can be used to trigger transitions.
3.8.1. Setting the Active State of the GPI Inputs
TRANSITION
Gpi Config
Gpi: active low
Gpi: active high
This control selects whether the GPI inputs will be active high or active low.
The functions of the GPI inputs are set using the Gpi # menu items on the
TRANSITION menu.
3.8.2. Setting the Functions of the GPI Input, GPO Outputs and Trigger Buttons
In order to configure a GPI, GPO or Trigger Button, use the ↑ & ↓ keys to move up and down the list of
available triggers/tallies and press the SELECT key to configure a specific one.
You are now presented with a list of the possible transitions to associate with a trigger/tally. Use the ↑ & ↓
keys to move up and down the list of available transitions. Press the SELECT key to select a transition for
the trigger/tally. An asterisk (*) will appear to the left of the transition name when it is active for this
trigger/tally. You can select as many transitions for each trigger/tally as you wish. When you are finished
selecting transitions to be assigned to the trigger/tally, press the SETUP key. You will return to the list of
triggers/tallies where you can repeat the process to configure other ones. Figure 3-4 shows an example of
one transition being activated by the TRIGGER 1 button, and another transition being activated by GPI 1.