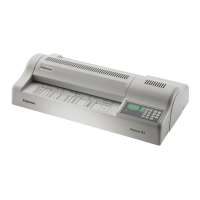
Revised 09.15.11 Proteus A3/125 Technical Service Manual
26
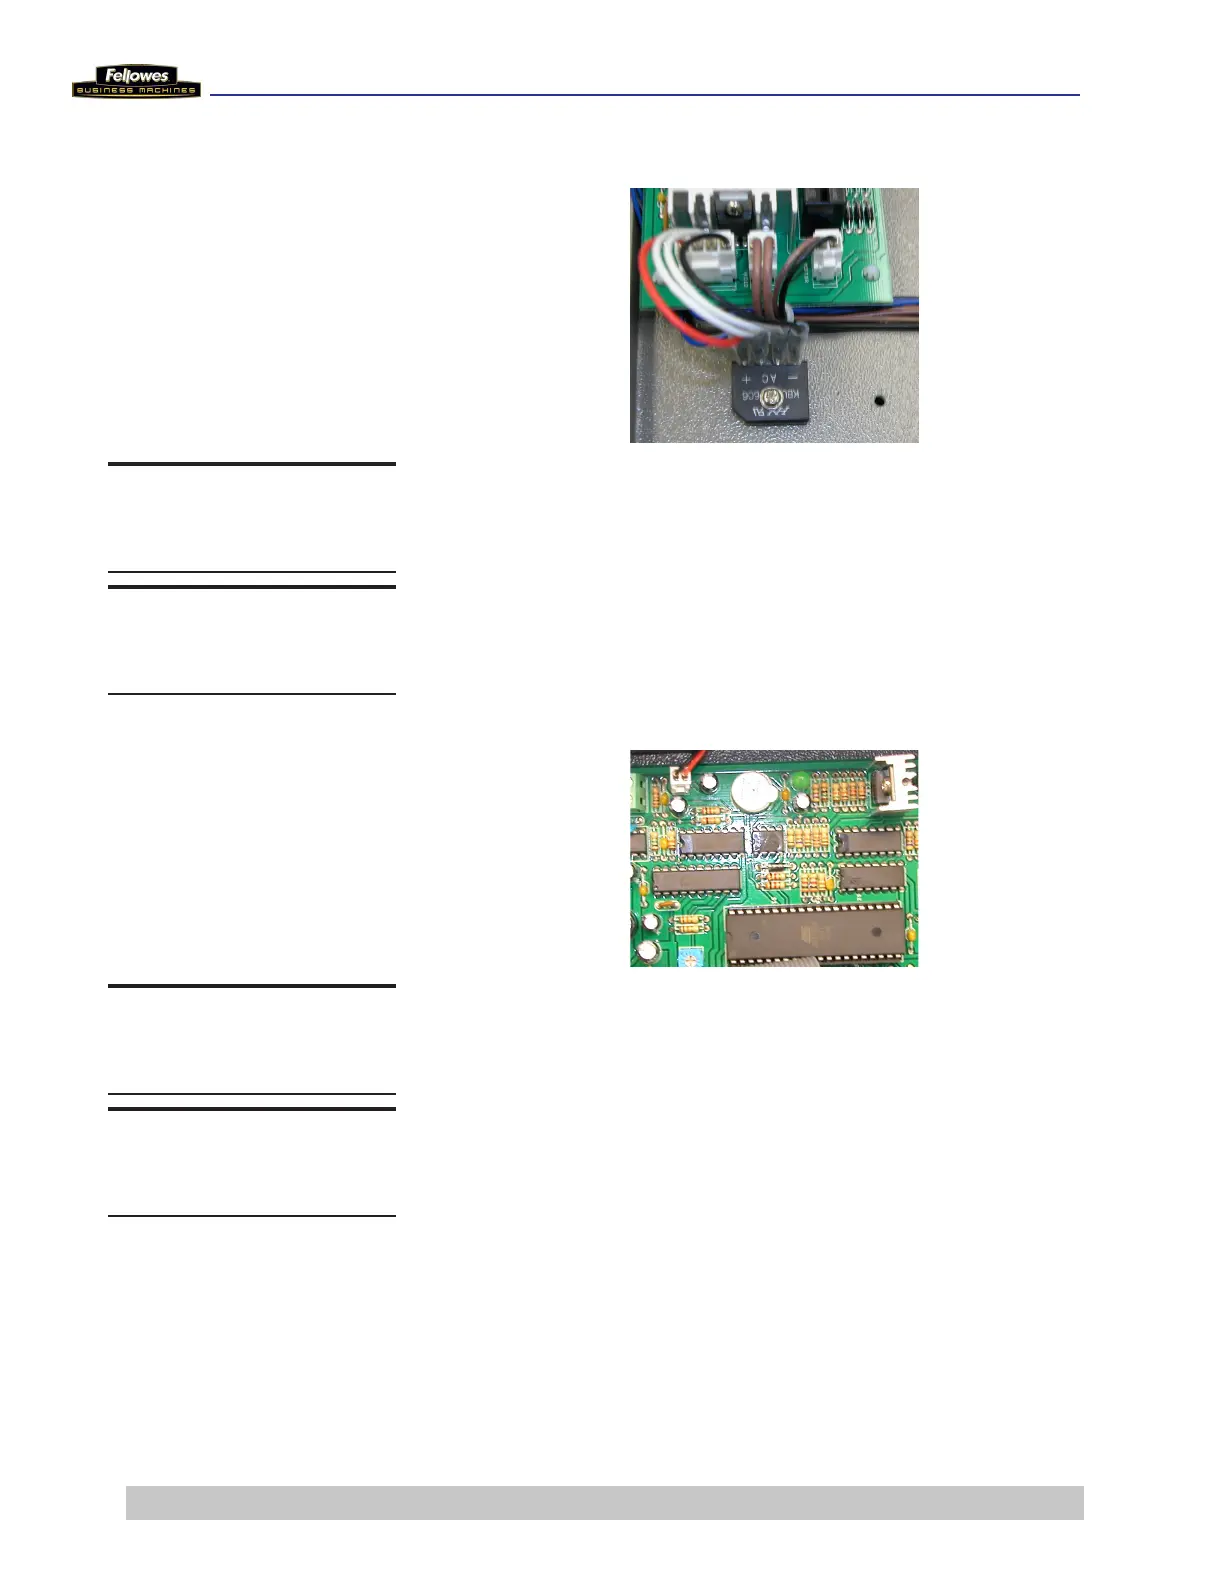
Remove/Replace Bridge Diode
1 Remove wire connector from Main PCB.
2 Remove screw from Bridge Diode.
3 Place new Bridge Diode and secure it with the screw.
4 Reattach the wire connector to Main PCB.
Remove/Replace Main PCB
1 Remove the 6 black connectors from the left side of the
Main PCB.
2 Remove the 5 white connectors from the right side of
the Main PCB.
3 Remove the cable from the Control Panel PCB.
4 Loosen the 2 screws on terminal block and remove
wires from the Bimetal Switch/Sensor Fixing Mat.
5 Remove the 4 screws that hold the Main PCB to the
Metal Bottom Plate.
6 Place new Main PCB and secure it with the 4 screws.
7 Reconnect the wires from the sensor and the connectors
to the right and left sides of the Main PCB.
DO THIS FIRST
Remove Housing Cover
TOOLS
Phillips screwdriver
DO THIS FIRST
Remove Housing Cover
TOOLS
Phillips screwdriver