Section 2: Installation 2.6 Cable Installation
0101-8242-0, Rev. C 2-11 CV-6SLX User Manual
4 Replace the conduit panel, taking care to secure it in place with all
four screws.
Connecting the HV Ouput Cables and Conduit at the Source Tray
Connect the other end of the HV output cables to the HV feedthroughs in the source tray,
following the instructions provided below.
CAUTION
If the vacuum system has previously been in use with a high-voltage power
supply, then before performing this procedure, touch the source tray and the
terminals on both HV feedthroughs with a properly connected grounding hook.
Step Action
1 Remove the nut that secures one of the feedthroughs to the
underside of the source tray.
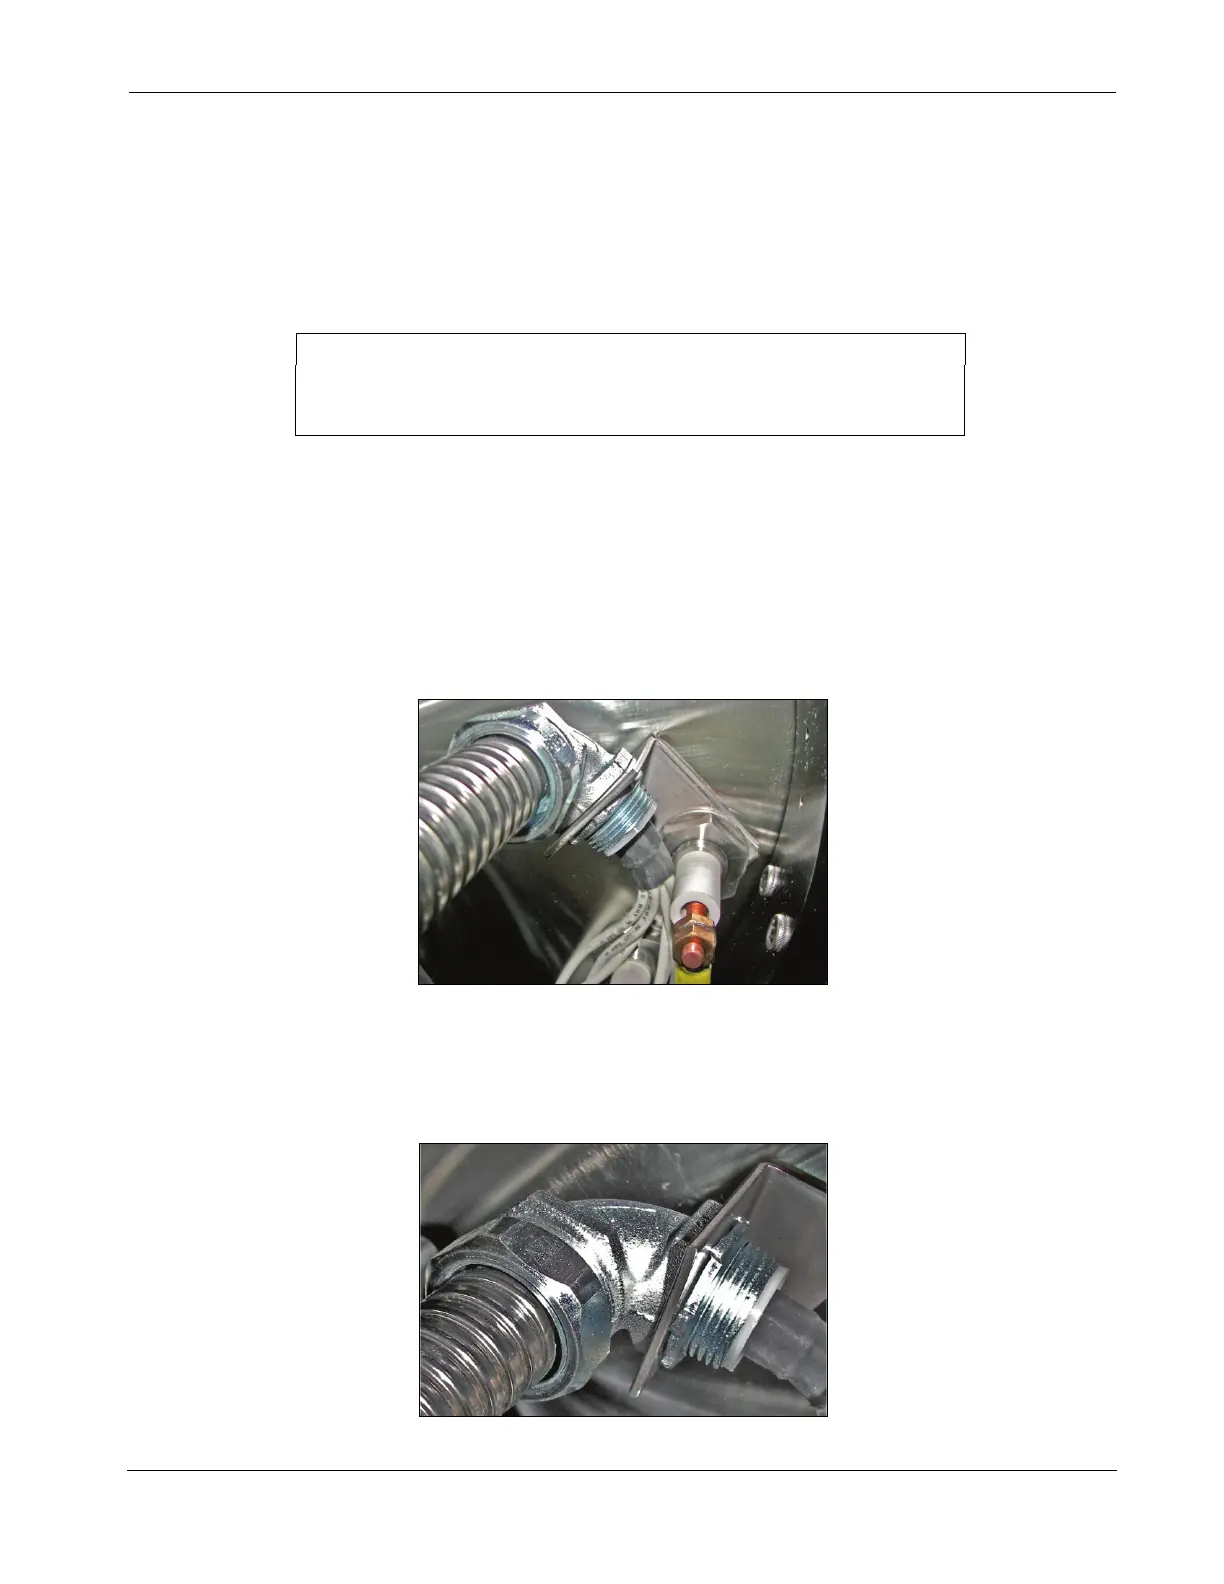
2 Install the HV conduit bracket (PN 0040-9982-0) supplied with the
unit and secure it with the nut removed in Step 1, as shown in
Figure 2-12.
Figure 2-12 HV Conduit Bracket Properly Installed on HV Feedthrough
3 Using the nut supplied with the conduit, secure the conduit to the
bracket as shown in Figure 2-13.
Figure 2-13 HV Conduit Properly Secured to Bracket
 Loading...