SYSTEM SOFTWARE 60
4. In the installer, do the following:
• At the Welcome screen, click Next.
• At the License Agreement screen, select I Agree. Click Next.
• At the Connection Type screen, select Ethernet. Click Next.
5. Shut down the E100 (see page 15).
6. Power off the copier.
7. Disconnect all cables connected to the E100, except the power cable.
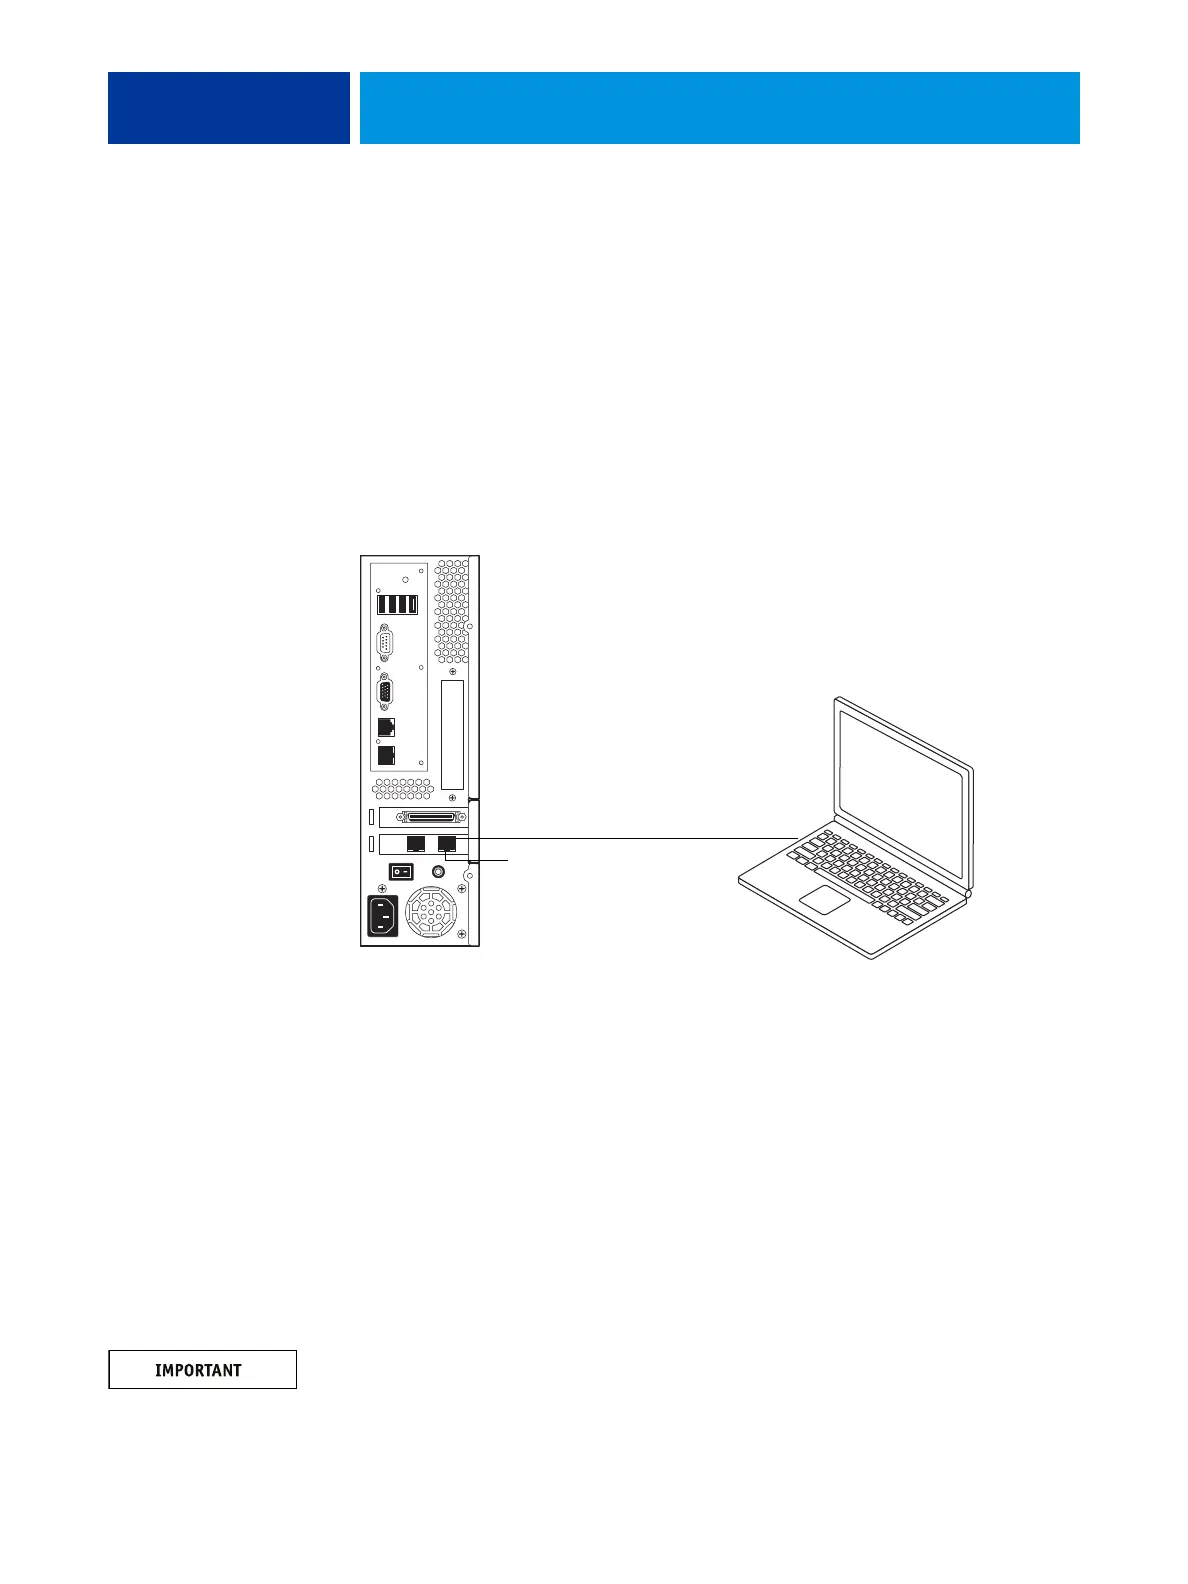
8. Connect the crossover Ethernet cable from the E100 copier (Ethernet) port to a PC Ethernet
port.
FIGURE 29: Creating an isolated Ethernet network using a crossover cable
9. On the E100, set the service switches to service mode (move both service switches to the ON
position).
For more information, see “Front panel” on page 27.
10. On the E100, press the power button once.
Wait for 00 to display on the LED display.
11. In the installer, click Next.
Files are transferred from the computer to the E100. If a firewall or security alert displays,
preventing the file transfer, select the option to unblock the installer.
This segment of the installation requires approximately 30 minutes. Do not click Cancel or
close the installer screen during this time.
12. In the installer, click Next, and then click Finish.
Copier (Ethernet) port
Windows 2000/XP/Vista/7 PC
Crossover Ethernet cable