52
8 SERVICING PROCEDURES
WARNING!
Ensure the product is isolated from the power supply before servicing.
8.1 Removal of the inner glass and door hinge
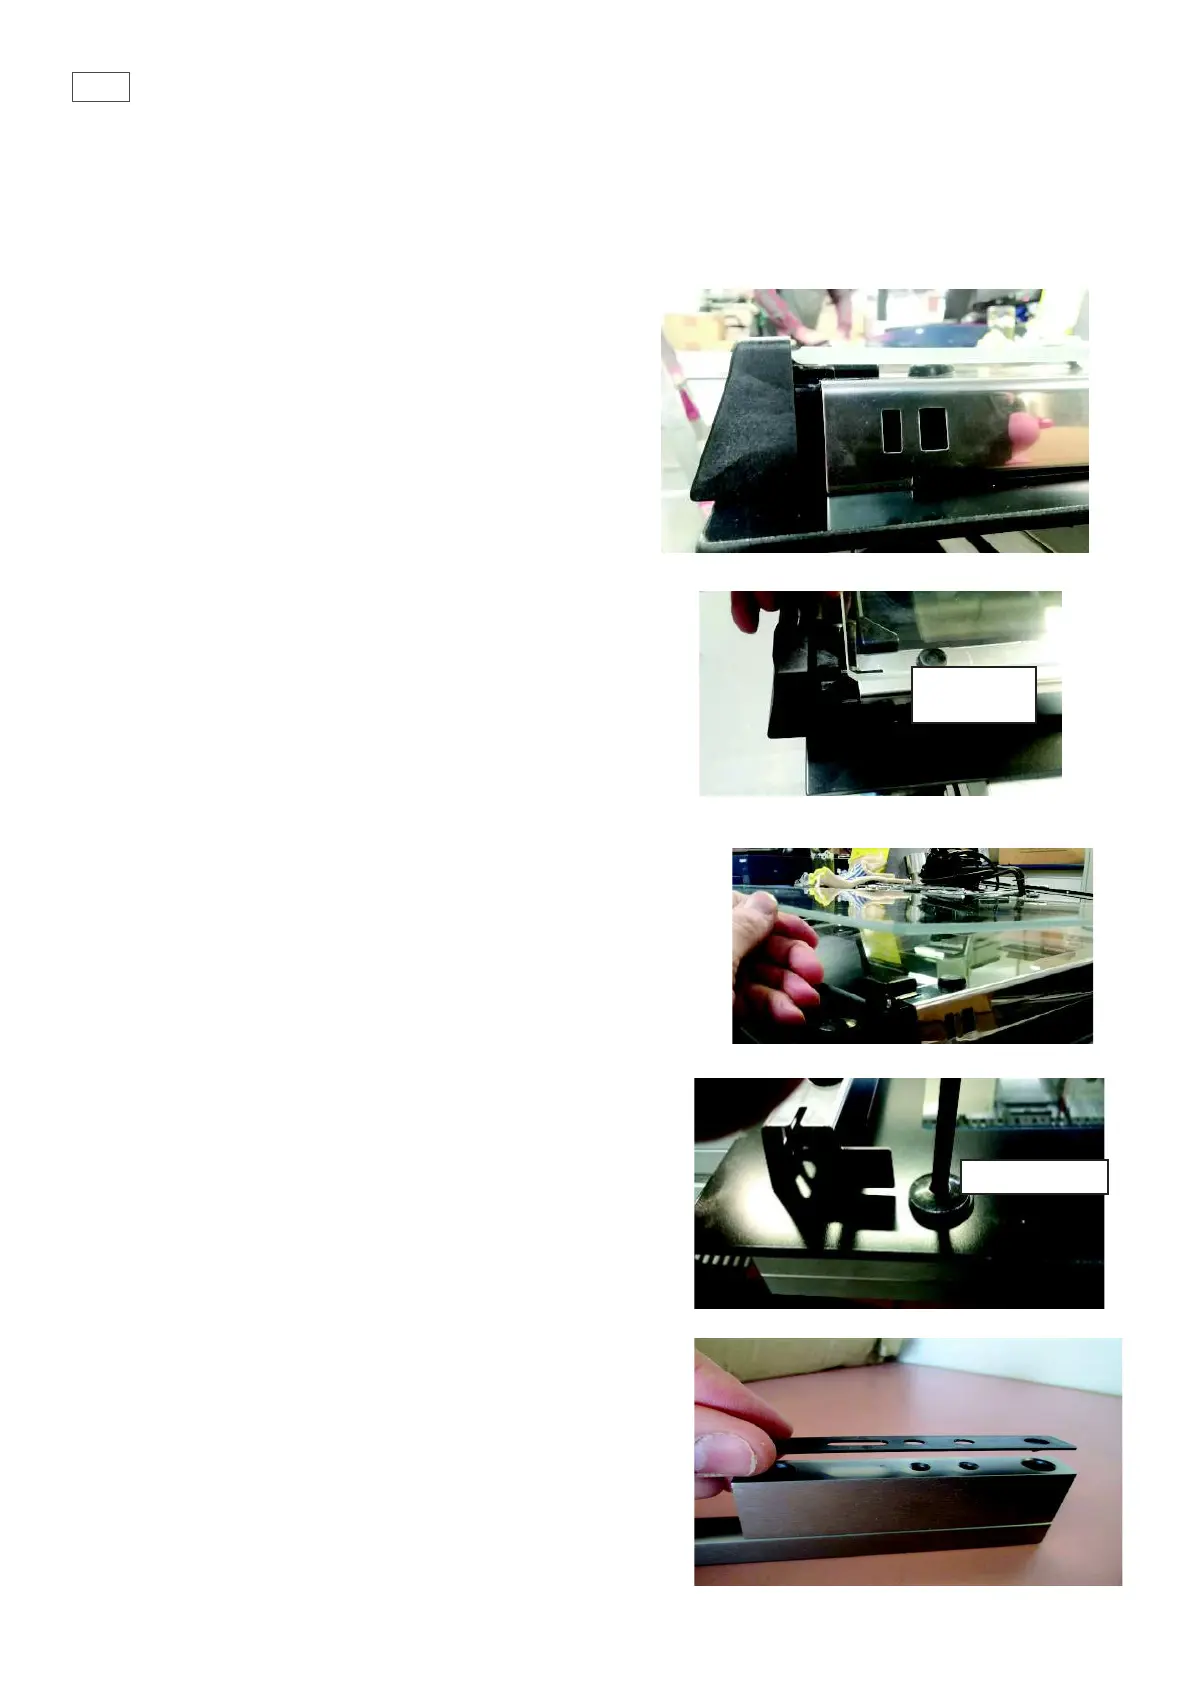
• Remove the door from the product and lay down on a
padded service to stop any scratches to outer door glass.
• Push the end cap retaining clip in and slide the end cap
upwards to remove. (Fig 1 & 2)
• Remove the inner pane of glass by lifting upwards and out
of the base clip.
• Make sure the top trim is securely back in place.
• Reassemble in reverse order.
slide upwards
Fig 1
Fig 2
• Remove the door from the product and lay down on a
padded service to stop any scratches to outer door glass.
• To change the outer door glass, remove the inner door glass
and hinge assemblies as set out in instruction 8.1.
• To remove the handle assembly, remove the 2 screws , one
on each side, securing the handle to the outer door in the
top cap assembly. (Fig 1)
• The extrusion along the top of the door is secured between
the two top caps, this is removable.
• When reassembling the door outer assembly, make sure
the handle spacers are tted correctly to stop the handle
damaging the new outer door glass. (Fig 3)
• When reassembling the inner door glass make sure these
are clean.
8.2 Removal of handle and outer door glass
Fig 2
Fig 1
push clip in
to release
Handle Screw
 Loading...