7 Connection
FLUXUS F501 7.1 Transducers
51
UMFLUXUS_F501V1-3EN, 2020-06-30
7.1.1 Connection of the transducer cable to the transmitter
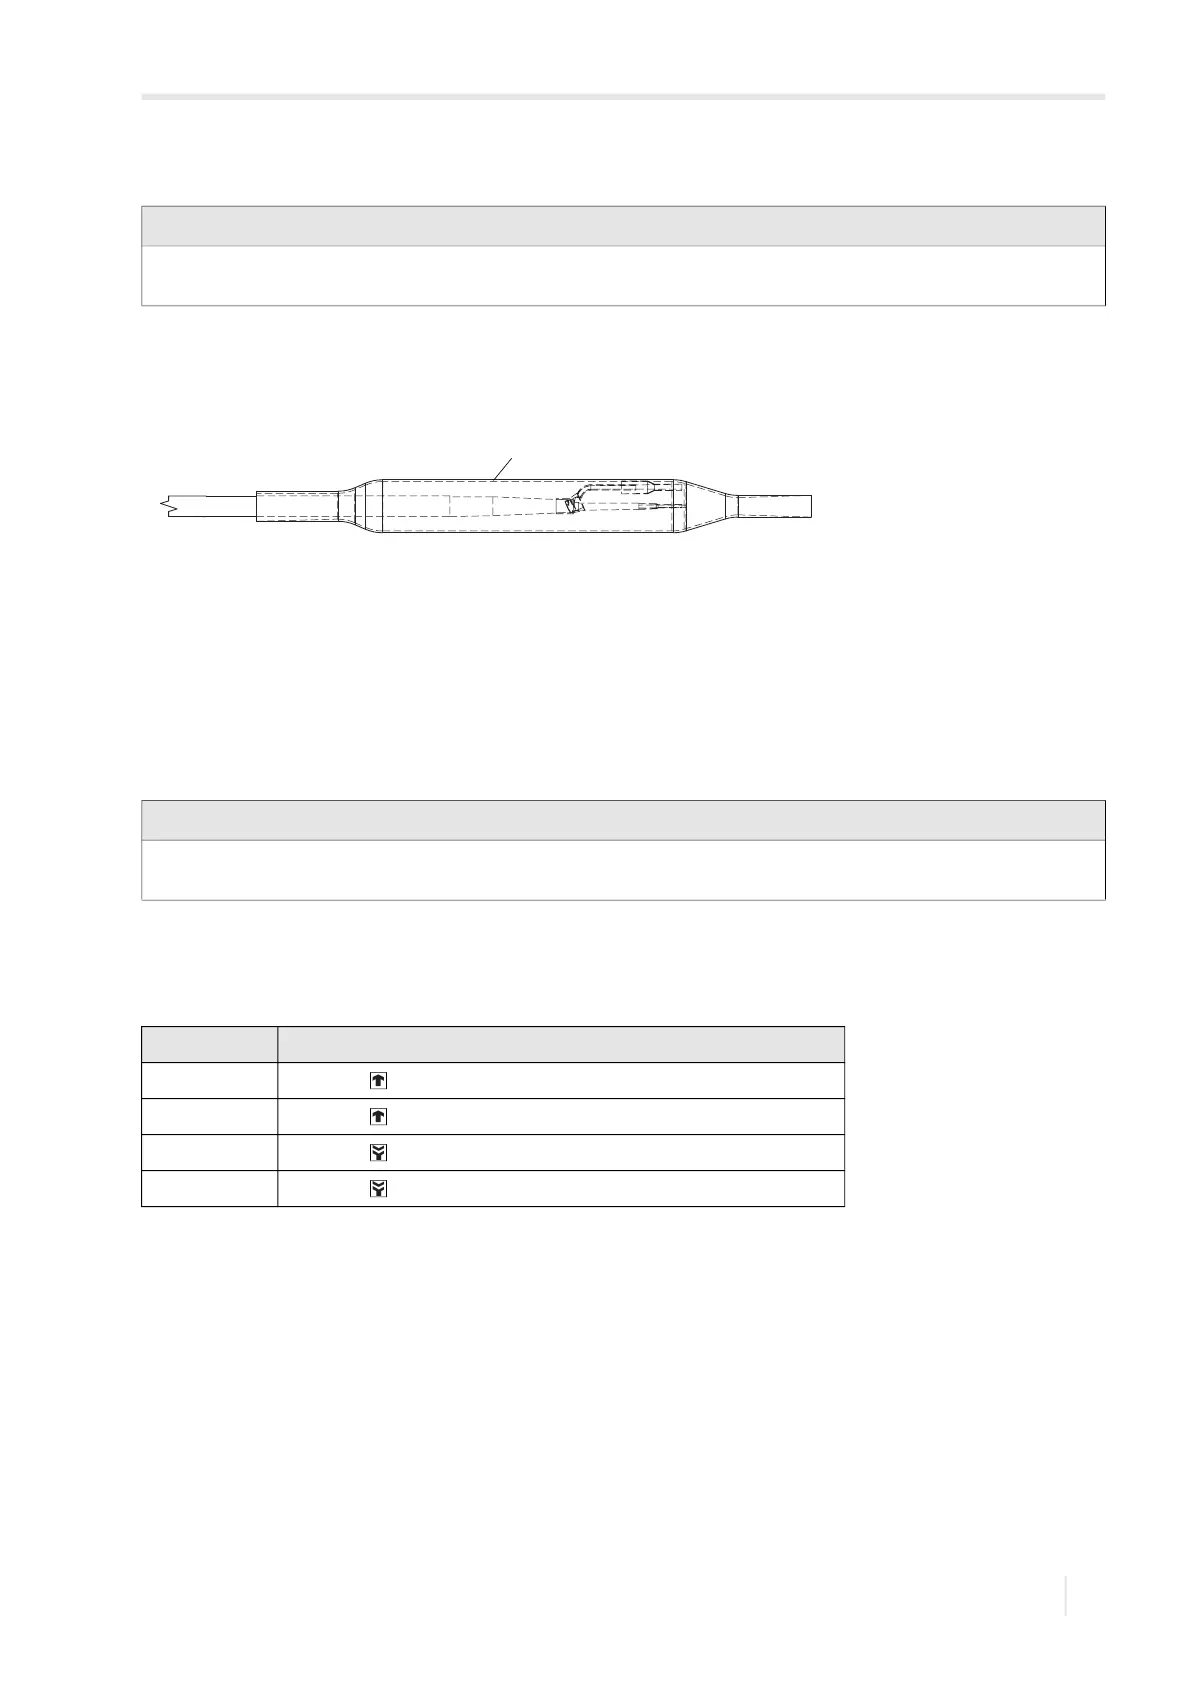
• Remove the protection hose (at the end of the transducer cable) by cutting it (see Fig. 7.2). Make sure not to damage the
transducer cable.
• Remove the blind plug for the connection of the transducer cable.
• Open the cable gland of the transducer cable. The compression part remains in the cap nut.
• Push the transducer cable through the cap nut and the compression part.
• Prepare the transducer cable.
• Shorten the external shield and brush it back over the compression part.
• Screw the sealing ring side of the basic part into the transmitter housing.
• Insert the transducer cable into the housing.
• Fix the cable gland by screwing the cap nut onto the basic part.
• Connect the transducer cable to the terminals of the transmitter, see Fig. 7.3 and Tab. 7.1.
Important!
The degree of protection of the transmitter is only ensured if all cables are tightly fitted using cable glands and the
housing is firmly screwed.
Fig. 7.2: Transducer cable with protection hose
1 – protection hose
Notice!
For good electromagnetic compatibility (EMC), it is important to ensure good electrical contact between the external
shield and the cap nut (and thus the housing).
Tab. 7.1: Terminal assignment
terminal connection
AV transducer (core)
AVS transducer (internal shield)
ARS transducer (inner shield)
AR transducer (core)
1
 Loading...