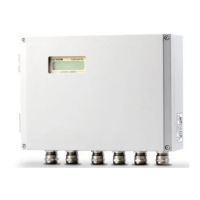
6 Installation
FLUXUS G809 6.1 Transmitter
27
UMFLUXUS_G809V2-2EN, 2020-06-25
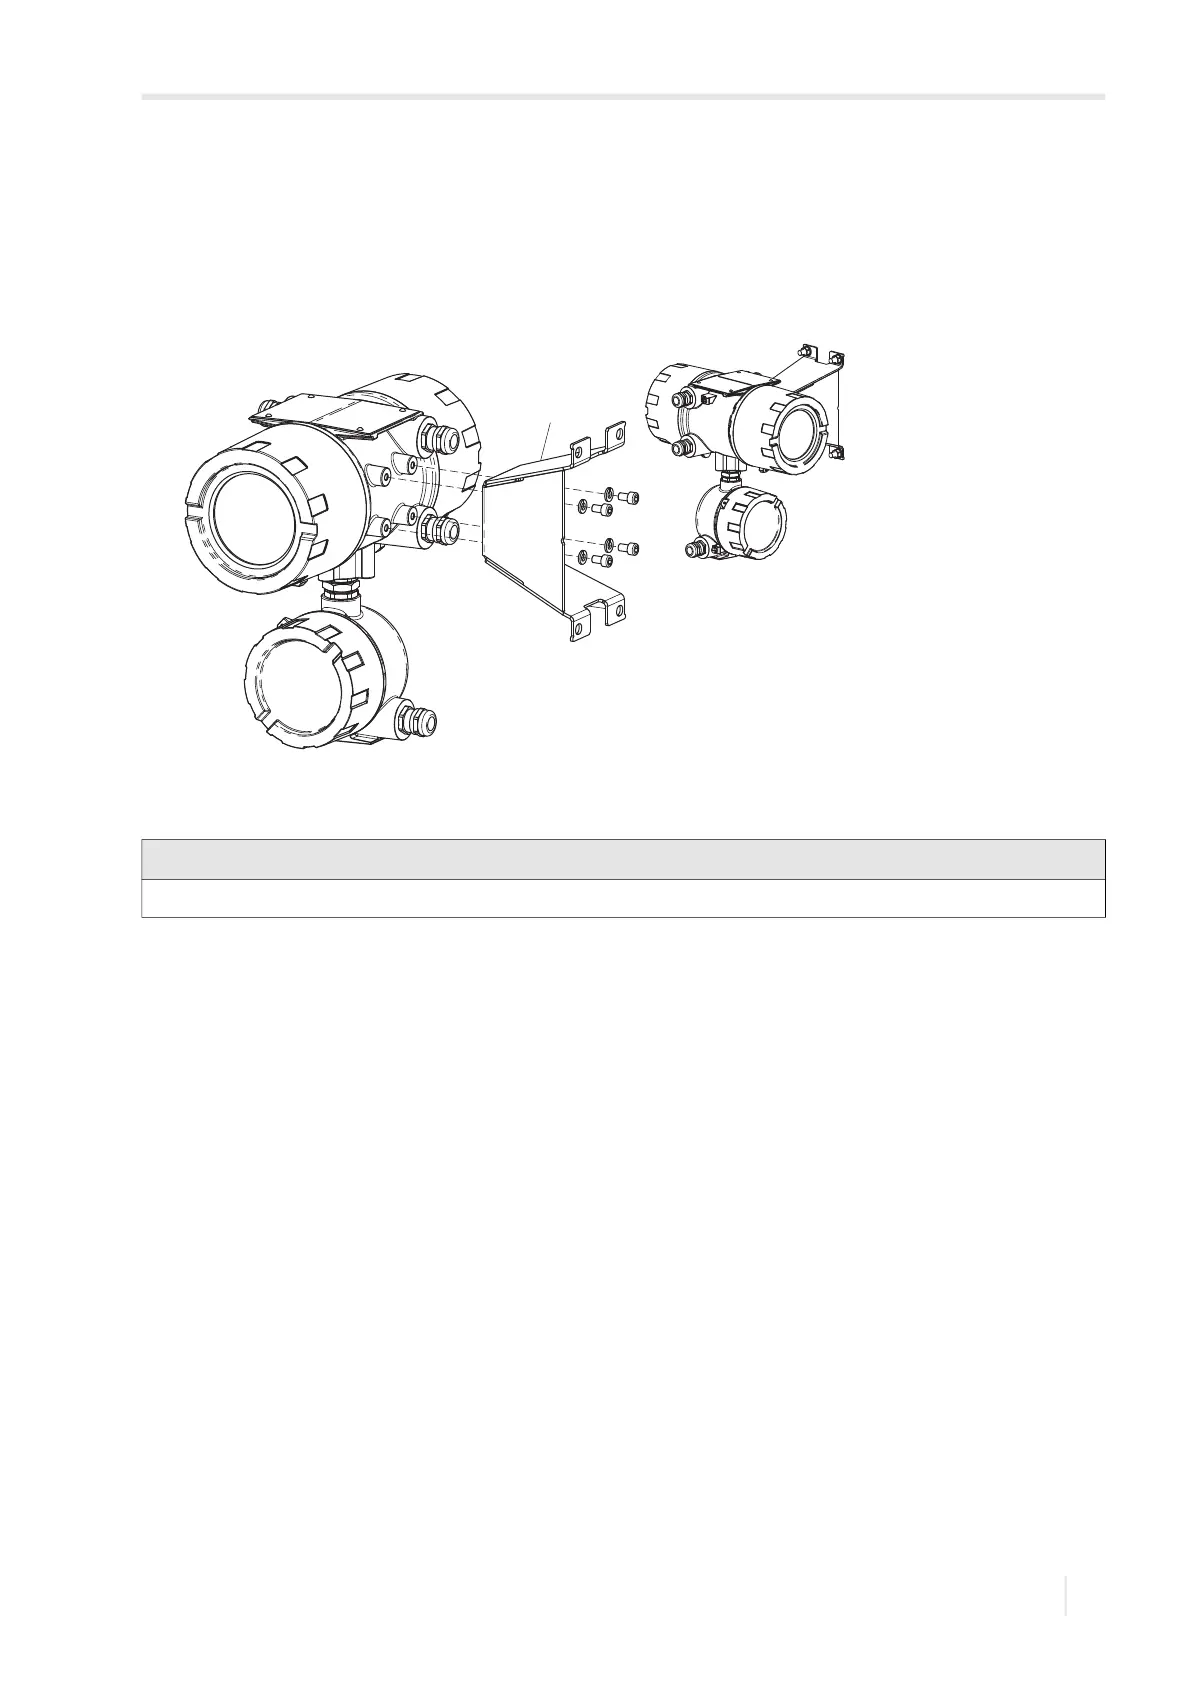
6.1.2 Installation of the transmitter
6.1.2.1 Wall installation
• Fix the housing to the instrument mounting plate (2), see Fig. 6.2.
• Fix the transmitter to the wall.
6.1.2.2 Pipe installation
Installation on a 2'' pipe
The instrument mounting plate (2) is fixed to the pipe using the shackles (1), see Fig. 6.3.
• Fix the transmitter to the instrument mounting plate.
• Fix the transmitter with the shackle to the pipe by tightening the nuts (3).
Installation on a pipe > 2"
The instrument mounting plate (2) is fixed to the pipe using tension straps, see Fig. 6.3.
• Fix the transmitter to the instrument mounting plate.
• Fix the instrument mounting plate (2) to the pipe using the tension straps (4) instead of the shackles (1).
Fig. 6.2: Wall mounting of the transmitter
1 – instrument mounting plate
Notice!
The pipe has to be sufficiently stable to withstand the pressure exerted by the transmitter and the shackles.
1