Disassembling the Test Tool
6.2. Disassembly & Reassembly Procedures 6
6-5
6.2.5 Getting access to Bottom Side of PCA
Important: to avoid contaminating the flex cable contacts with grease from your fingers,
do not touch these contacts (or wear cotton gloves). Contaminated contacts may not cause
immediate instrument faillure. Faillures typically show up when contaminated
instruments are operated in humid areas.
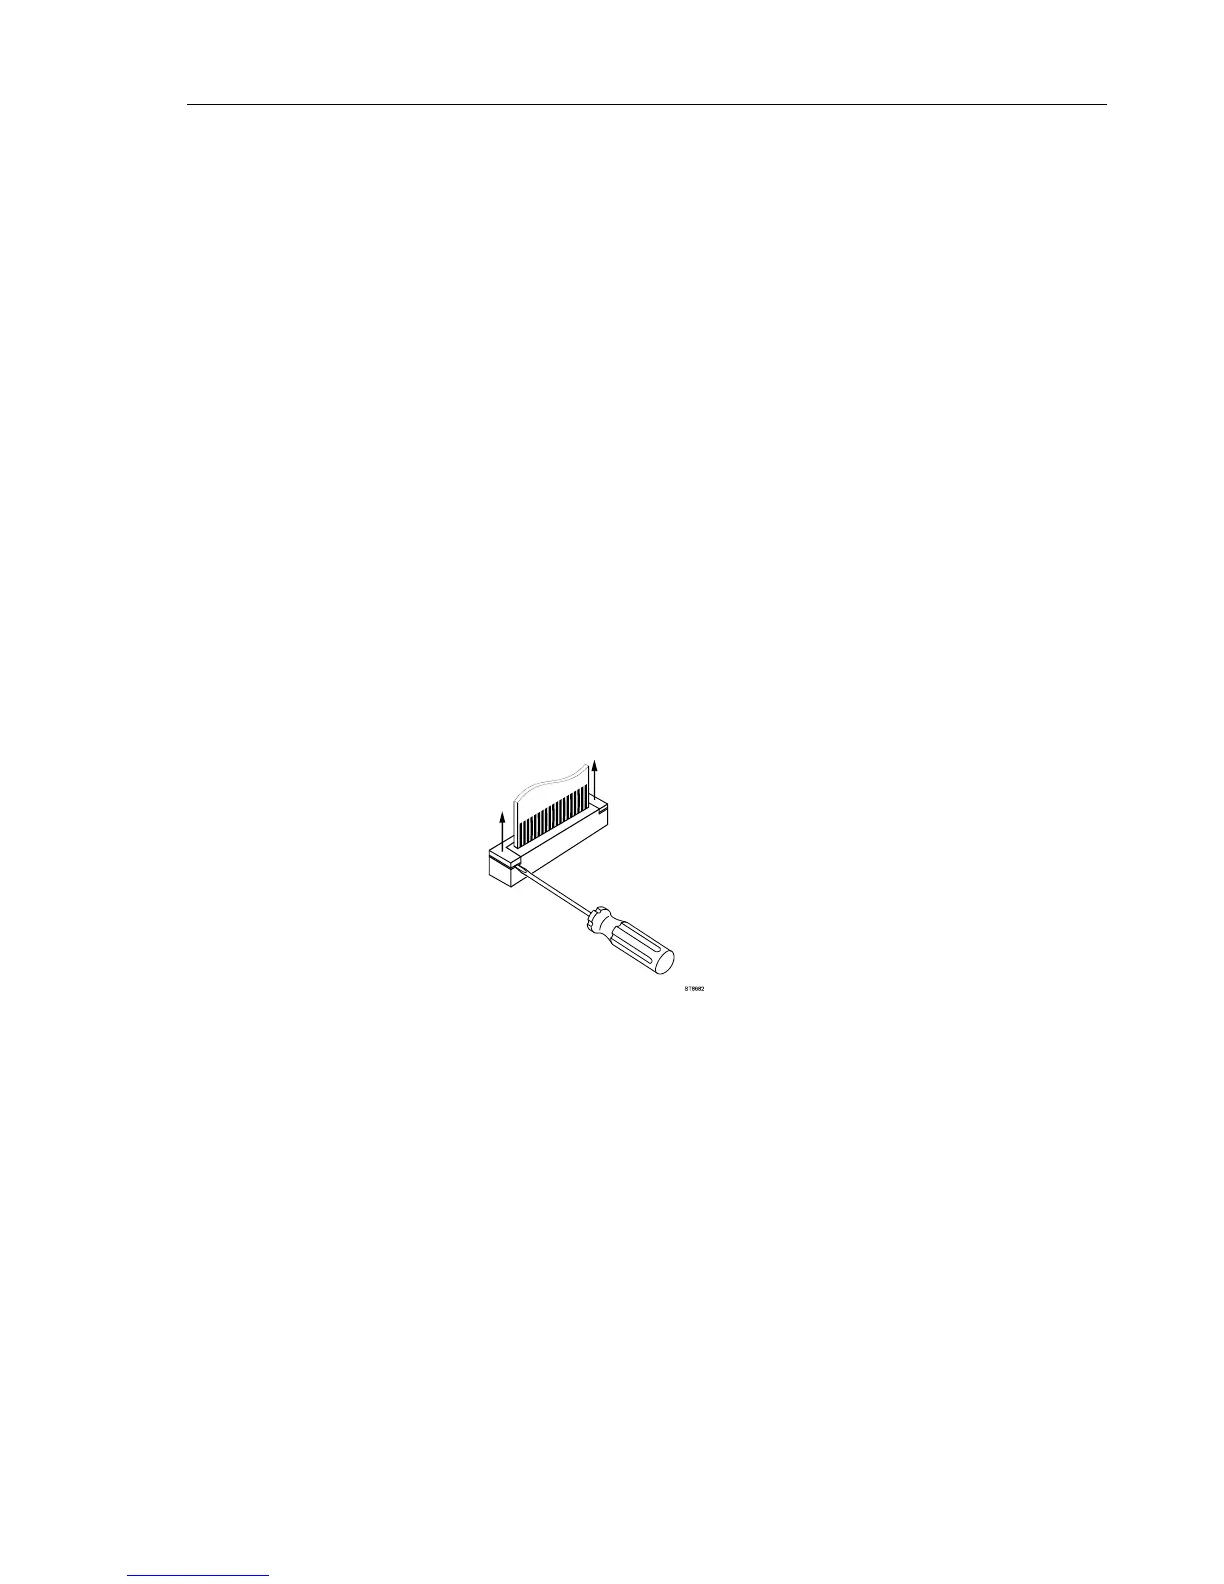
1. Unlock both flat cables by shifting the connector latch at the left and right edge with
a small screwdriver. The latch is an integral part of the connector body. The figure
below shows this.
2. Remove the flat cables from connector X9303 (to LCD), J9414 (to keyboard), J9415
(to LCD backlight).
3. Remove 4 screws M3x8 that fix the PCA to the lower chassis (Shielding Assy).
4. Carefully slide the PCA out of the BNC-holes.
5. The A, B, C, D input circuits are covered with 2 isolation foils (a small one around
channel B and C; a larger one around all four channels). Remove the foils as far as
required to repair a defective channel. Take careful notice on how the foil is
positioned around the PCA and through the notches in the PCA that are inbetween
the channels. Next remove a screw M3x20 that fixes the top and bottom screening of
the suspected channel.
6. Reinsert the flatcables again if you want to measure the bottom side of the PCA
under working condition. See the figures at the end of this chapeter.
Note: Before fixing the PCA again to the lower chassis plate it is advised to put the
isolation foils around the channels in place.
6.2.6 Getting access to LCD, Keypad Foil and Keypad
Proceed as follows:
1. Unlock both flat cables by shifting the connector latch at the left and right edge using
a small screwdriver. The latch is an integral part of the connector body.
2. Remove the flat cables from connector X9303 (to LCD), J9414 (to keyboard), J9415
(to LCD backlight).
3. Remove 6 selftapping screws 10.5 mm long (total length) that fix the Main PCA
module to the top case assembly.
4. Separate the Main PCA module from the top case.
5. Now you have access to LCD-module, keypad foil and keypad. They can be
separated from top case without the removal of screws or clamps. Do not touch
contact areas with your hands in order to avoid contamination.