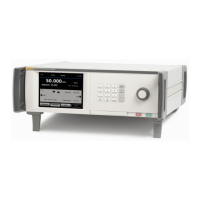
Pressure Controller/Calibrator
Install the CPS
51
Install the CPS
To install the CPS:
1. Place the CPS on a solid surface near the Product. The CPS is heavy
enough to sit on a bench and if desired, can be bolted to a bench.
2. Connect the electrical cable from the CPS to the DRV1, DRV2, and DRV3
connections on the back of the Product.
3. Connect the test port of the Product to the pressure port on the back of the
CPS.
4. Before the CPS can be used, enable it in the Setup menu on the Product
(SETUP>Instrument Setup>CPS).
Caution
To avoid Product damage, the CPS must be enabled or the
Product can be exposed to contamination.
CPS Use
The CPS is available in two different test port styles: HC20 and P3000. The
HC20 test port is a M20 connection and includes a set of adapters for tool-free,
hand-tight connection to common pressure fittings. The P3000 test port uses a
left-handed threaded connection. Tool-free, hand tight connections to common
pressure fitting types can be made with the included adapters. To use the CPS,
connect the UUT to the top test port on the CPS using the method described
below:
Caution
To prevent Product damage or damage to a gauge:
• DO NOT use PTFE tape on these connections. This prevents
a correct seal. The Gauge Adapter sealing system can be
hand-tight sealed up to 20 MPa (3000 psi). Wrenches or
similar tools are not required. Over tightening can cause
damage to threads or sealing faces.
• Before connection, ensure that there is an O-ring fitted to
the test port.
• Check that the sealing face of the device to be fitted is clean
and undamaged, as scratches or dents can form leak-paths.
HC20
The HC20 test port has an M20 X1.5 female thread and an O-ring inside. It is
easy to connect UUTs which have M20 X 1.5 male threads. The M20 test ports
have varied adapters, which are used to connect different UUTs with other male
threads, such as NPT or BSP M14 X 1.5. These adapters seal on an O-ring and
thus do not require PTFE tape. See Figure 9.

 Loading...