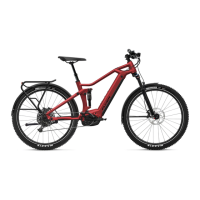
34
Please note that the suspension may
need be reset if you ride with heavier
loads,forexampleduringacycletour.
If you have a full suspension, TX-series FLYER bi
-
cycle, the chainstay is movable and attached to a
threaded shock absorber to minimize hard impact.
The suspension system uses an air chamber
.
The damping, which regulates the speed of com
-
pression and stretching, can be adjusted with the
shock absorbers installed.
Instructions
for setting the suspension ele
-
ments
The
suspension elements (suspension fork and
rear shock absorber) can be adjusted for your
weight, riding style and terrain. When adjusting
the suspension, make only one change at a time
and take a note of it. This will let you establish
theexacteectofeachchangeonthebicycle’s
handling characteristics.
The description can be used for both the sus-
pension fork and the rear shock absorber. If an
instruction
applies for only one of the two compo-
nents, this is noted.
In
this section, the coil springs’ basic tuning will
be described. There are two tuning options – the
mobility of the suspension and the rebound of the
shock absorber.
Contact a FLYER dealer who will inform
you about the correct settings for the
suspension elements. A table showing
all of the setting recommendations for
the coil springs can be found on this
website:www.yer-bikes.com/manuals
Sag
The suspension elements are provided
with a lockout to be used when required
on steep asphalt rises to suppress
spring compression and bobbing up and
down. The following adjustment opera
-
tions can only be undertaken with the
lockout open.
“Sag” is the distance by which the suspension el
-
ement is compressed when the rider is positioned
centrally
on the bike. The sag preloads the sus-
pension element and keeps the rear wheel on the
ground under light load and over slight bumps.
This improves grip on the ground and traction on
rough terrain.
As
arule,sagaccountsfor25%oftheavailable
overall suspension travel.
To set the sag for your suspension element prop
-
erly,
youmustrstsetthesuspensionhardness/
Changing the position of the stem also
changes the position of the handlebars.
You should always be able to safely
reach and use grips and controls. Han
-
dles with a pronounced wing shape may
need to be repositioned.
Make sure that all cables and leads have
a
sucientlengthtoallowforallpossible
steering movements when changing the
handlebar and stem position.
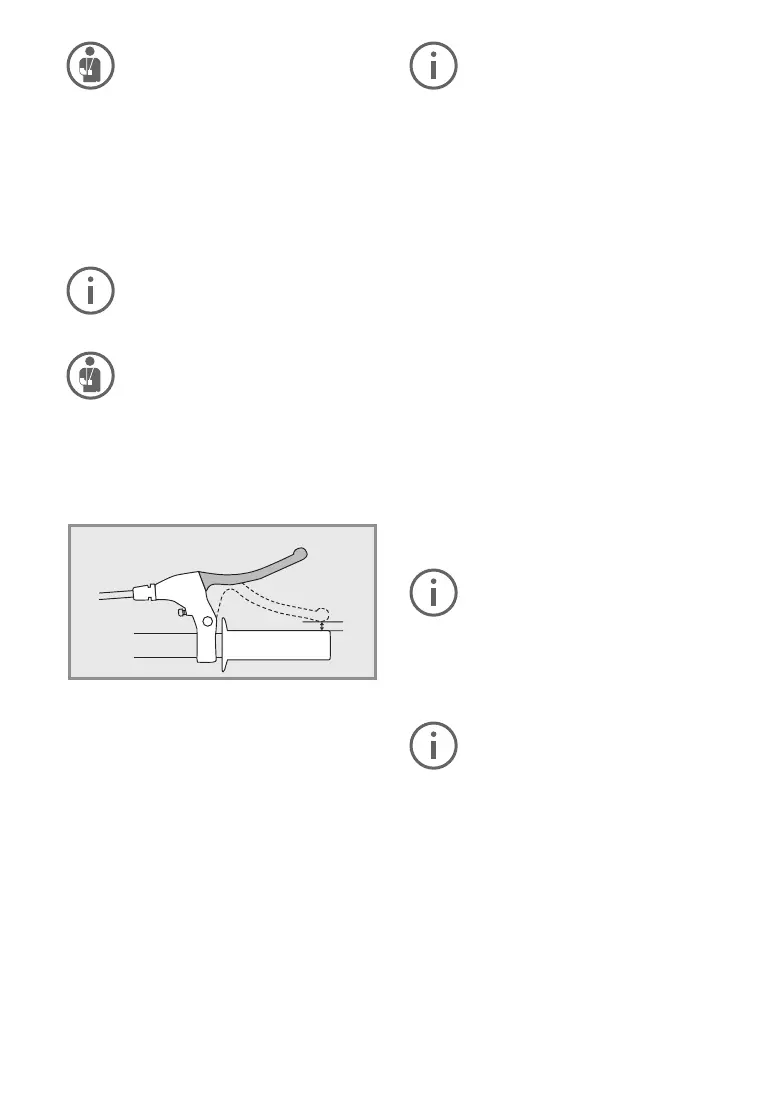
12.3Settingupthebrakelevers
The brake levers should be set up so
that your hands can safely and comfort-
ably
applythemasastraightextension
of your arms.
Check before your rst drive which
brake lever brakes which wheel.
Some models allow adjustment of the grip width
so that brake levers can also be safely gripped by
smaller hands. Always have brake adjustments
performed by a FLYER specialist retailer as they
concern safety-related components.
The brake levers must be adjusted to ensure that
they do not touch the handlebars, even when they
are pulled hard.
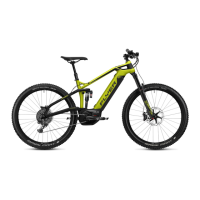
12.4Suspensionelements
The chassis must be adjusted to the driver’s
weight and type of use by a FLYER specialist
retailer to ensure appropriate function of the sus-
pension elements.
The suspension elements must be matched to
each other in accordance with the manufacturer
’s
instructions. Basically, it can be stated that when
cycling over bumps, while the suspension ele
-
ment can be clearly seen to operate, it does not
reach the end of its travel. With the rider stand-
ing centrally on the bike, the suspension element
should
becompressedtoabout25%ofitstravel.