45
WARNING: dust particles can cause breathing problems.
For your safety we recommend to wear a protective mask, according to existing
norms.
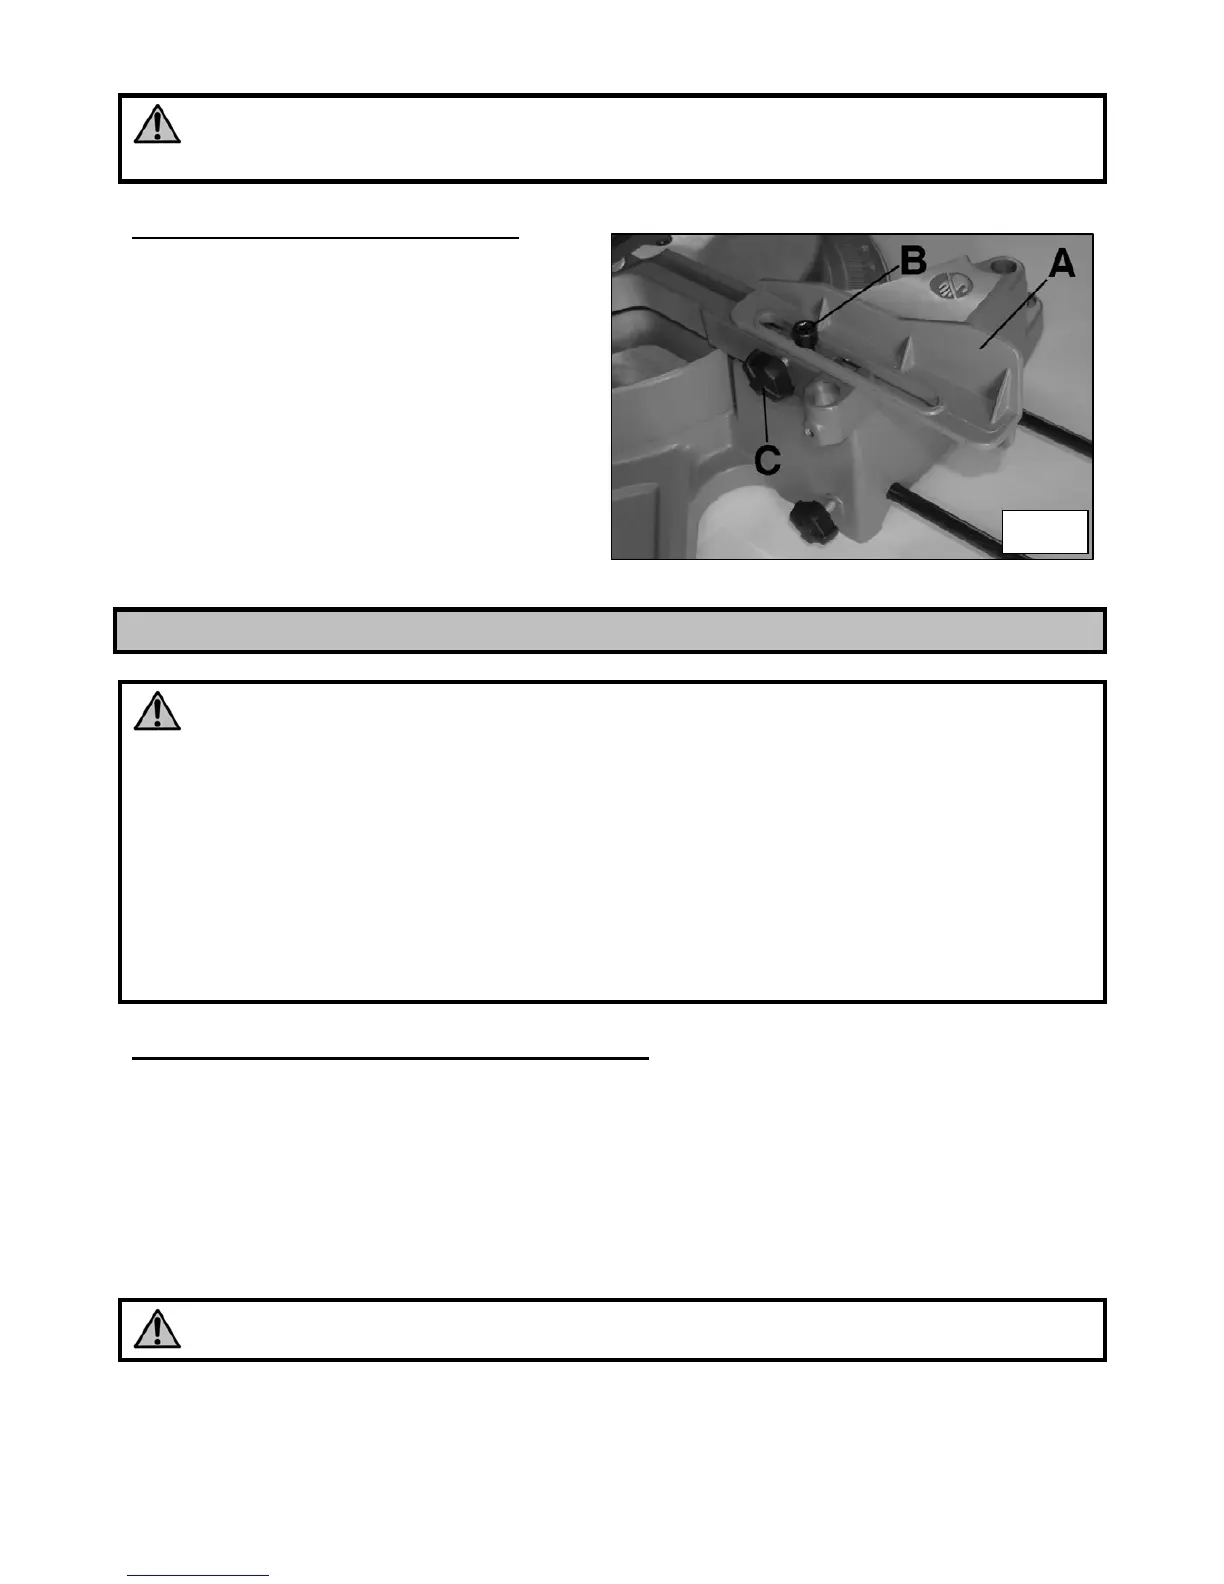
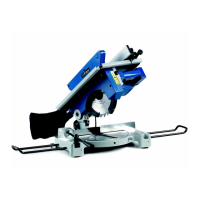
CUT-END GUIDE EXTENSIONS
The cut-end guide can be extended on both
sides in case of wide work-pieces. To do this:
1. Loosen the exagonal screw (B) Fig.8
with an exagonal wrench.
2. Loosen the knob (C).
3. Slide the extension (A) on the desidred
position and tight the screw (B), then the
the knob (C).
ASSEMBLY AND REGULATIONS
WARNING!
Before changing the settings of the mitre saw, make sure it is unplugged from any
power source.
The following setting procedures have to be followed, to grant a safe, precise and
efficient operation.
Once all the settings are made, make sure that all the wrenches and tools are away from
the machine and that screws, bolts and protections are correctly fixed and active
Do not use the mitre saw before having carefully followed these procedures
While making these settings, make sure that all the protections are properly working and
are in good conditions
Broken or damaged parts have to be replaced by a qualified mechanic, before using the
machine.
FIXING THE MITRE SAW ONTO A BENCH
Before its use, the mitre saw has to be fixed onto a bench
1. Four holes are placed on the corners of the base, to screw it onto a bench or a working
surface.
2. If you want to use lateral extensions, assemble them before fixing the machine on a bench
3. If the machine is to be frequently moved, fix it on a plywood base (20mm thick or more) so
that it will be possible to fix it on a base with clamps
WARNING : Make sure that the plywood base is flat, otherwise this could affect the
cutting precision.
Check and verify the following settings for a correct cutting precision
Fig.8