55
Creating and saving welding programs
IMPORTANT! There are no xed rules for the sequence in which the system compo-
nents are switched on. They can be switched on in any order.
On the following system components turn the main switch to the "ON - 1" position:
- Welding carriage control box
- Power source
- Wire-feed unit (if power is not supplied from the power source)
Switching on
system
components
Setting the
welding carriage
parameters
WARNING!
Danger of injury from premature arc ignition.
The arc may be ignited accidentally. This can cause serious eye injuries.
- Before switching on the system components, ensure that the "Welding
mode" toggle switch on the welding carriage remote control is set to the "O"
position.
With oscillation:
- Travel speed
- Weaving path
- Oscillation speed
- Dwell time, left
- Dwell time, middle
- Dwell time, right
- End-crater lling time
Without oscillation:
- Travel speed
- End-crater lling time
Additional functions:
- Path measurement (green markings)
- Segment welding (yellow markings)
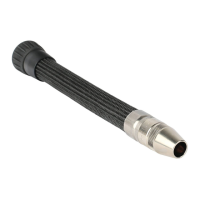
The remote control can be used to congure 9 welding programs with the following pa-
rameters:
To set a parameter, turn the corresponding adjusting knob:
to the right to increase the value
to the left to reduce the value
When a setting has been adjusted, the value of the parameter is shown on the display.
Press the adjusting knob to save the value for the setting.
NOTE! The oscillation unit must be connected to the welding carriage when
saving programs with weaving parameters.