74
Main current changeover
on / off
Factory setting: on
on
After welding has started, an automatic selection of the main current I
1
takes place.
The main current I
1
can be adjusted immediately.
off
During welding, the last selected parameter remains selected.
The last selected parameter can be adjusted immediately.
No automatic selection of the main current "I
1
" takes place.
Parameters in the
2nd level Setup
menu
The following parameters are available through the second level of the Setup menu:
System active time
To display the welding duration (the time during which welding has taken place)
The complete welding duration is divided across several displays and can be viewed by
turning the selection dial.
Displayed in h / min. / sec.
System on time
For displaying the operating duration (count begins as soon as the device is switched on)
The complete operating duration is divided across several displays and can be accessed
by turning the selection dial.
Displayed in h / min. / sec.
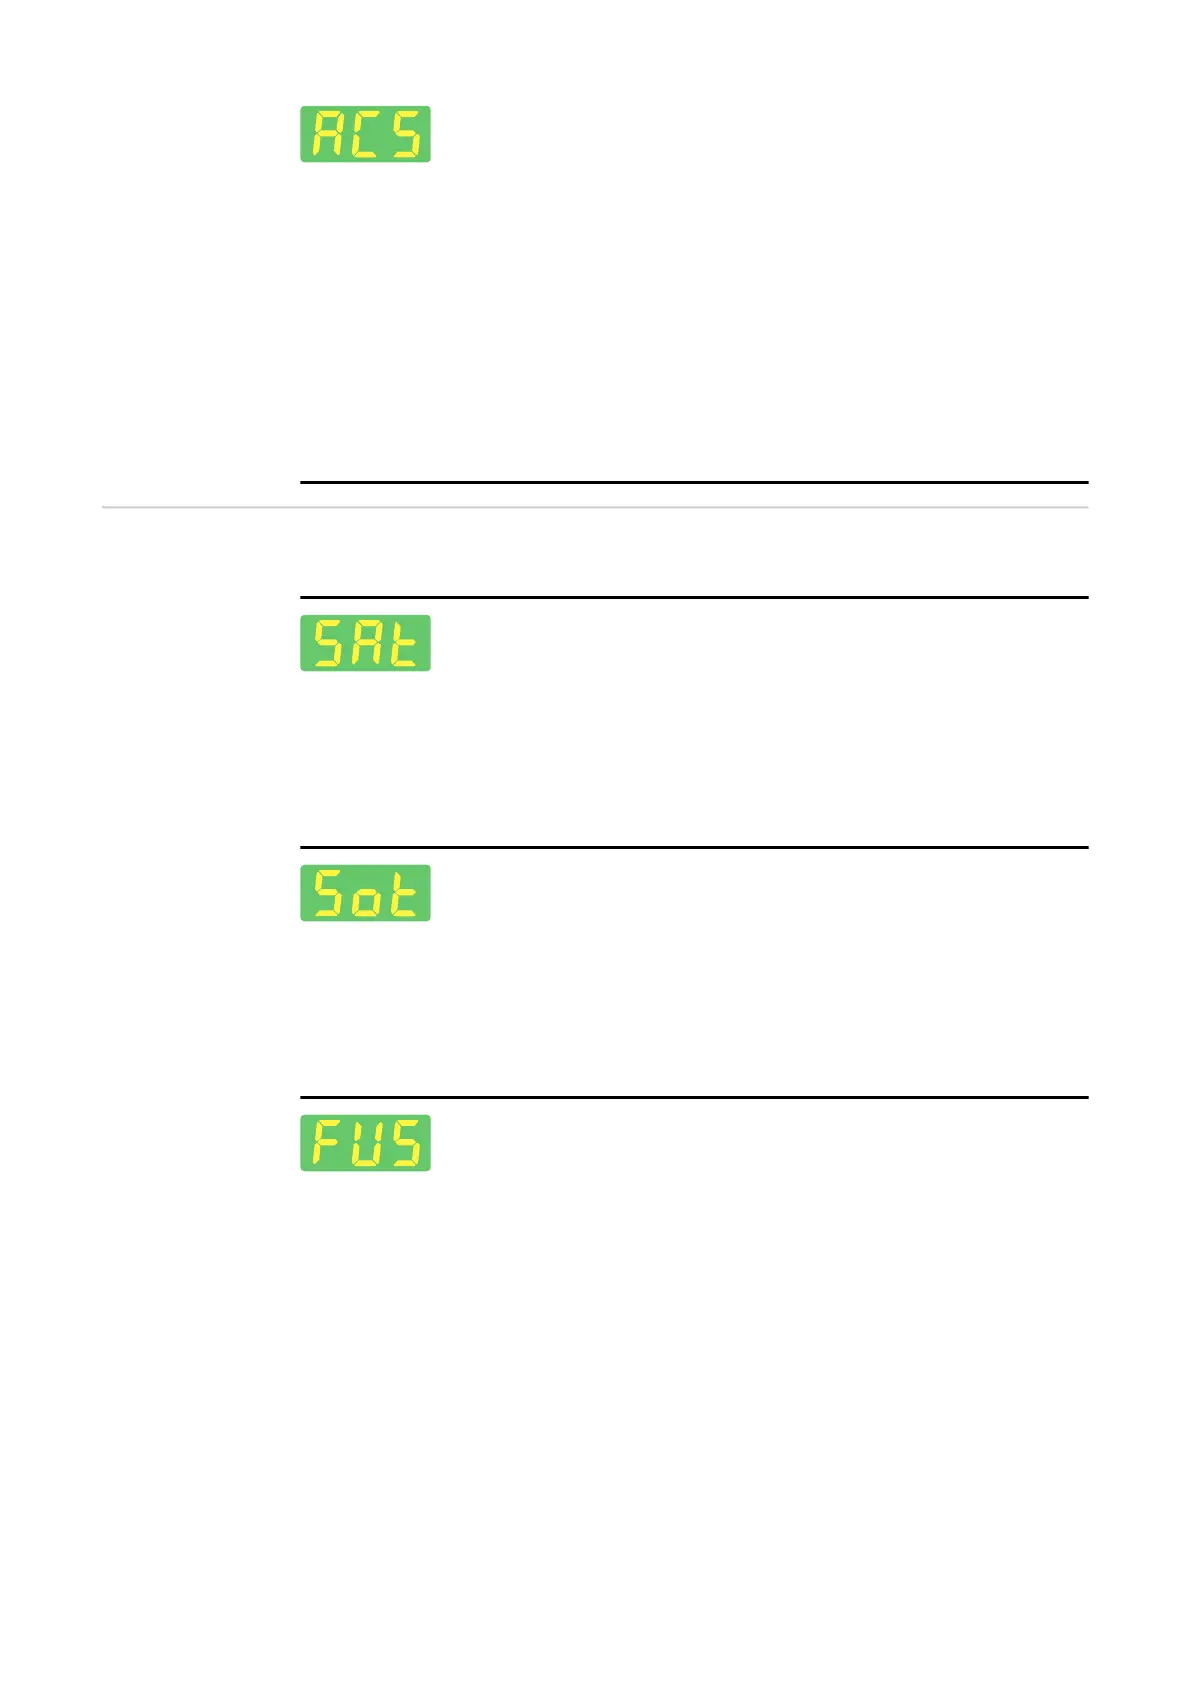
Fuse
To display/set the fuse being used
At 230 V: 10, 13, 16 A / off *
at 120 V: 15, 16, 20 A * / off *
* Only on the TT 170 MV / TT 210 MV
Factory setting:
16 A at a grid voltage of 230 V
16 A at a grid voltage of 120 V
If a fuse is set on the power source, the power source will limit the current drawn from the
grid, which prevents an immediate tripping of the power circuit breaker.