83
EN
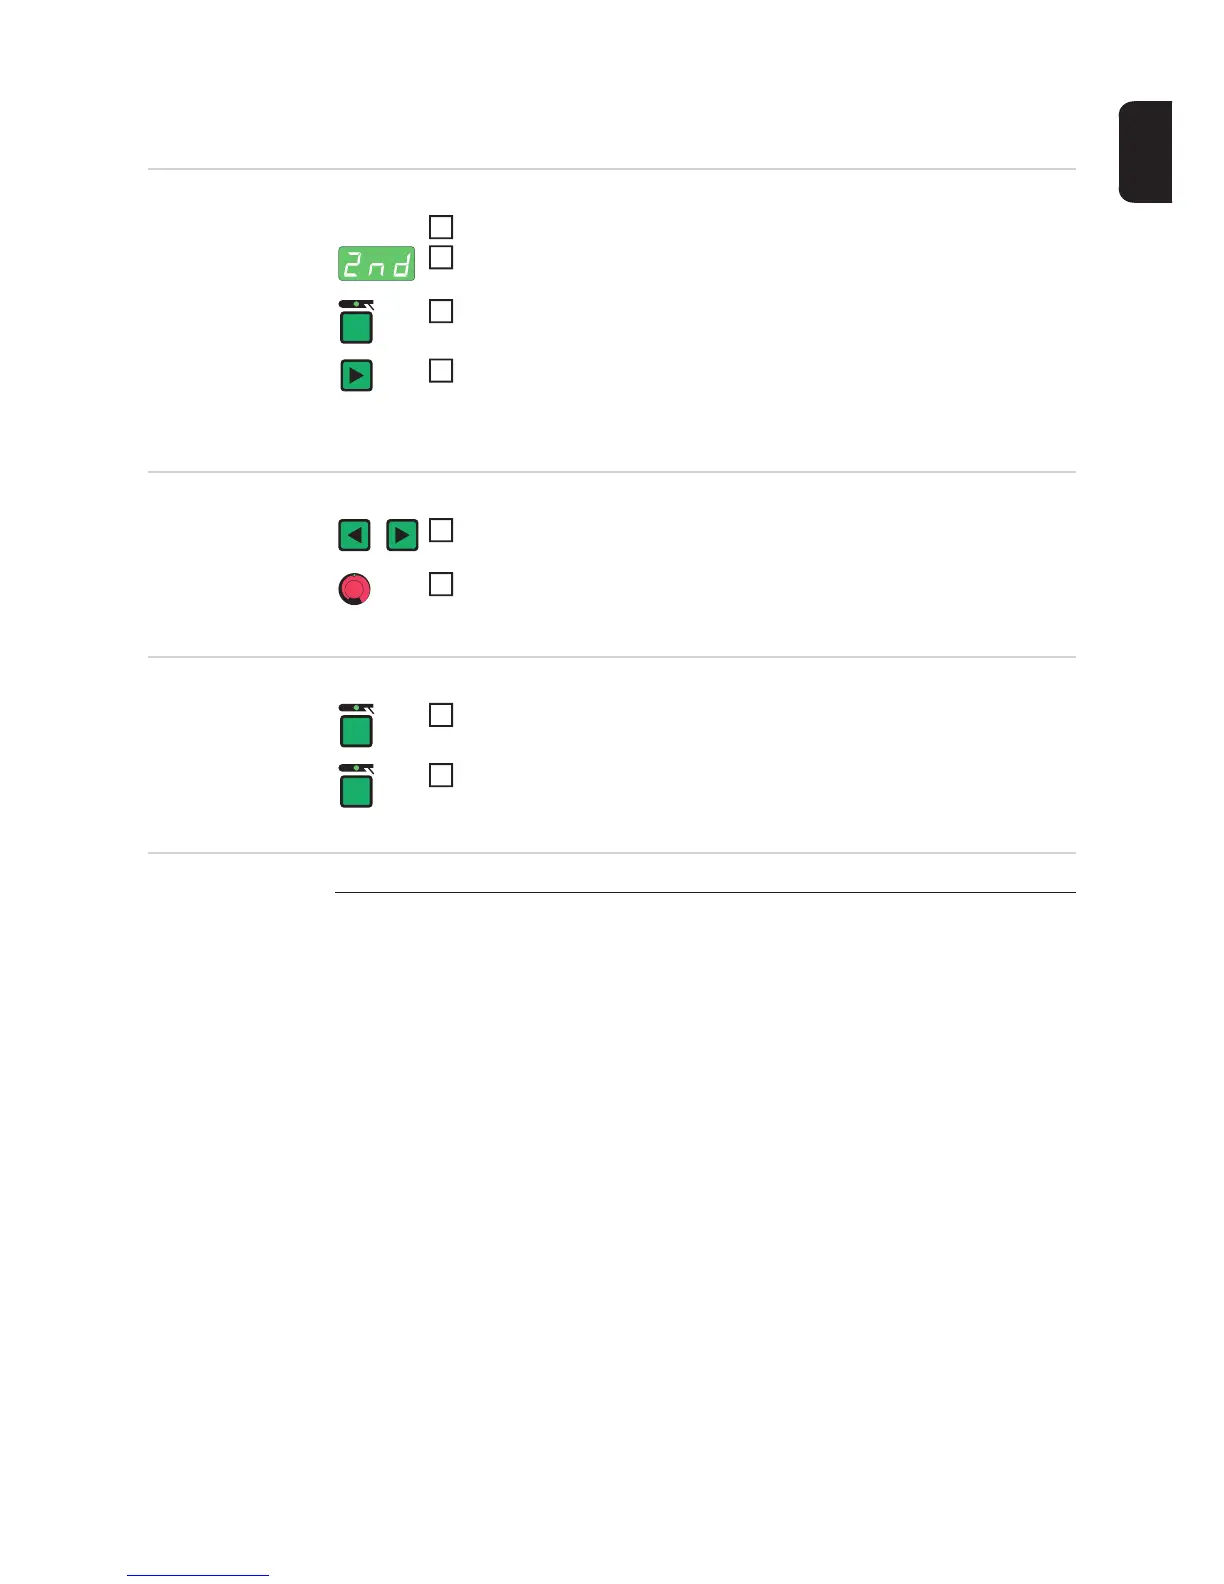
Rod electrode setup menu: level 2
Opening the rod
electrode set-up
menu level 2
Changing weld-
ing parameters
Exiting the rod
electrode set-up
menu - level 2
Welding parame-
ters in the rod
electrode set-up
menu level 2
Open the rod electrode set-up menu
Select "2nd" welding parameter
Press and hold the "Mode" button
Press the right parameter selection button
The power source is now in the rod electrode set-up menu - level 2. The
last welding parameter selected is displayed.
1
2
2
3
Use the left or right parameter selection button to select the welding pa-
rameter that you want to change
Use the adjusting dial to change the welding parameter value
1
2
Press the Mode button
The power source is now in the rod electrode set-up menu
To exit from the Rod electrode set-up menu, press the Mode button again
1
2
ELn
Electrode line - characteristic selection
Unit 1
Setting range con or 0.1 - 20 or P
Factory setting con
 Loading...