subgroup is that if a Wi-Fi meshgroup is to be
"started".
3. Choose connection type.
The connection type defines how the
interconnection to the communication master is
done. By selecting ethernet cable or Wi-Fi mesh, the
connection should be quite automated, without
additional need of connection configurations later
during the installation process. Use the same
method as when adding the first internet gateway.
NOTE
If the interconnection uses Wi-Fi to an external IT-
infrastructure, then the Wi-Fi credentials must be defined
later in the installation flow, using the direct connection
AP to the charging station.
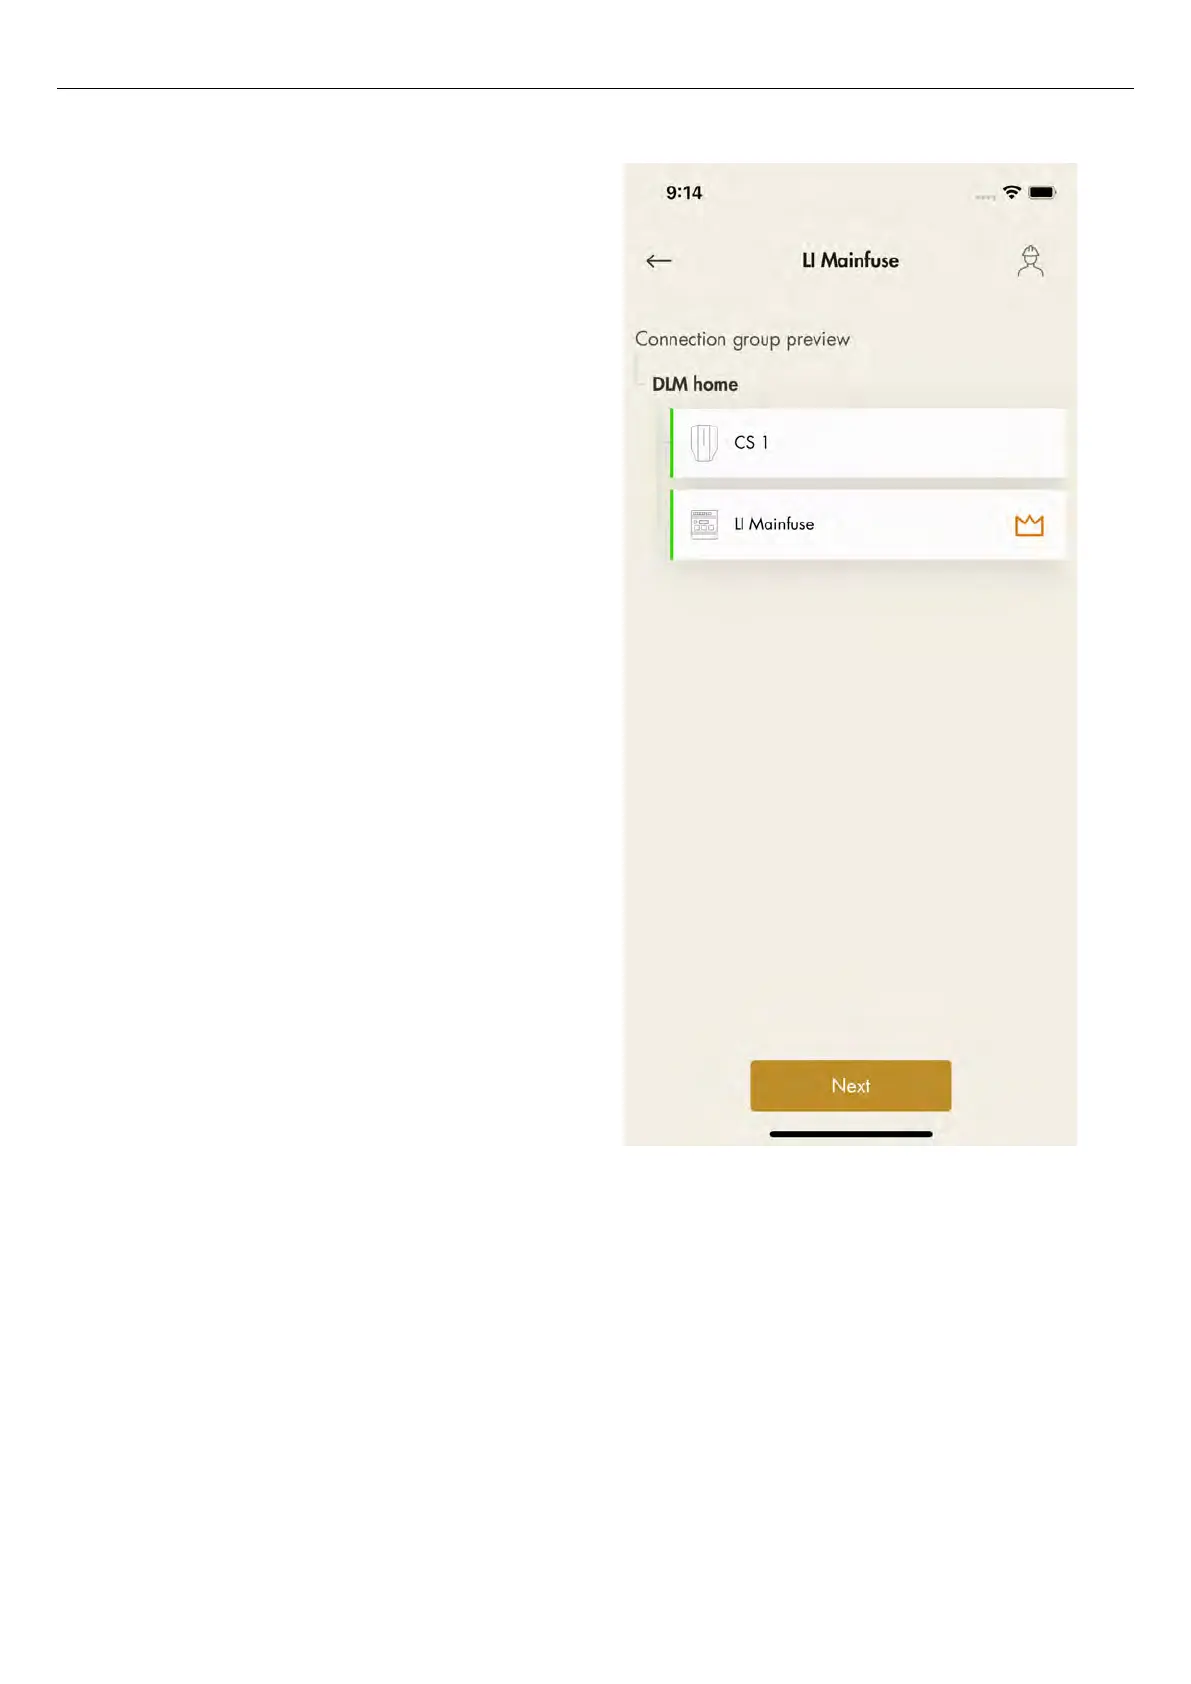
4. In the preview of the connection group icons
indicate that unit is set as DLM and connection
group masters.
NOTE
The group is not fully created until the ID is set.
5. Click
Next
to continue the installation. Complete the
remaining installation steps and declare the
installation finished in the GARO Connect app.
Version: 1.3 81
Installation