Measuring Floor Flatness
Discovery NM/CT 670 – Standard Integration Instructions
5483063-1EN, Rev.2, ©2015 GE Healthcare B-2
1. Map the floor as follows:
a. Using a chalk line, mark the center line A
(refer to site drawings or proposal for
exact location).
b.
Using masking tape, place × marks at 30 cm
(1 ft) intervals along the center line.
c. Add × marks at 30 cm (1 ft) intervals from
center line, so that the system footprint is
covered with a grid of × marks C.
d. Place the level flat on the floor and move it
around the footprint area. Visually inspect
the floor for any significant highs/lows, and
add × marks B to identify them.
2. Place the laser D at the end of the center line.
The laser must be high enough for the fan
beam to be visible over the entire footprint
area E, but no more than 10 cm (4") high
(the closer to the floor the more accurate).
3. Keeping the measuring stick F exactly
perpendicular to the floor, at each tape mark
record the height at which the laser hits the ruler.
A
C
B
D
10 cm (4")
maximum
E
F
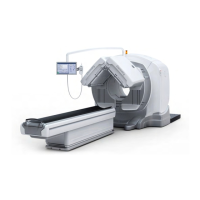
Note: The “interest area” that needs to be checked differs
depending on the system type. The example below
demonstrates the area for D670 systems.
 Loading...
