EasyManuals Logo

GE LOGIQ E9 Service Manual

GE LOGIQ E9
808 pages
To Next Page IconTo Next Page
To Previous Page IconTo Previous Page
Page #424 background imageLoading...
Page #424 background image
GE
D
IRECTION 5535208-100, REV. 2 LOGIQ E9 SERVICE MANUAL
8 - 78 Section 8-5 - Replacing Covers and Bumpers
8-5-19-5 Main Cable Cover installation
1.) Install the Main Cable Cover so the Column Cover Assembly overlaps Main Cable Cover edges
(see: Figure 8-33 "Main Cable Cover (Column Cover overlaps Main Cable Cover)" on page 8-77).
2.) With the console raised to its full height, install the 3 screws to secure the Main Cable Cover and
Column Cover Assembly.
3.) Lower the console and install the lower right side screw (see: Figure 8-29 "With console lowered,
lower right side screw placement" on page 8-73).
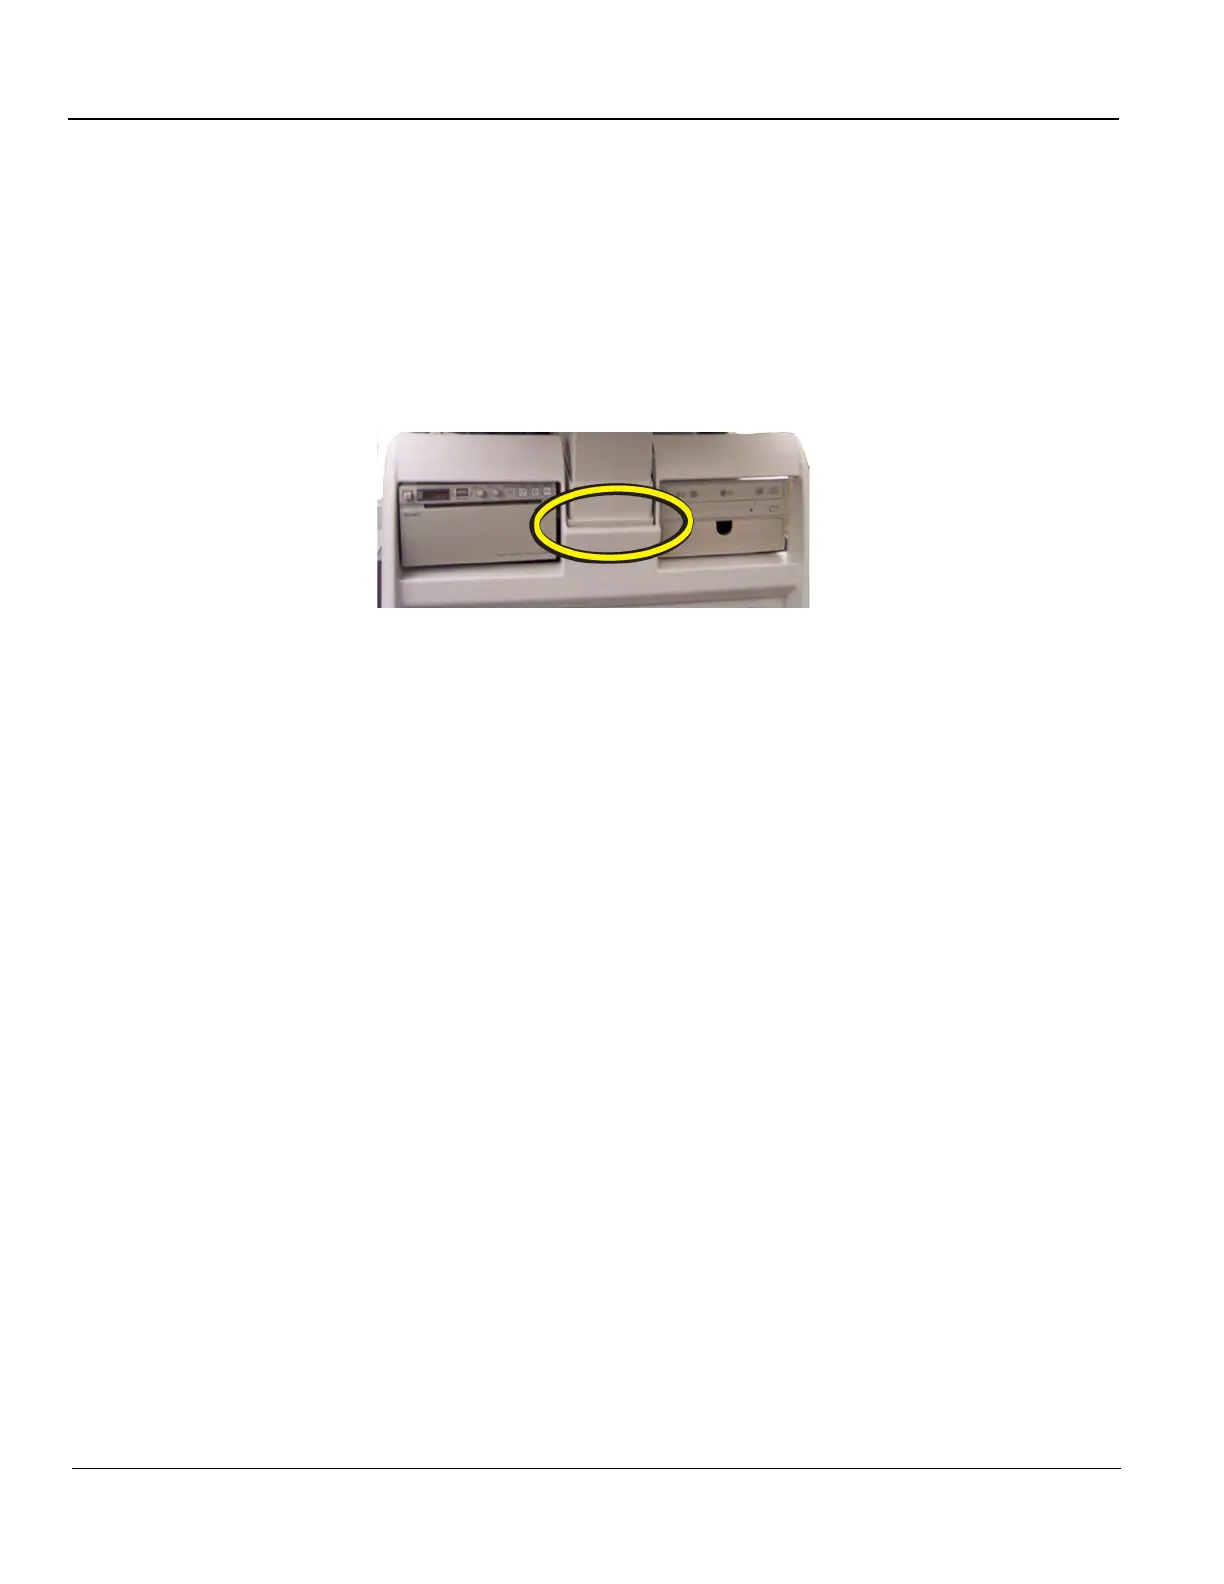
4.) Position the lower Column Cover tab inside the Front Cover.
5.) Install the Top Cover.
6.) Install the Side Covers.
Figure 8-34 Position the column cover tab inside the front cover

Table of Contents

Other manuals for GE LOGIQ E9

Questions and Answers:

Question and Answer IconNeed help?

Do you have a question about the GE LOGIQ E9 and is the answer not in the manual?

GE LOGIQ E9 Specifications

General IconGeneral
TypeUltrasound System
3D/4D ImagingYes
Transducer Ports4 active ports
ConnectivityDICOM, USB, Ethernet
ApplicationsAbdominal, Vascular, Musculoskeletal, Small Parts, Urology, Pediatric, Cardiac, Obstetrics/Gynecology
TransducersLinear, Convex, Phased Array, Volume
Doppler ModesColor Doppler, Power Doppler, Pulsed Wave Doppler, Continuous Wave Doppler
ElastographyYes
Advanced FeaturesB-Flow, Volume Navigation
PortabilityCart-based system
Display19-inch high-resolution LCD monitor

Related product manuals