GE
D
IRECTION 5535208-100, REV. 2 LOGIQ E9 SERVICE MANUAL
8 - 298 Section 8-12 - V Nav Roll Stand and/or On-Board Stand Installation and/or Replacement
Section 8-12
V Nav Roll Stand and/or On-Board Stand Installation and/or Replacement
The purpose of this section is to describe assembly or replacement of the Roll Stand and/or the V Nav
On-board Stand.
NOTE: These instructions can be used to service an existing LOGIQ E9 that has a V Nav Roll Stand
or an On-Board V Nav Stand, or to install these options.
NOTE: Be sure the wheels on the Roll Stand are not locked and move the Roll Stand slowly, with
caution to avoid tip over. DO NOT move with the arm extended.
NOTE: The Roll Stand basket is designed to hold the transmitter, which weighs about five pounds
(2.27 kg). DO NOT overload the basket.
Table 8-187 Manpower / Time and Tools
Manpower /
Time
Tools
One person /
30 minutes
Refer to: 8-2-5 "Tools needed for servicing the LOGIQ E9" on page 8-5
Table 8-188 Preparations and Preparation Links
Preparations - you must perform the following steps
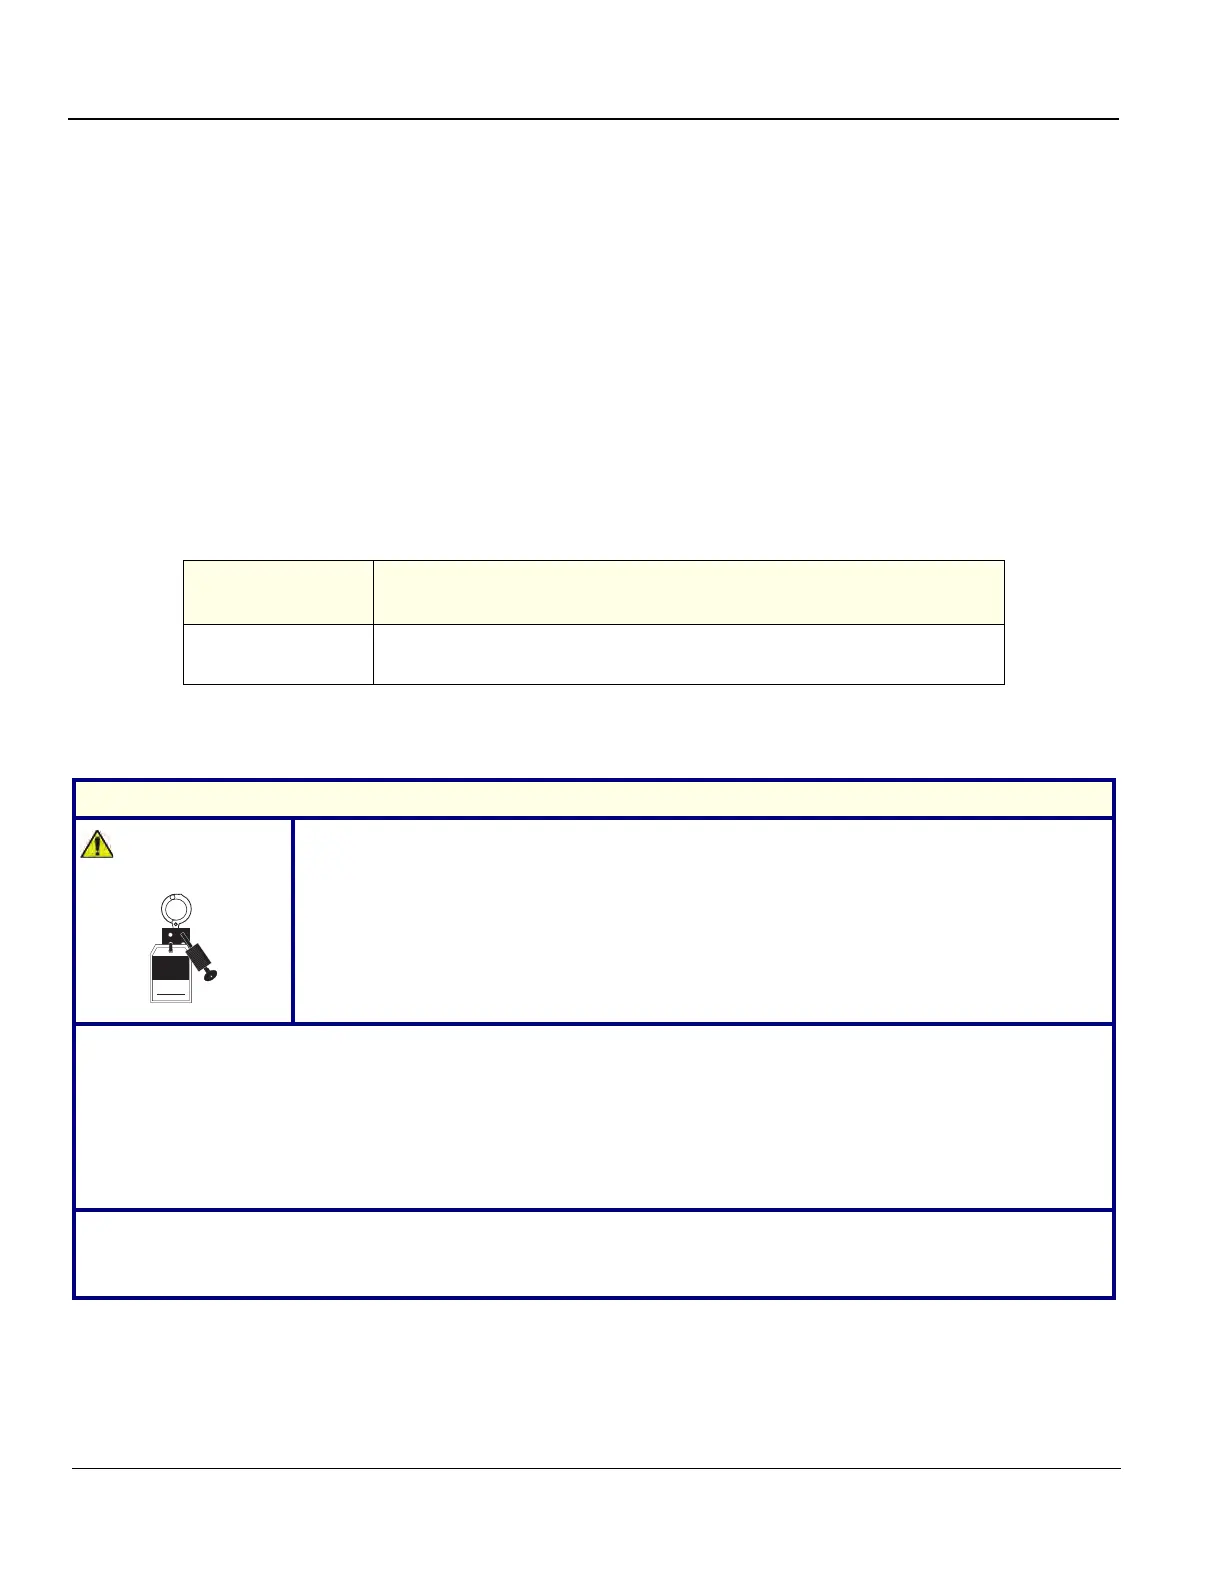
Energy Control and Power Lockout for LOGIQ E9
WHEN SERVICING PARTS OF THE SYSTEM WHERE THERE IS EXPOSURE TO
VOLTAGE GREATER THAN 30 VOLTS:
1. TURN OFF THE SCANNER.
2. UNPLUG THE SYSTEM.
3. MAINTAIN CONTROL OF THE SYSTEM POWER PLUG.
1. Power down the LOGIQ E9.
2. Move the User Interface (Top Console) to its lower position.
3. Disconnect the mains power cable from the wall outlet and all Probes and External I/O Cabling.
4. Remove any Tray Assembly, Probe Holder or Gel Warmer from the right side of the console. Any of these features
MUST BE MOVED to the left side of the console before this option is installed. None of these features can be installed
on the right side of the console with this option.
5. Remove the Right Side Cover
Preparation Links (if you need more information):
• 4-2-3 "Power shut down" on page 4-7
• 8-5-2 "Side Covers replacement" on page 8-30