GE
D
IRECTION 5535208-100, REV. 2 LOGIQ E9 SERVICE MANUAL
8 - 88 Section 8-6 - Replacing Top Console Parts
8-6-2 LCD Monitor assembly replacement
There are two types of Monitors:
• Original LCD Monitor (P/N 5167953)
• LCD Monitors used in R4 original consoles, LCD Monitor V2 (5392293-21, used in R4.x and later
production)
For LCD Monitor V2 (LCD and Arm Assembly used in R4.x production), see: Table 8-58 "LCD Monitor
V2 removal - R4.x" on page 8-93.
For LCD Monitor V2 (LCD and Arm Assembly used in R5.x and later production), see: Table 8-60 "LCD
Monitor V2 removal - R5.x and later" on page 8-97.
NOTE: If the device is equipped with WLAN option, Velcro will be required to ensure proper installation
of the reinstalled WLAN dongle.
Table 8-53 Manpower / Time and Tools
Manpower /
Time
Tools
One person /
15 minutes
Refer to: 8-2-5 "Tools needed for servicing the LOGIQ E9" on page 8-5.
Table 8-54 Preparations and Preparation Link
Preparations - you must perform the following steps
Energy Control and Power Lockout for LOGIQ E9
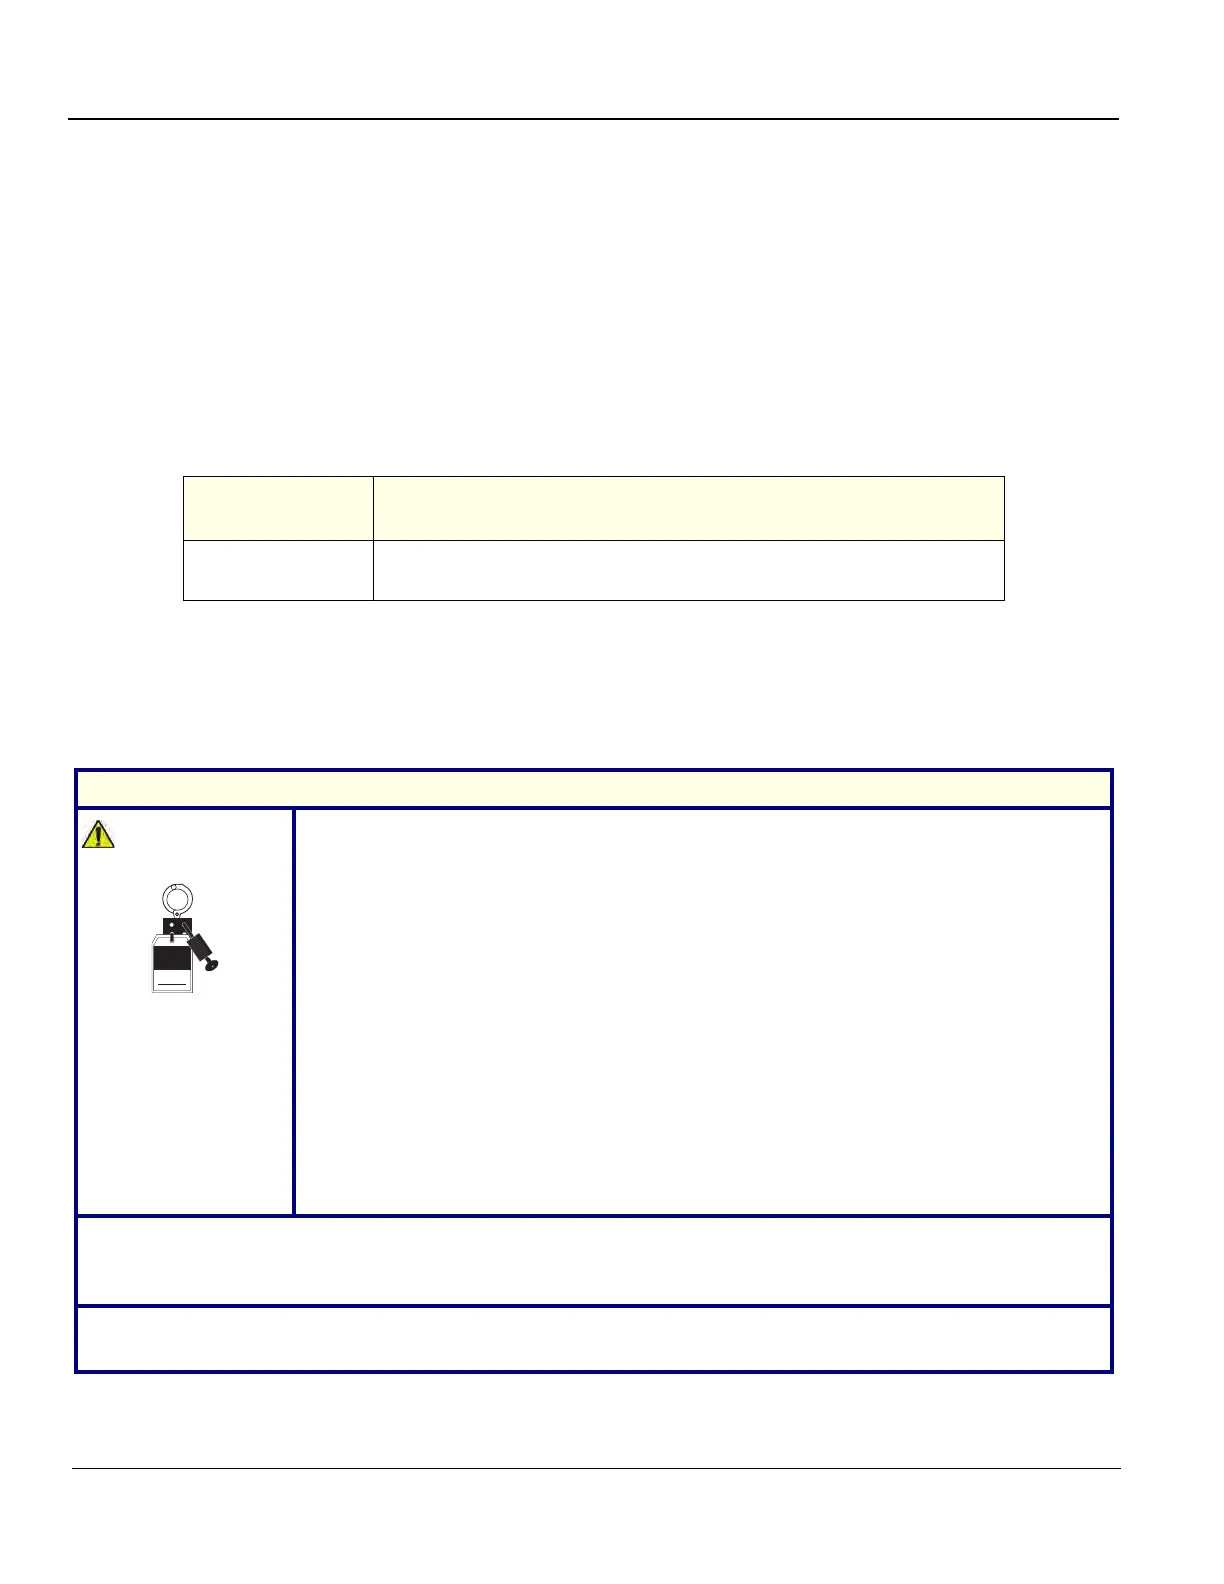
WHEN SERVICING PARTS OF THE SYSTEM WHERE THERE IS EXPOSURE TO
VOLTAGE GREATER THAN 30 VOLTS:
1. TURN OFF THE SCANNER.
2. UNPLUG THE SYSTEM.
3. MAINTAIN CONTROL OF THE SYSTEM POWER PLUG.
4. WAIT FOR AT LEAST 20 SECONDS FOR CAPACITORS TO DISCHARGE AS THERE
ARE NO TEST POINTS TO VERIFY ISOLATION. THE AMBER LIGHT ON THE OP PANEL
ON/OFF BUTTON WILL TURN OFF.
5. DISCONNECT THE EPS (EXTENDED POWER SHUTDOWN) BATTERY AT J3, OR THE
BATTERY FROM THE CHARGEBOARD AT PCN1 WHEN WORKING IN THE BEP. THIS
SHOULD BE DONE WHENEVER THE BEP IS OPEN AND THE EPS OR CHARGEBOARD
IS EXPOSED AND CHANGING PARTS.
Beware that the Main Power Supply, Extended Power Shutdown or ChargeBoard and BEP
may be energized even if the power is turned OFF if the cord is still plugged into the AC
Outlet.
1. Power down the system.
2. Move the User Interface (Top Console) to its lower position.
3. Disconnect the mains power cable from the wall outlet and all Probes and External I/O Cabling.
Preparation Link (if you need more information):
4-2-3 "Power shut down" on page 4-7.