GE
D
IRECTION 5535208-100, REV. 2 LOGIQ E9 SERVICE MANUAL
8 - 100 Section 8-6 - Replacing Top Console Parts
4.
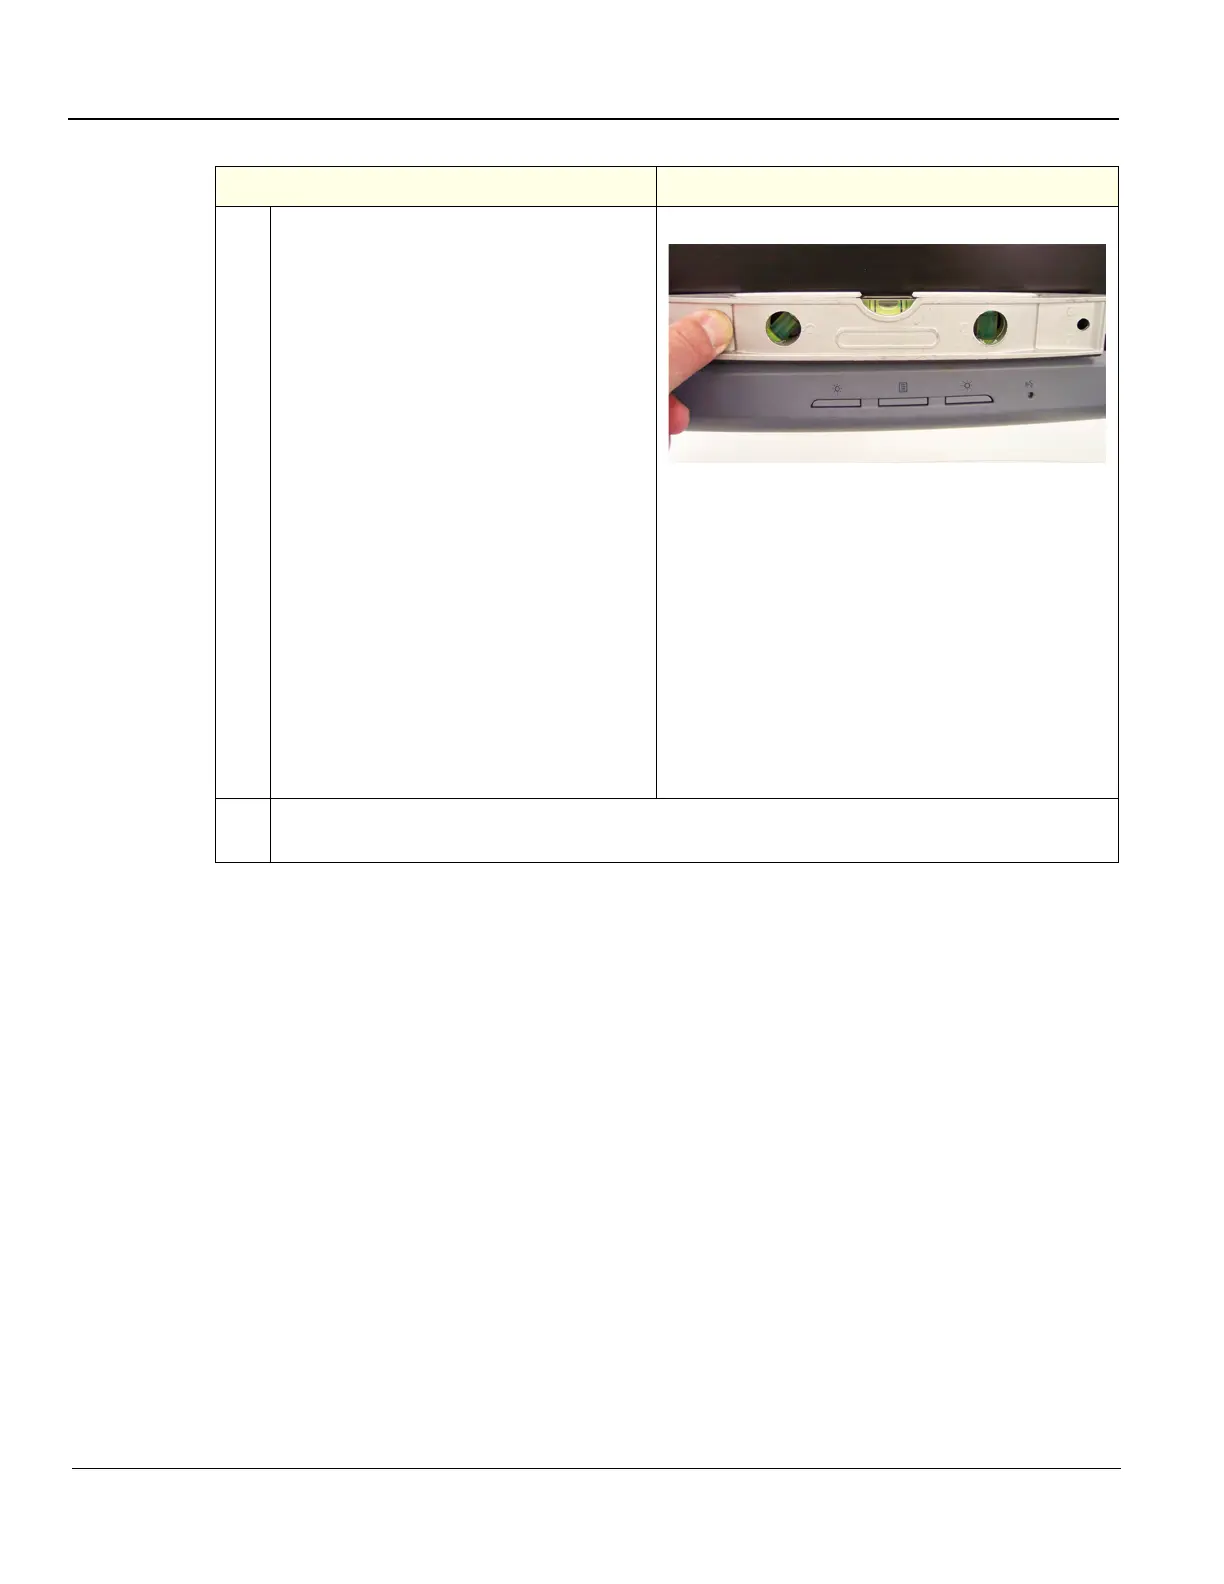
NOTE: To ensure the LCD Monitor is
installed level with the system and before
re- installing the LCD Back Cover:
MAKE SURE:
- the system is on a level surface,
- the wheels are in-line,
- the LCD Monitor Arm Lock is LOCKED.
Check that the system is level.
Place a level on the monitor (as shown).
If any adjustment is required, loosen the
four mounting screws and make the
adjustment. Re-tighten the four screws
after the adjustment.
NOTE: If a level is not available, make sure
the Monitor is as square as possible with
the system, visually.
Re-install the LCD Cable Cover and fixing
screws.
5.
Perform Functional Checks. See: 8-6-2-7 - Calibration and adjustments, 8-6-2-8 - Verification
and 8-6-2-9 "Functional Checks" on page 8-101.
Table 8-61 LCD Monitor V2 installation - R5.x and later
Steps Corresponding Graphic