GE
D
IRECTION 5535208-100, REV. 2 LOGIQ E9 SERVICE MANUAL
3 - 24 Section 3-6 - Completing the setup
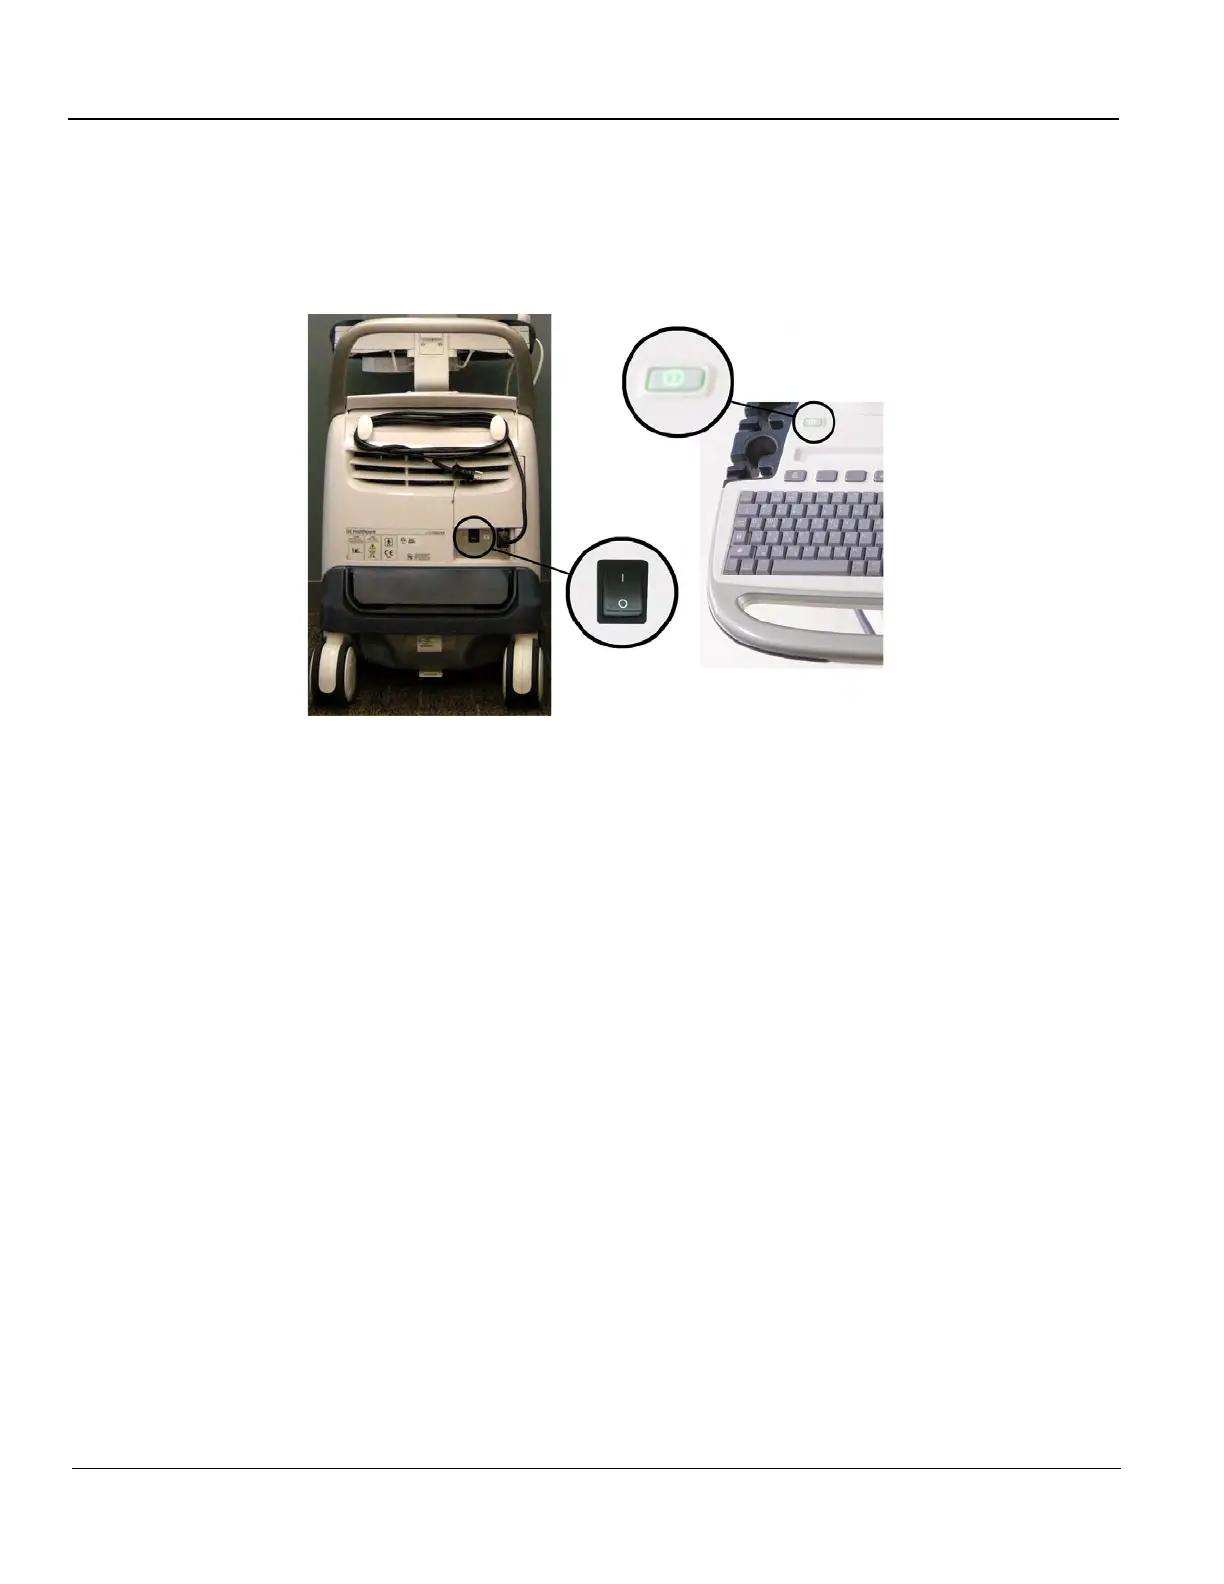
3-6-7-4 Switch ON the AC Power to LOGIQ E9
1.) Switch ON the Mains Power Circuit Breaker at the rear of the unit. The ON/OFF button will become
amber.
You should hear a “click” from the relays in the AC Power and the unit is ready to boot. The ON/OFF
button will turn amber. This indicates that there is power to the PS, but the system is OFF.
2.) Press once on the ON/OFF button on the Operator Panel to boot the unit. The ON/OFF button will
turn green when it is pressed.
During a normal boot, you may observe that:
a.) The unit’s ventilation fan starts on full speed, but slows down after a few seconds (listen to the
fan sound).
b.) Power is distributed to the peripherals, Operator Panel (Console), Monitor, Front End
Processor and Back End Processor.
c.) Back End Processor and rest of the LOGIQ E9 starts with the sequence listed in the next steps:
d.) Back End Processor is turned ON and starts to load the software.
e.) The Start Screen is displayed on the monitor.
f.) A start-up bar indicating the time used for software loading, is displayed on the monitor.
g.) The software initiates and sets up the Front End electronics and the rest of the instrument.
h.) The backlight in the keyboard is lit.
i.) As soon as the software has been loaded, either a 2D screen is displayed on the screen,
indicating that a probe has been connected, or a No Mode screen is displayed, indicating that
no probe has been connected.
Figure 3-12 The Circuit breaker and ON/OFF button