Programming Meter Settings 6-21
August 2003
Taking a Bitmap Capture
of a Current Screen
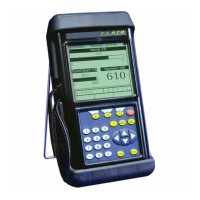
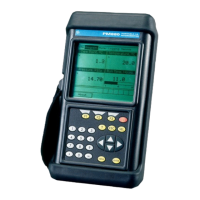
The Snapshot option enables you to take a screen capture of the
current screen in bitmap format (.bmp) for printing or display or
storage in a Windows-based PC. To take a “snapshot” of the
screen:
1. From the Meter menu, scroll to the Snapshot entry and press
[ENTER].
2. Another menu opens with three entries: Off, To Printer and To
File. Scroll to the desired entry and press
[ENTER].
Note: An icon of a printer (for printing capture) or a camera
(for file capture — see page 2-10) appears at the far right
of the status tray, indicating that you have activated the
Snapshot option. Figure 6-1 on page 6-2 shows a screen
with the Snapshot option activated.
3. To capture a screen, press the “.” (decimal) button in the lower
left corner of the keypad twice. The meter beeps, indicating
that it has made a screen capture.
The program now varies, depending on whether you selected
printer or file capture.
• If you selected To Printer, the PM880 shows a message
indicating that its infrared sensor is looking for a receiving
printer. (If the sensor spots no printer, a window appears
indicating that it cannot find a device. If it spots more than
one compatible infrared device within its range, it asks you
to select the desired device.) It transmits the capture to the
printer once it has made a connection.
• If you selected To File, the captured file appears as “Screen
0X.bmp” in the Drive Manager (see page 5-14). To transfer
the file to a PC, follow the instructions in Transferring a
File to a PC on page 5-16.
 Loading...

