2.
Remove the position indicator (2) together with the bracket (6).
3.
Unscrew the elbow screw-in plug connection (5).
®
Done
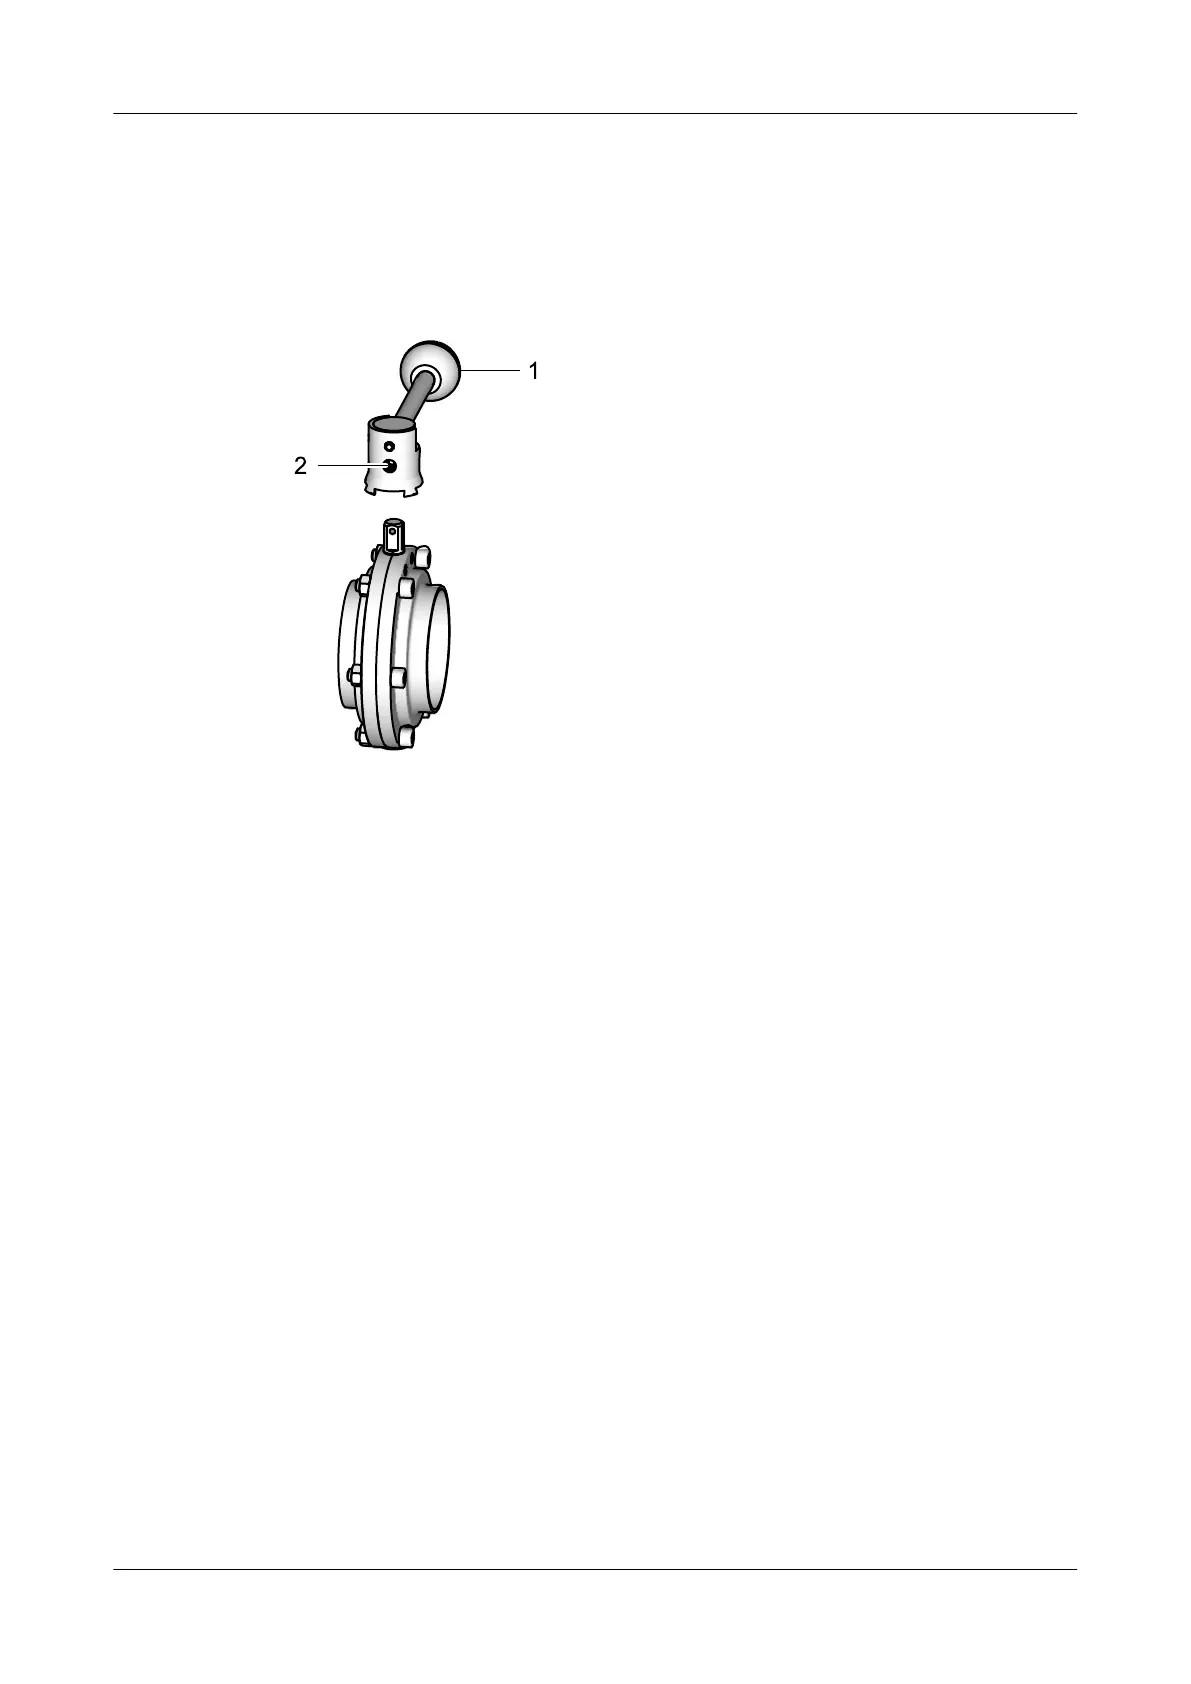
10.5.7 Removing the manual actuator H
Fig.24
Carry out the following steps:
1.
Use an a/f 4 hex socket screwdriver to unscrew the locking screw (2) until it is
flush with the bushing.
2.
Take off the hand lever (1).
®
Done
10.5.8 Removing the Valve Disk Seal
The work steps to remove the disk seal are the same for both valve types.
Maintenance
Disassembling the Valve
430BAL009990EN_2
46 30.01.2018

 Loading...