English
-40-
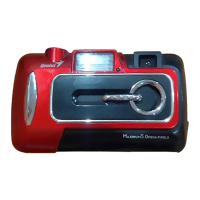
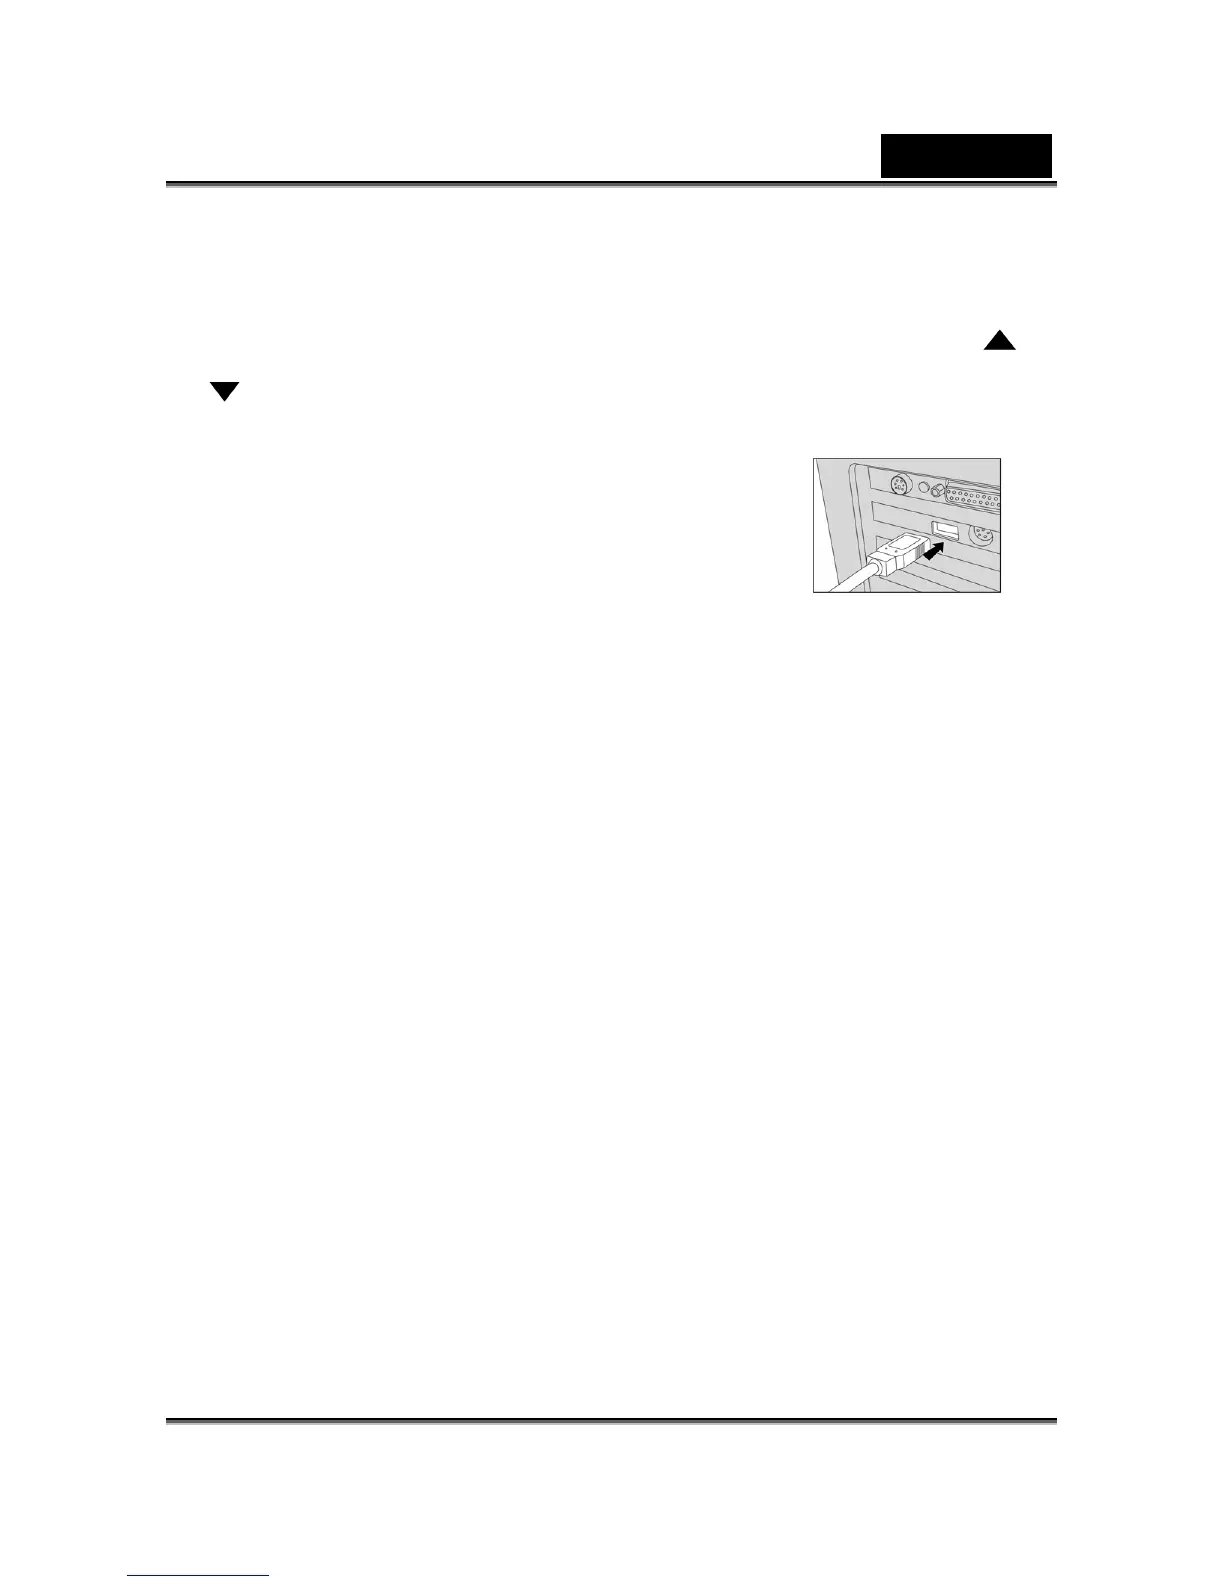
Step 2: Connecting the Camera to Your Computer
1. Click the Power button to turn on the camera.
2. Using the mode dial select the PC mode, then select mass storage by using the
or
button.
3. Connect one end of the USB cable to an available USB
Look for a new “removable disk” appearing in the “My
Computer” Window.
Your recorded images/video clips will be in a folder on this “removable disk”.
Step 3: Downloading Images/Video Clips
When the camera is turned on and connected to your computer, it is considered to be one
disk drive. You can download images/video clips by copying them from the “removable disk”
to your hard drive or other storage disk.
For computers running Windows
Open the “removable disk” by double clicking on it. Double click on the folder. Your images
are inside the folder(s). Select the images that you want, and then choose Copy from the
Edit menu. Open the destination location and choose Paste from the Edit menu. You may
also drag and drop image files from the camera to a desired location.
port on your computer.
4. Connect the other end of the USB cable to the USB
connector on the camera.
5.
6.