1.2.15
PRE-MEASUREMENT CHAPTER 2
GEODIMETER SYSTEM 600
From previous page
Continue with label 7 (HA), 11(HD)
and 49 (VD) using the same proce-
dure as for page 1.
When you have come to page 3, key
in the labels below in the following
order:
38 Easting coordinate
37 Northing coordinate
39 Elevation coordinate
You have now created your own
display table. Press YES and you will
be returned to program 0 (P0).
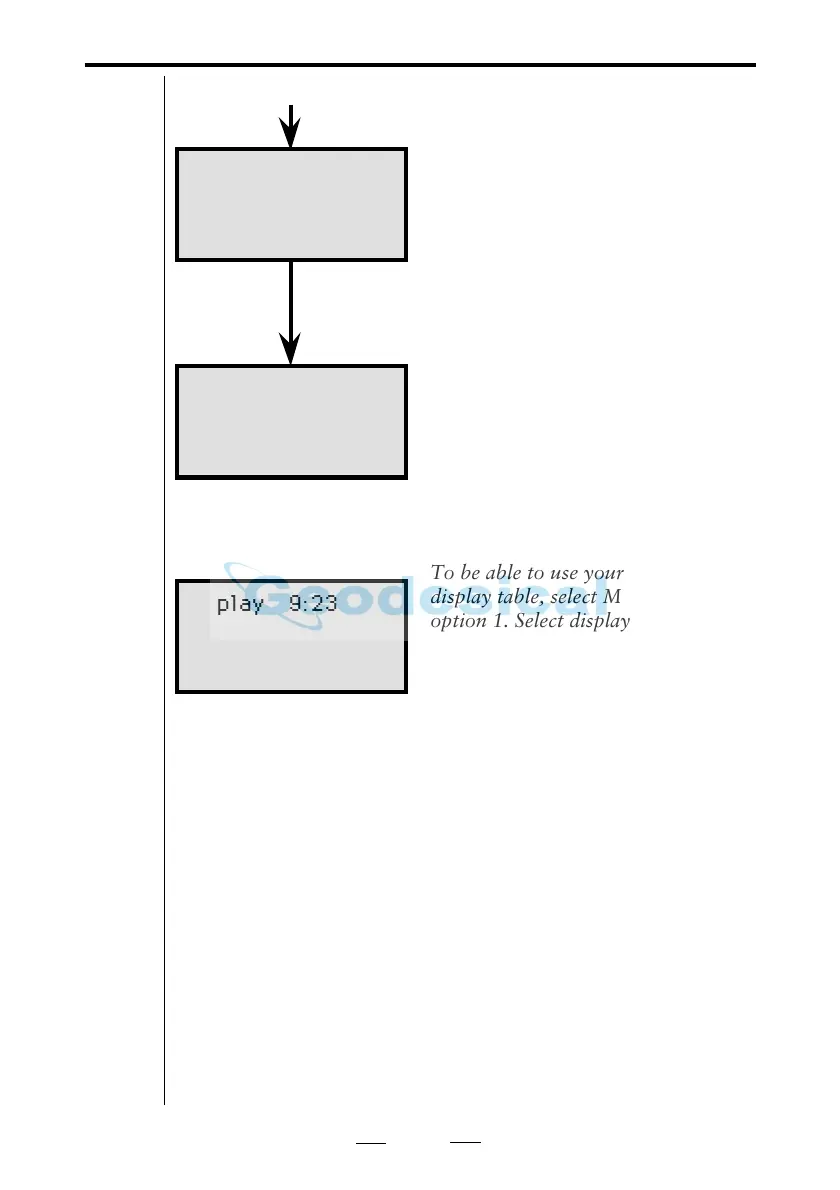
To be able to use your newly created
display table, select MNU 64 and
option 1. Select display.
Key in the current Table No. and
press ENT. This Table No. now
becomes the default version, until
you select another Table No.
Config. 9:23
Ready ?
Config. 9:23
Page 2 Row 1
Label no=
Display 9:23
Table no=
Display table no 5
With display table 5 you can not view any distances. For this
reason this table is very useful for user instructions. You can
combine e.g. table 0 with table 5 as follows:
1. Name e.g. label 90 and 91 with P41 to "Aim" resp. "Press"
2. Define function 90, 91 as "to prism" resp. "A/M"
3. Create display table 5 and include label 90 and 91
4. Choose display table 0,5 (that is table 0 and table 5)
5. Before every measurement you will now see the following
instruction: "Aim to prism" "Press A/M". As soon as the prism
is hit you will get the angles and distances in the display.
If the data output is to be similar to your display table, then
it also has to be set. See "Data Communication", "yellow
pages" 2.7.4.
Note!
☛
Select Display
 Loading...