Page 21 of 127
Operating Manual
OMGEM5KN – Iss. 5.1
Copyright – Geotechnical Instruments (UK) Ltd
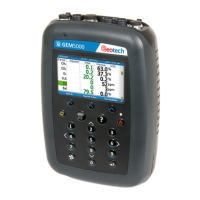
Analyser features and keys
Turns the instrument on and off
Enables the operator to turn the backlight on/off
on the analyser display panel.
Press the ‘Menu’ key to view and maintain User,
Device and Operation settings.
Pressing this brings up helpful on screen prompts.
The function of the three ‘soft-keys’ on the front
of the instrument panel is determined by menu
options taken. Functions vary from screen to
screen
Press this key to confirm anything you have
inputted using the keypad.
Press the ‘Pump’ key to start or stop the pump.
Connection used to connect the anemometer to
the analyser.
Where the gas gets expelled when taking a
sample. It is always our recommendation that you
have the yellow tube connected to ths port, and
that you trail the outlet of the tube away from you
so that the gas is vented safely.
Connection used to connect the analysers charger
and temperature probe. Please note, only one can
be used at one time.
This is where you connect up the differential port
of your Pitot or orifice plate to ascertain a flow
reading (if required).
Connect the white sample tube here and the other
end of the tube to your sample point connection.
Connection used to connect the analyser to a PC via a
USB cable (optional)
Contains all of the instrument’s information