Administrator Mode
97
4 4
D. To create several areas with different sensitivities, repeat steps
3A and 3B.
E. To clear any defined area, click
under the image, and
click the X icon to remove it. Click again to return to
the setting.
4. Use the Detection Time slider to set the time length required for the
alarm to be triggered if the system detects any motion within the
defined area. The default setting is 30 seconds.
5. To activate loitering settings at specific time periods each day, create
a schedule. For details, see Step 6 in 4.2.1 Motion Detection.
6. Click Apply to save all the settings.
Note: To allow the loitering detection settings to take effect, please wait
for 2 minutes upon clicking the Apply button.
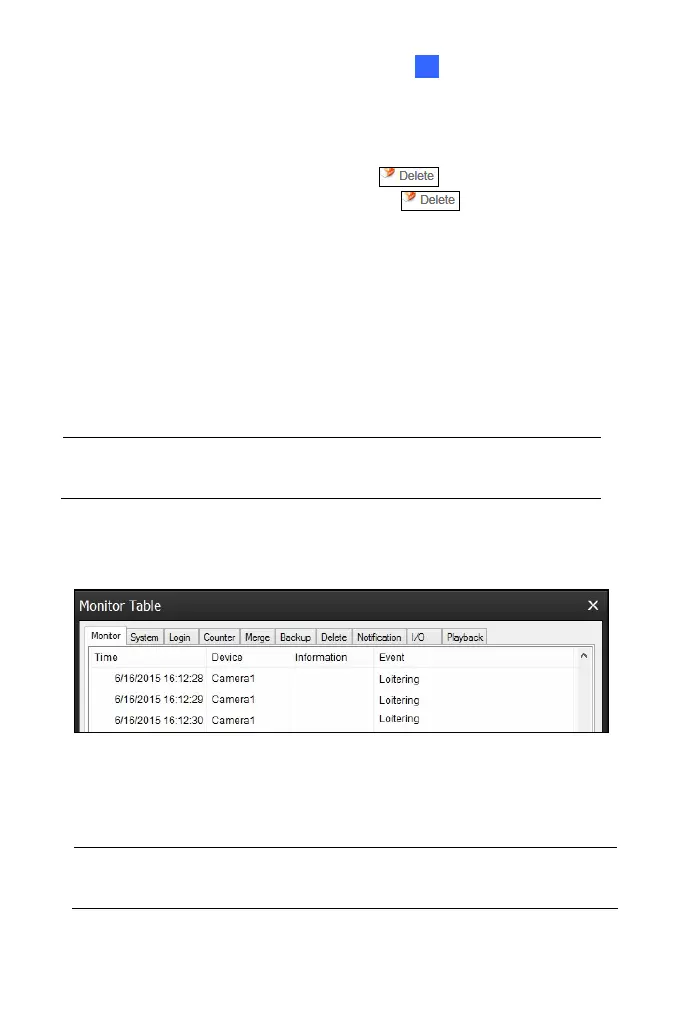
In GV-VMS, when the event is detected on the camera, you will see the log
“Loitering” as illustrated below.
For details on how to connect to GV-VMS, see 7.2 Setting up IP Cameras
on GV-VMS.
IMPORTANT: It is required to enable the “Video Analysis on Camera”
function on GV-VMS in advance. See Important note on page 78.
 Loading...