24
5.3.9 How to use a Register Mark
Press the Mode Key 3 times to enter the Register Mark Screen. Press the
number 1 on the keypad and press enter. This will activate the registration
mark feature. Pressing enter will also advance to the next screen.
Input the distance of the register mark from the lead edge of the sheet 0.2
to the top of the register mark. If needed measure the distance using
calipers. Pressing enter will advance to the next screen, Smart Input. If using
Smart Input, enter the job values when prompted. If not, press enter to
advance through the smart trim feature.
The square on the ready screen indicates the register mark feature has been
activated. To turn off the feature, press M until REG. Mark is displayed. Key
in 2 on the keypad and press Enter to save. Note: The Register Mark can only
be used with user defined templates. It will not work with the factory
templates.
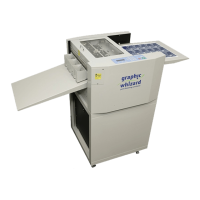
5.3.10 Using the Cut Mark Registration
The PT 331SCC is equipped with a Cut Mark Reader. A cut mark is a solid black bar that is printed at the top of the
sheet, usually to the left-hand side. When the cut mark registration is used, the PT 331SCC will read the placement
of the cut mark and adjust the slitter and knife location to compensate for image shifting on the sheets. This helps
to ensure that each job is uniformly cut.
First, manually adjust the Cut Mark Reader (located internally before the
slitters) sliding the positioning knob to the proper sheet size (12” or 13”).