10
5.2 Quick Start
1. Power on the PT331SCC.
2. Select a preset template option from Mode or create a new template by following the procedure detailed
in 5.3.3
3. Add paper and adjust the side guides to secure the stock. The guides move towards the center of the
machine (center justified).
4. Ensure the output tray is installed. If cutting business cards, add the card catcher and deflectors.
5. Run a test cut by pressing the test key. Check alignment and skew. If the paper is skewed, adjust the side
guides referred to in section 5.4.2.
6. If the finished pieces are not OK, use the compensation function to make the appropriate adjustments.
7. Once the cut and adjustments are set, press Start to run the job. You can input the quantity you would
like to cut by entering the number and pressing the Enter key before pressing Start. If you are not using
the Batch function, press Stop once the desired number of sheets have been cut.
5.3 Screen
5.3.1 Welcome Screen
When you first power on the PT 331SCC, the screen will show a welcome message, then go to the Ready Screen.
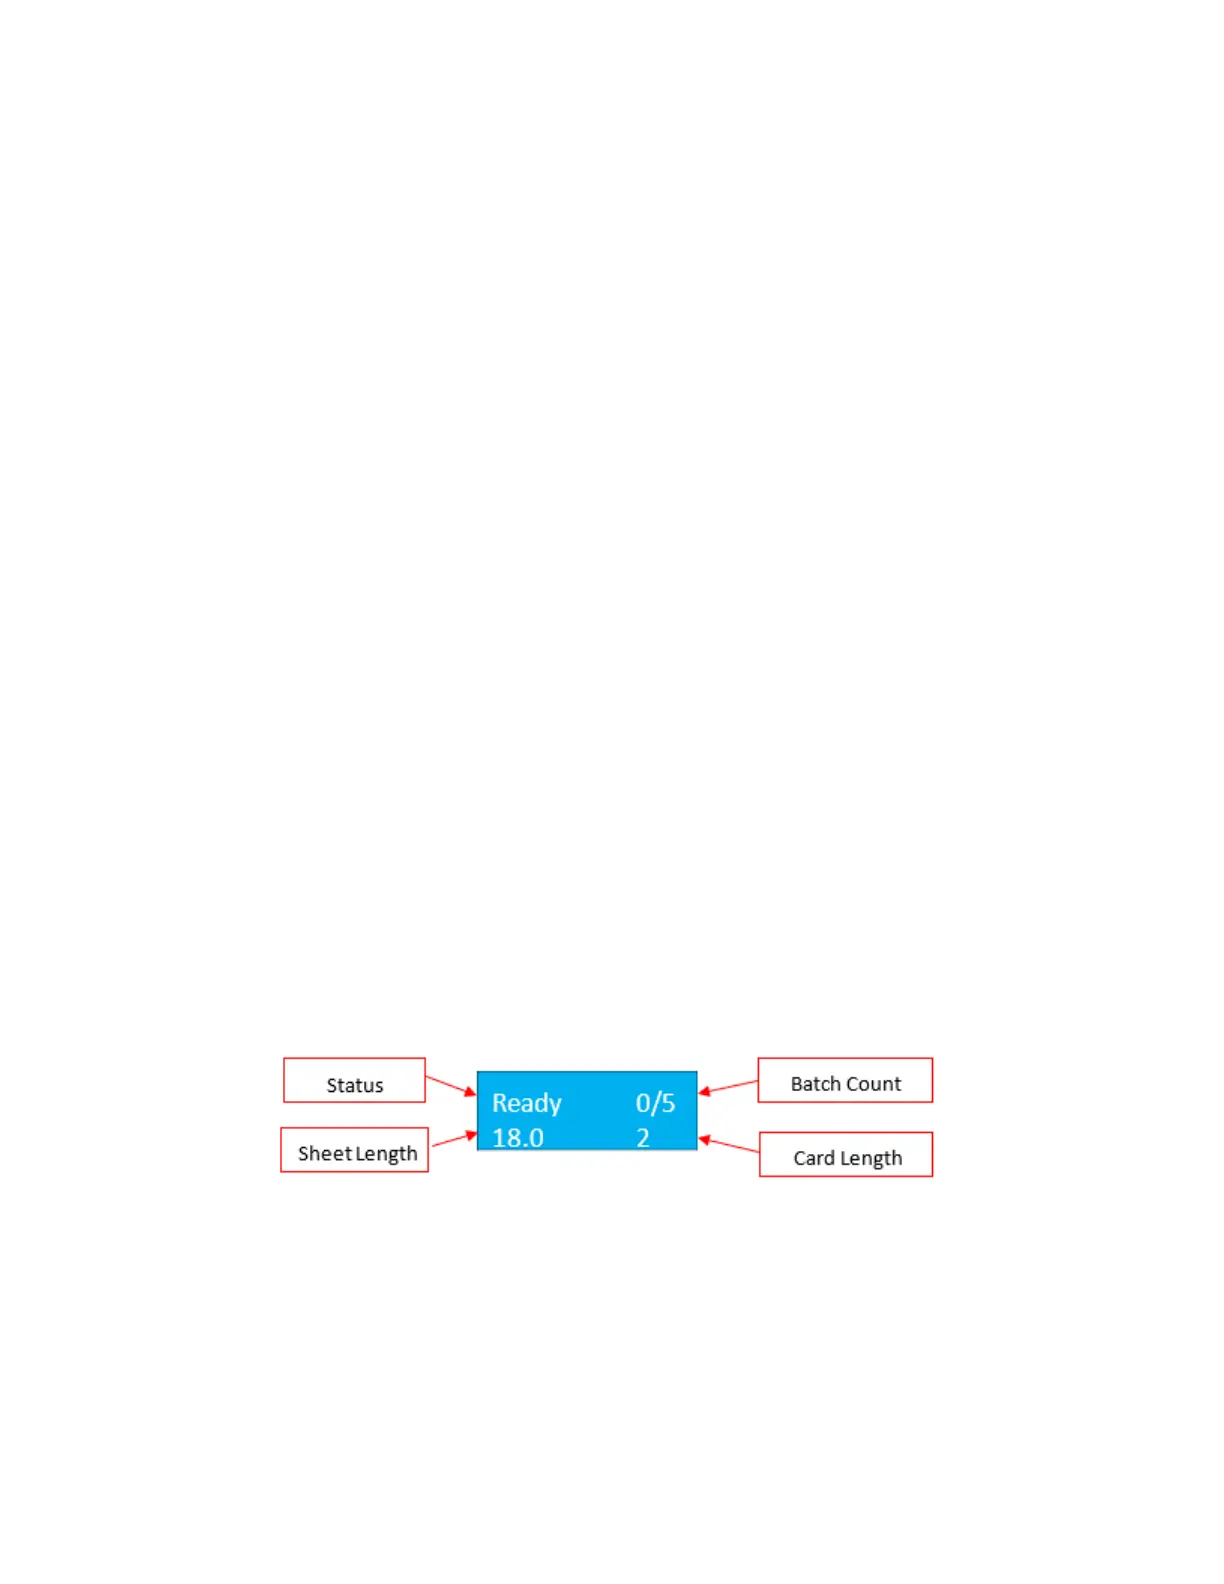
5.3.2 Ready Screen
From the ready screen, press the Page down key to scroll through the various options. There are five options
from the ready screen:
• Cut data
• Crease data
• Total sheets
• Crease and cut quantity
• Software version
Main Screen Ready Status