38
6. Carefully remove the entire assembly from the machine. You now have access to all four slitter assemblies.
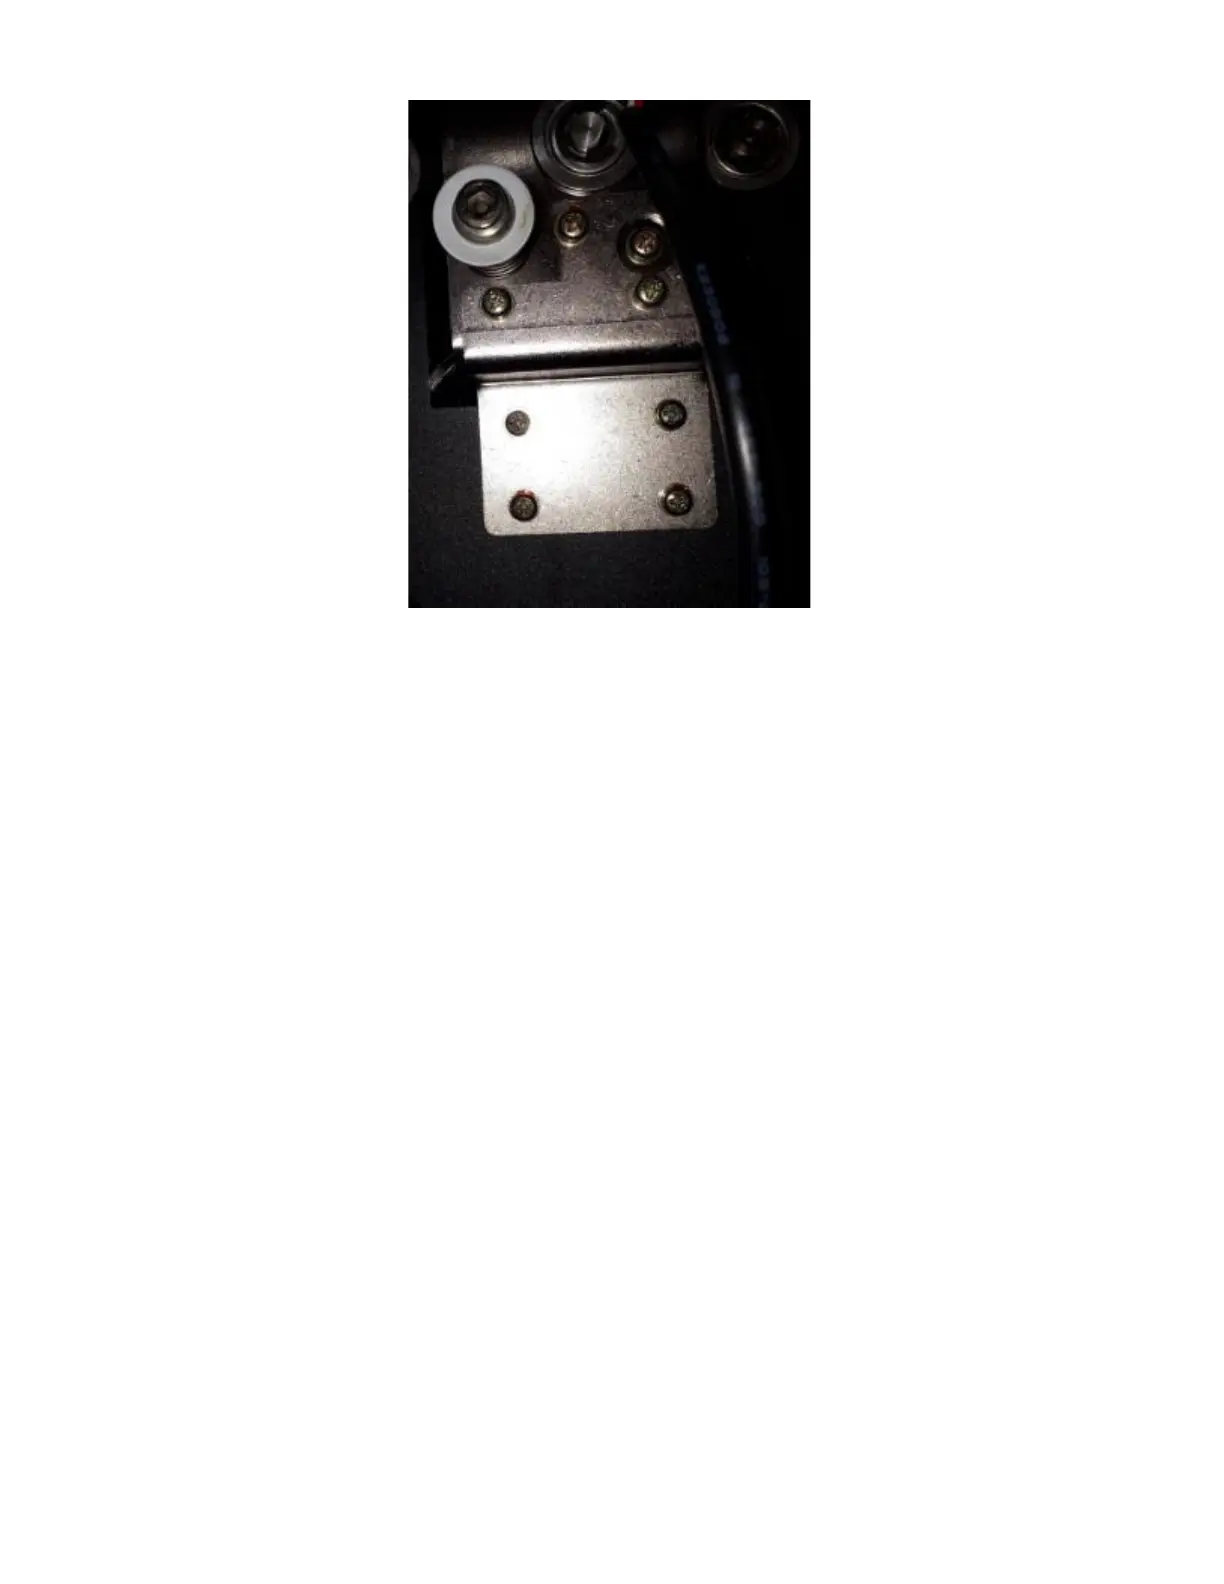
7. Remove the 2 screws securing the deflector plate.
8. The slitter blade hub can be removed by sliding the slitter drive rod through the hub. Note: there is a T-pin
that fits into the groove in the slitter drive shaft.
9. Replace the blades on the hub. When reinstalling the hub, ensure the pin is present and slotted into the
groove. This is required for all hubs.
10. Reinstall the deflector plate.
11. Install the upper slitter assembly as per the instructions above.
12. Install the slitter drive assembly into the chassis and secure with the brackets.
13. Attach the drive belt and gear.
14. When everything is secure, run a test page. If the slit is jagged, follow the instructions above, testing
between each step.
15. When the slits are clean, your work is done.