8-6 GTECH Technical Training and Support Services
Printing
Incorrectly
(contin.)
Receipt is not cut 1. Open the receipt cover and clear any jammed
paper. Refer to “Clearing a Paper Jam” on page
8-10.
2. Check the connections to the Main Controller
PC
B.
3. Replace the Main Controller PCB Assembly.
4. Replace
the printer mechanism. Refer to
“Remove the Printer Mechanism Assembly from
the Base Assembly” on page 7-8.
Sensors are not
working
pr
operly
1. Open the printer.
2. Remove the printer cover.
3. Clean the optical sensors (Paper Out, Top-of-
Form/Paper
Low, Anti-Jam, and Paper Cover
Opened) with isopropyl alcohol and cotton
swabs.
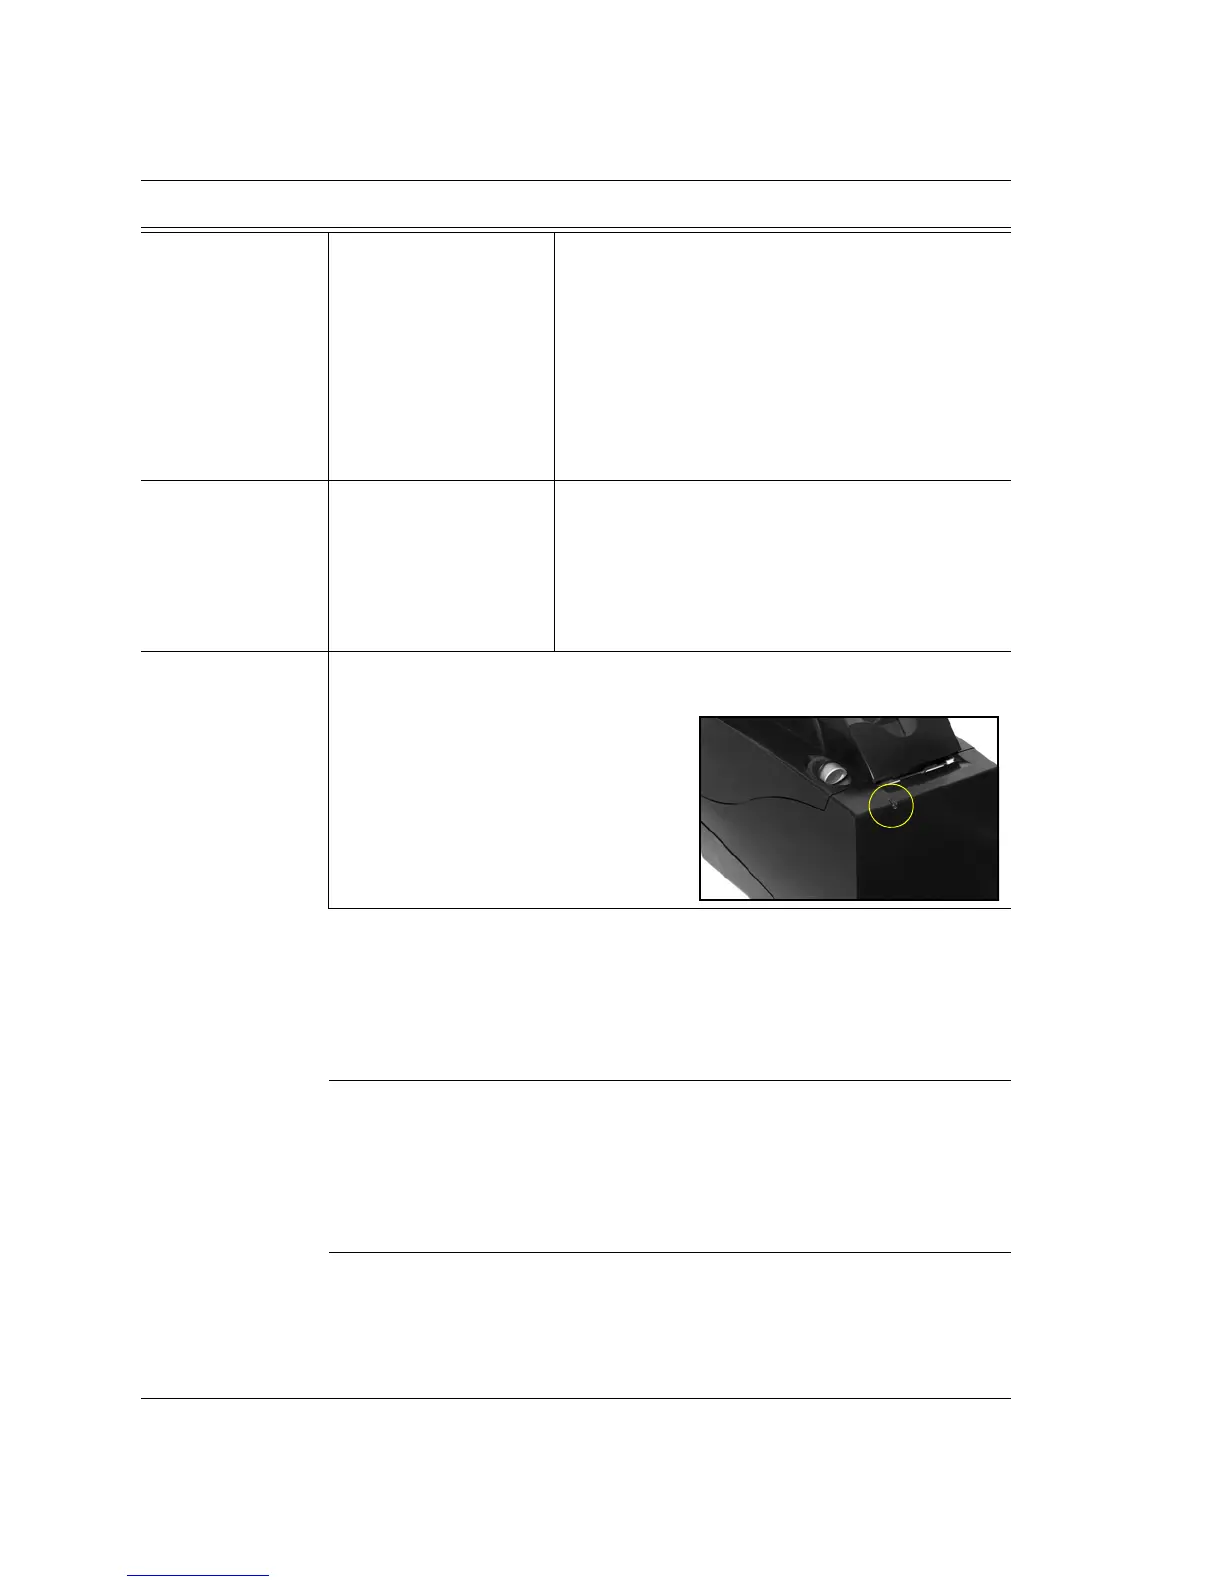
Printer Errors
LED is blinki
ng
Error Indicators:
Power -> Green
Error -> Red
Paper -> Yellow
Soft & Hard Errors:
Soft Errors: Soft errors may be
recovered by the host or by opening
and closing the printer cover. All of
these errors are indicated by a 5 second
repeating blink pattern. Refer to “Soft
Errors” on page 5-4 for specific error
information.
Out of Paper 1. Change the paper. Refer to “Loading Paper”
on page 8-8.
2. Clean all sensors with 91% isopropyl alcohol
and cotton
swabs.
3. Replace the Main Controller PCB Assembly.
Paper Low Error 1. Change the paper. Refer to “Loading Paper”
on page 8-8.
2. Clean all sensors with 91% isopropyl alcohol
and cotton
swabs.
3. Replace the Main Controller PCB Assembly.
Cover Open 1. Close the printer cover securely.
2. Clean all sensors with 91% isopropyl alcohol
and cotton
swabs.
3. Replace the Main Controller PCB Assembly.
Problem Action