12
Installation
3.4 Installation startup checklist
1. Reconnect the battery pack in order to supply power to the instrument as described in
Reconnect battery power on page 13
2. Switch the machine ON using the ON/OFF switch (refer to Figure 4 on page 14) and check
that the batteries have sufficient power (refer to Figure 6 on page 26 for location of
remaining power indicator). If the batteries need charging, connect the instrument to an
external power source as described in External power on page 16.
Note: Once the battery pack has been reconnected and is fully charged, the instrument is ready to use.
However, to take advantage of its full functionality it is recommended to complete the following additional
steps before taking any measurements.
3. Next, familiarize yourself with using the instrument by reading the next section in this
manual entitled User Interface on page 23.
4. Set the date and time of the instrument's internal clock, as described in Basic settings on
page 32.
5. Install the 3100 PC software on your PC as described in PC software installation on
page 18.
6. Set up the user configuration table using the PC software as described in Create new user
table on page 19.
7. Set up the measurement configuration table using the PC software as described in Create
new measurement configuration table on page 20.
8. Upload the user and measurement configuration tables to the instrument as described in
Transfer files to the instrument on page 21.
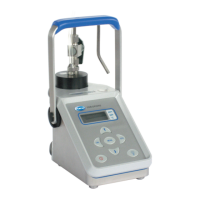
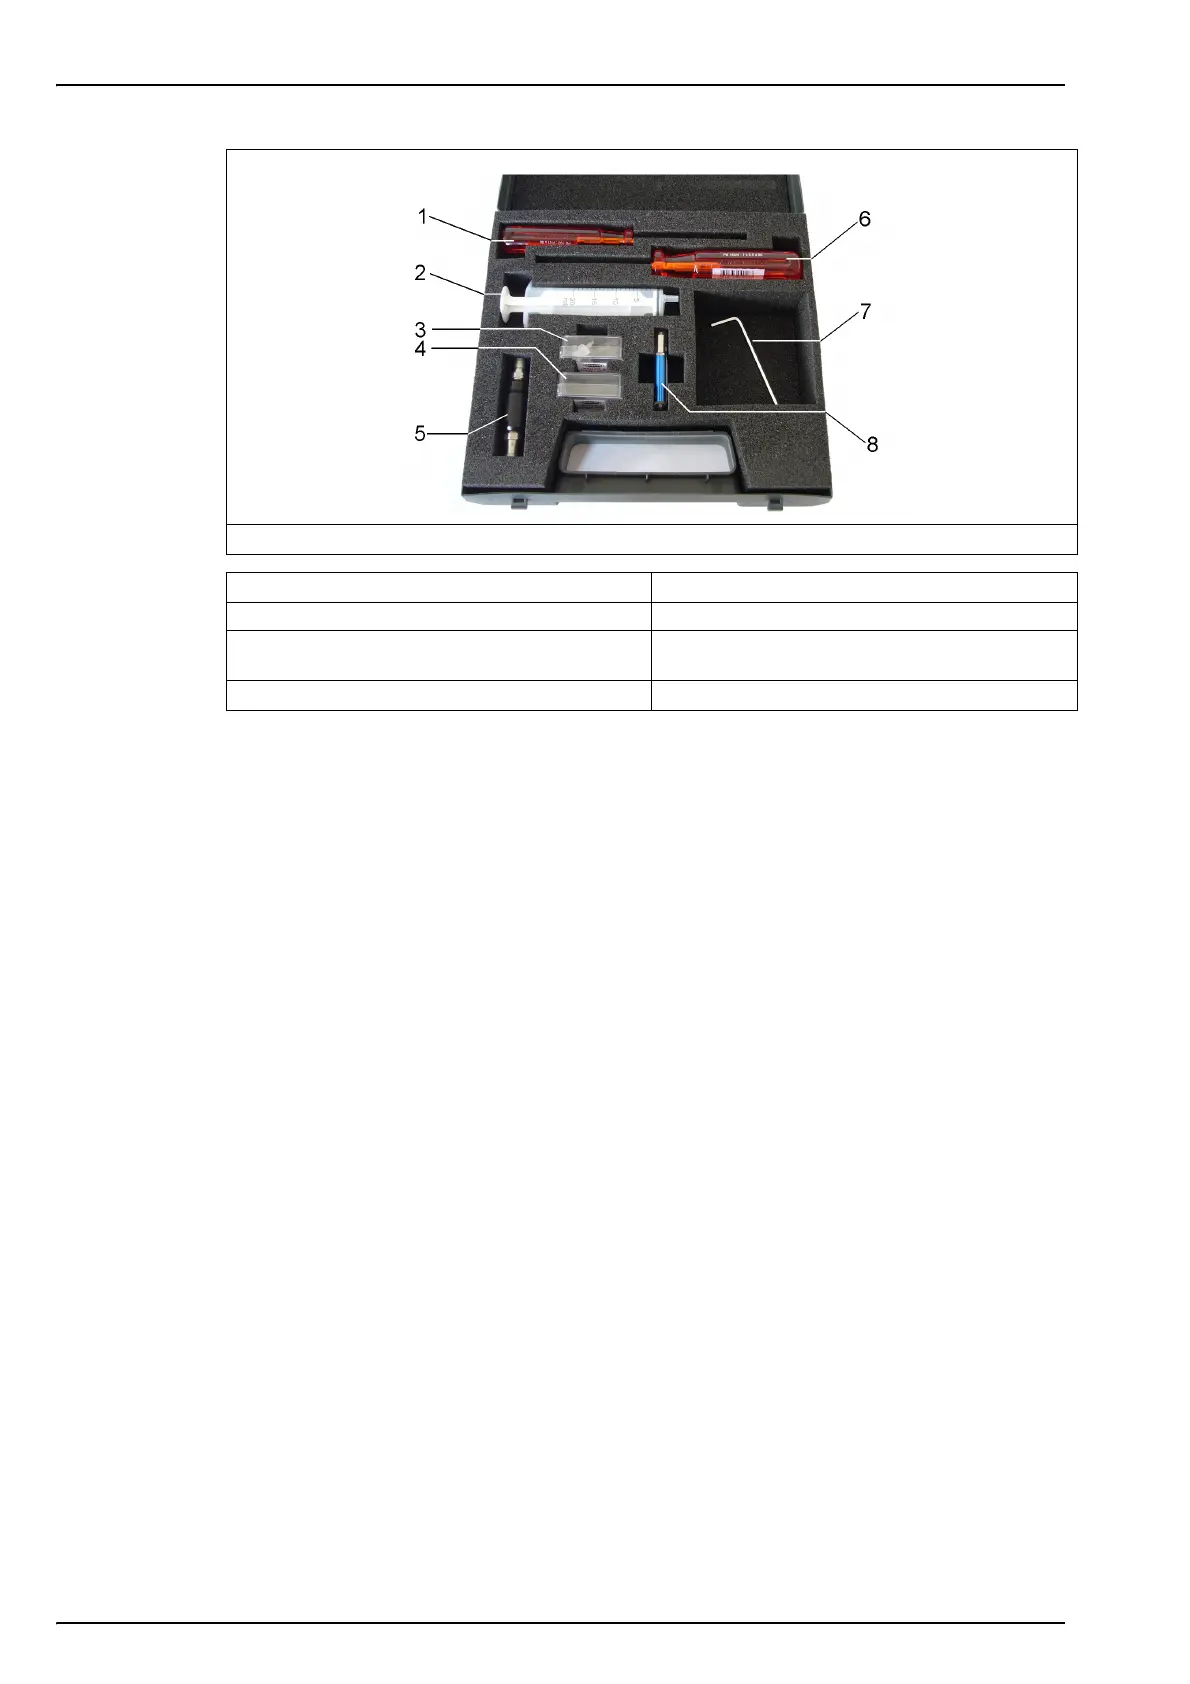
Figure 3 Tool kit (4mm instrument version illustrated)
1.
1 x Cross head screwdriver
5. 1 x Particle filter
2. 1 x Syringe 6. 1 x Flat head screwdriver
3. 1 x Box 5 syringe/instrument connectors (4mm
version only)
7. 1 x Stainless steel or flexible tubing (stainless
steel illustrated)
4. 1 x Box 10 meshes for particle filter
8. 1 x USB key containing PC software