P/N 53063-30, Manual revision: B
4-10
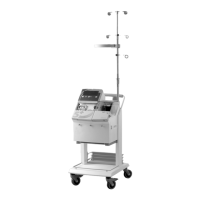
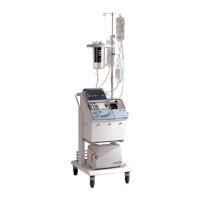
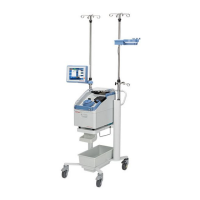
Preparing for a Cell Saver 5+ Procedure
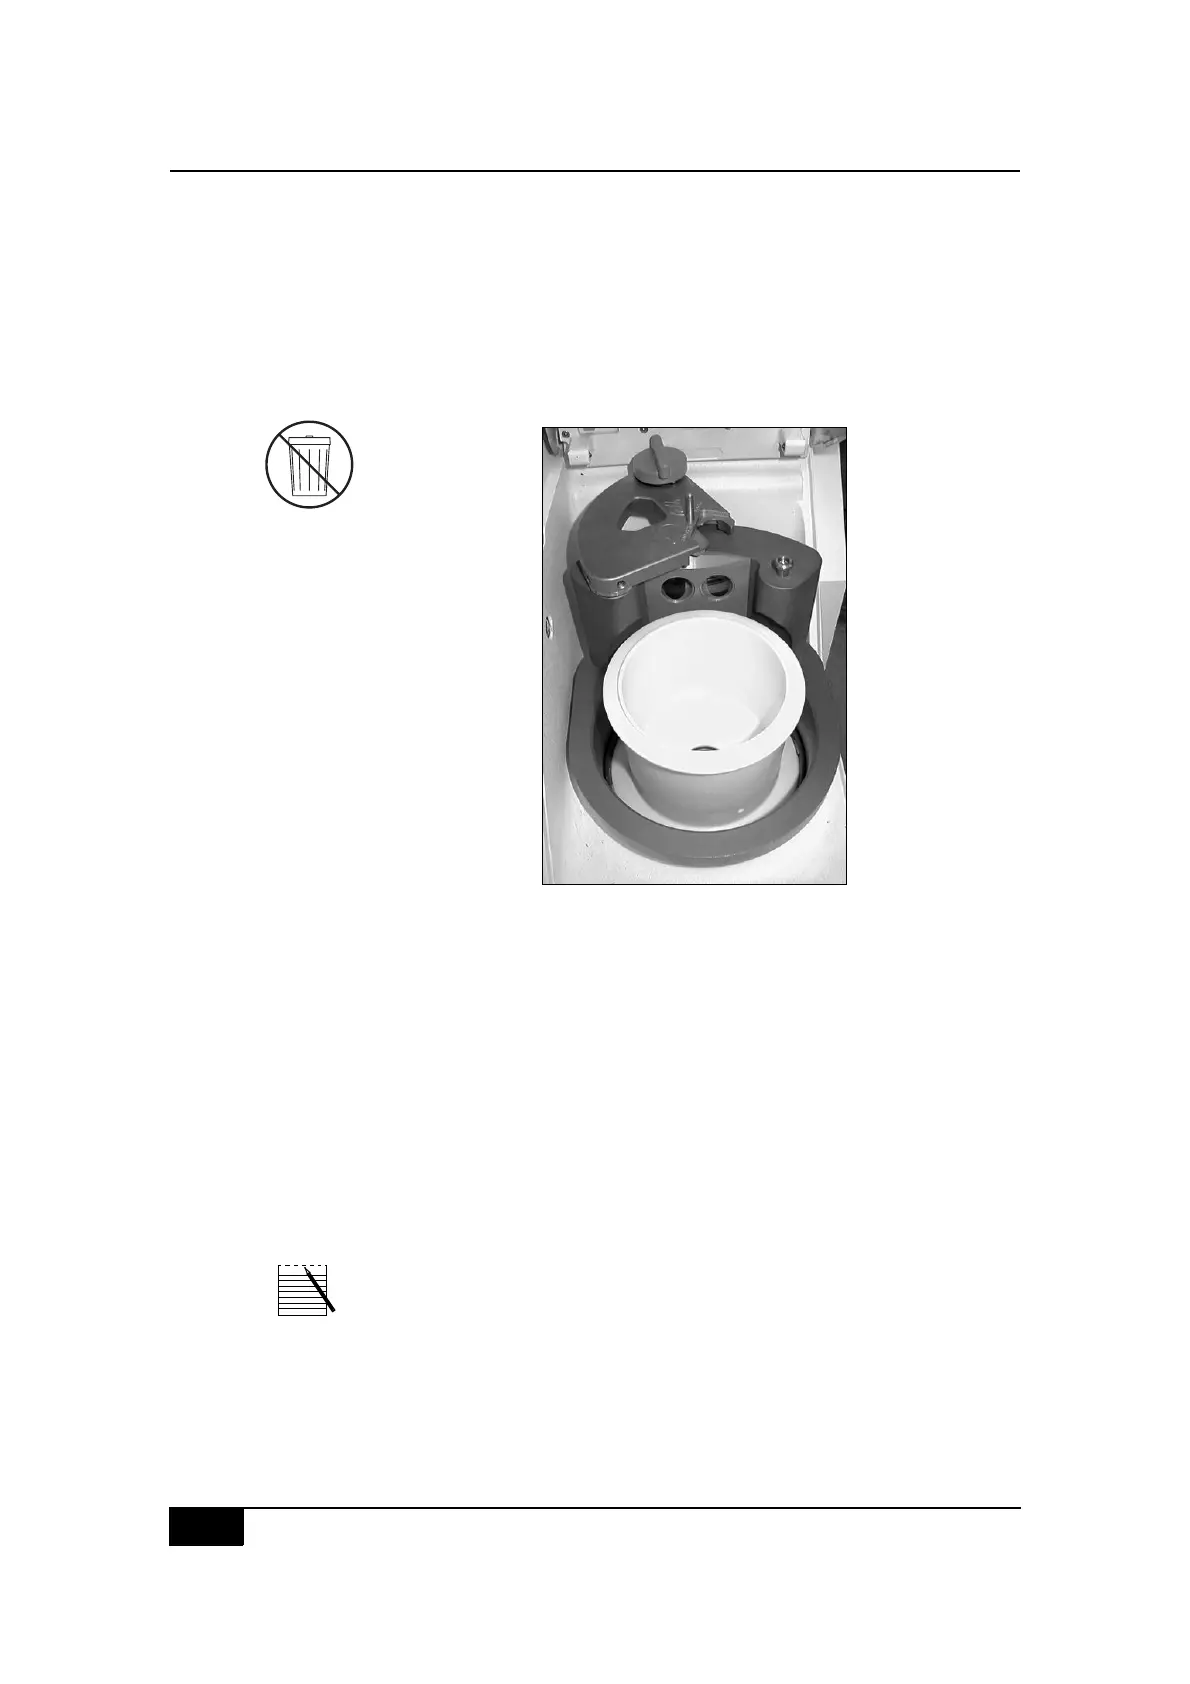
Installing the bowl
For the 70mL Bowl
" First insert the chuck adapter into the centrifuge well.
The chuck adapter is NOT designed for single use and should be saved
subsequent procedures.
Figure 4-7, Inserting the chuck adapter (for use with the 70mL Bowl)
For all sets
" Lift the bowl out of the tub and place it in the centrifuge well.
" Ensure that the red indicator lines inside the chuck adapter are visi-
ble.
" Ensure that the lower port of the bowl faces the right side of the
device (step A).
" Position the bowl arm above the bowl by moving it clockwise.
" Turn the locking knob on the bowl arm clockwise from the 8 o’clock
to 12 o’clock position (step B).
Note: A click will be heard when the locking mechanism is completely
secured.
Symbol:
DO NOT DISCARD