111
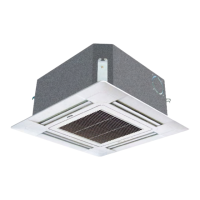
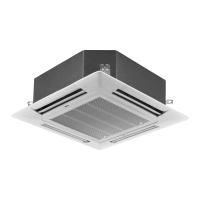
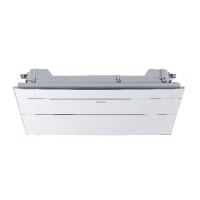
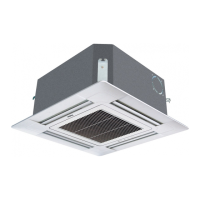
2-Way Cassette
Type Indoor Unit
Drainage pipe
■ Install attached exible hose to adjust when installing
panel. Bending or dragging intentionally will lead to
leakage.
■ Insert attached drainage exible hose into ne mouth
end of drainage, and then x it with pipe clamp.
■ Bind VP-25 joint (purchase in local place) to drainage exible hose (Rigid PVC terminal) before
suspending, then, bind VP-25 to this joint.
■ Make sure binder does not ow into drainage pipe, otherwise, the pipe will be damaged after binder dries.
■ Make drainage slope down (slope is 1/50-1/100), and any part of drainage upheaval or cave in.
■ Attention: make sure indoor unit side does not bear any pressure, and x drainage near unit.
■ Drainage can be normal rigid polyvinyl chloride pipe VP-25.
■ When laying drainage pipe for multi units. As viewed in the picture, set main drainage 100mm under each indoor
unit draining mouth, and the main pipe should be more than VP-30 thick plastic pipe.
■ Take insulation measures to the following two parts of drainage pipe to avoid leakage.
Drain pipe tting location:
After drainage test, install small tube shield onto drain pipe tting and then use bigger tube
shield to cover smaller one and part of drainage pipe. And then use bandage to tie them.
Rigid polyvinyl chloride pipe of indoor unit.
■ Do not set air vent in the drain pipe.
■ Exit height of drain pipe should be 750mm higher than ceiling, so if facing any barrier while laying drain pipe, you
can use bending pipe or other attachments to avoid, and on this condition, if the drain pipe from unit to pipe is too
long, the water ow will increase when air conditioner is off.
U
P
D
D
D
R
S
S
P
P
C
C
N
H
S
D
N
A
D
Pipe cover
Pipe cover
VP25